Well, Its finally here. The Kitchen Renovation. This will obviously be the biggest and most expensive of all the renovations, and will even encompass other sub-renovations like the beam from last week.

(08/29/2012)

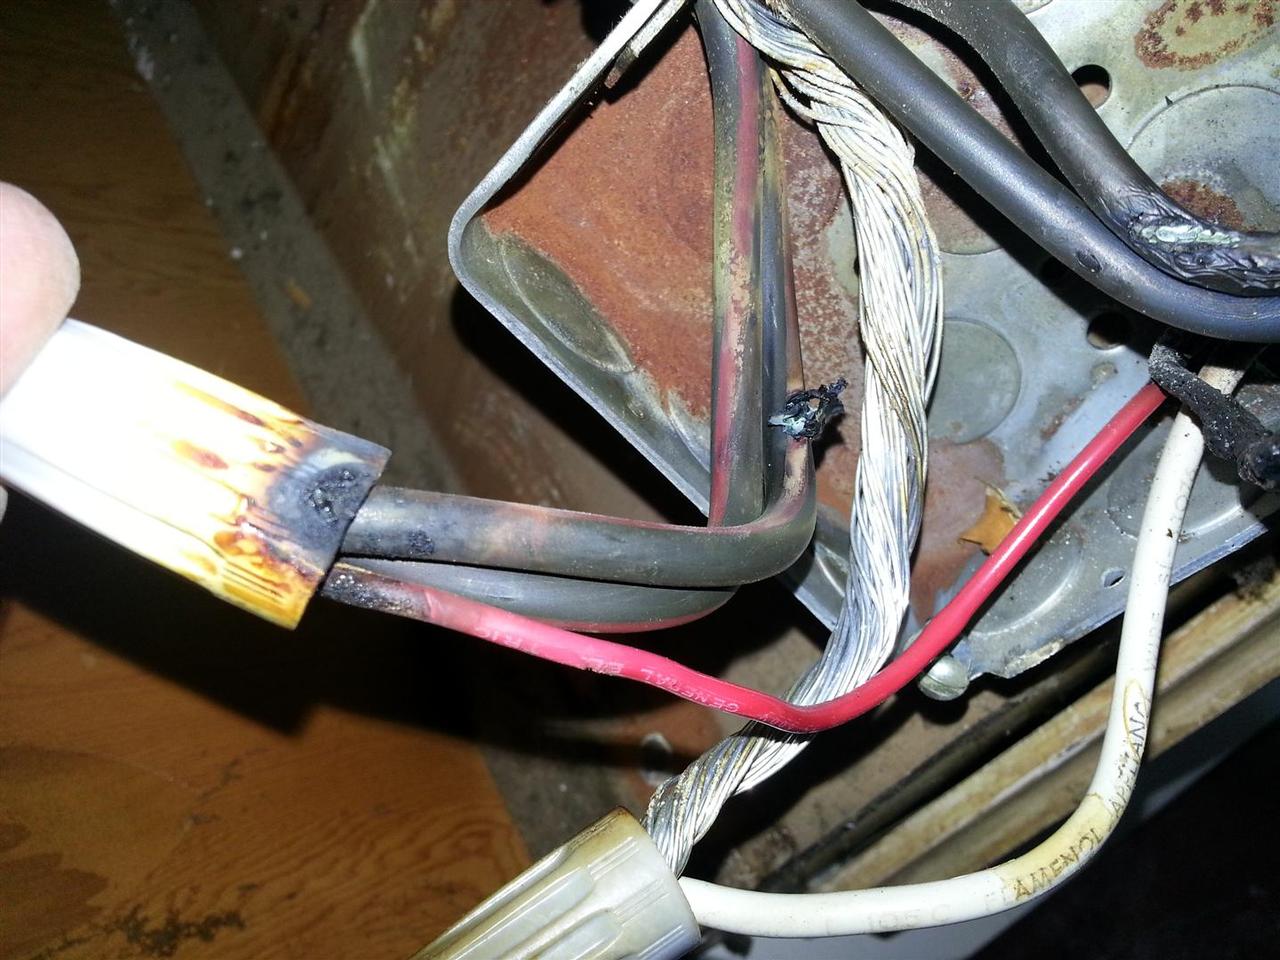
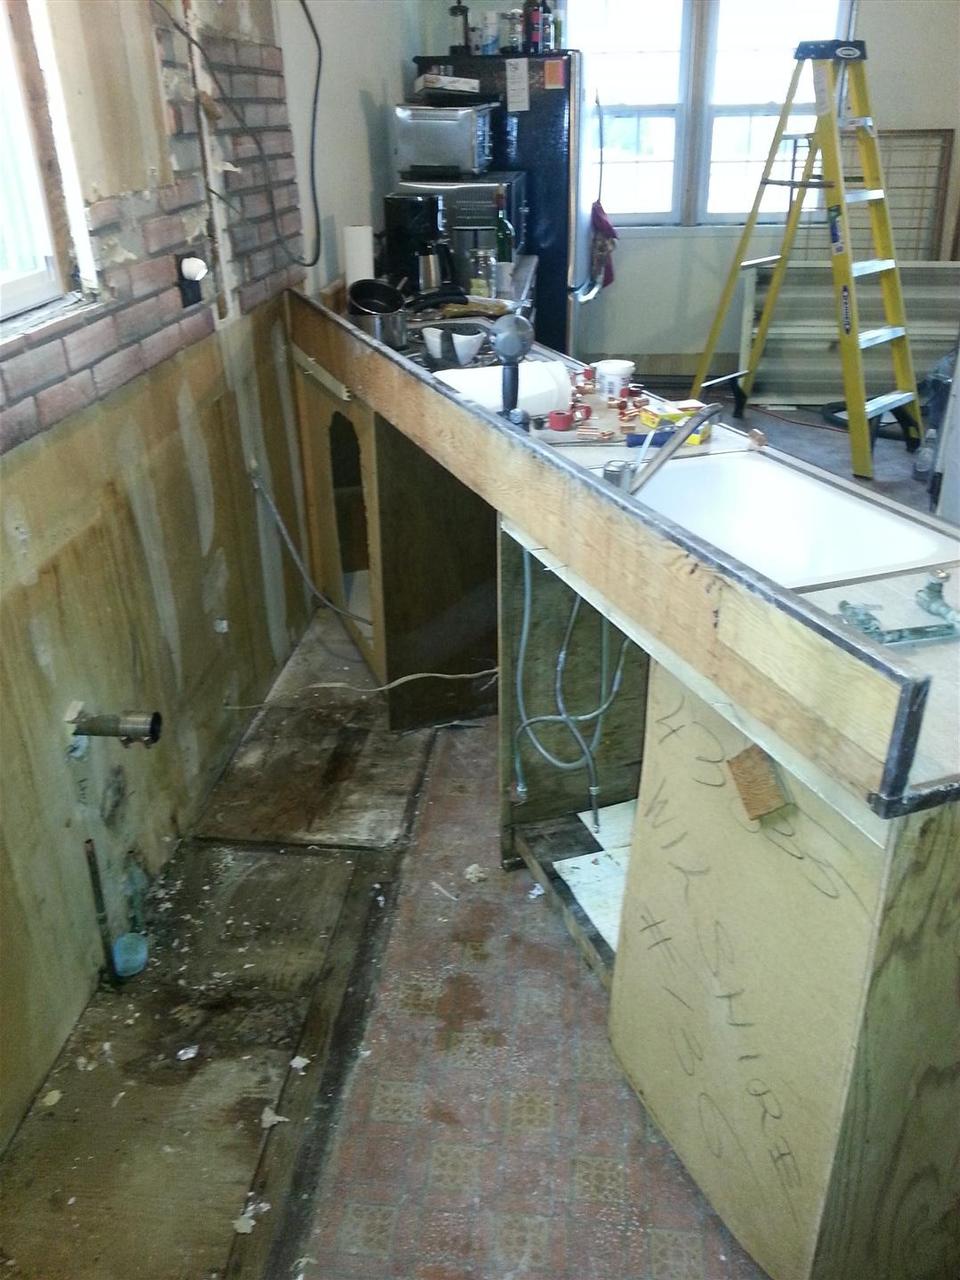
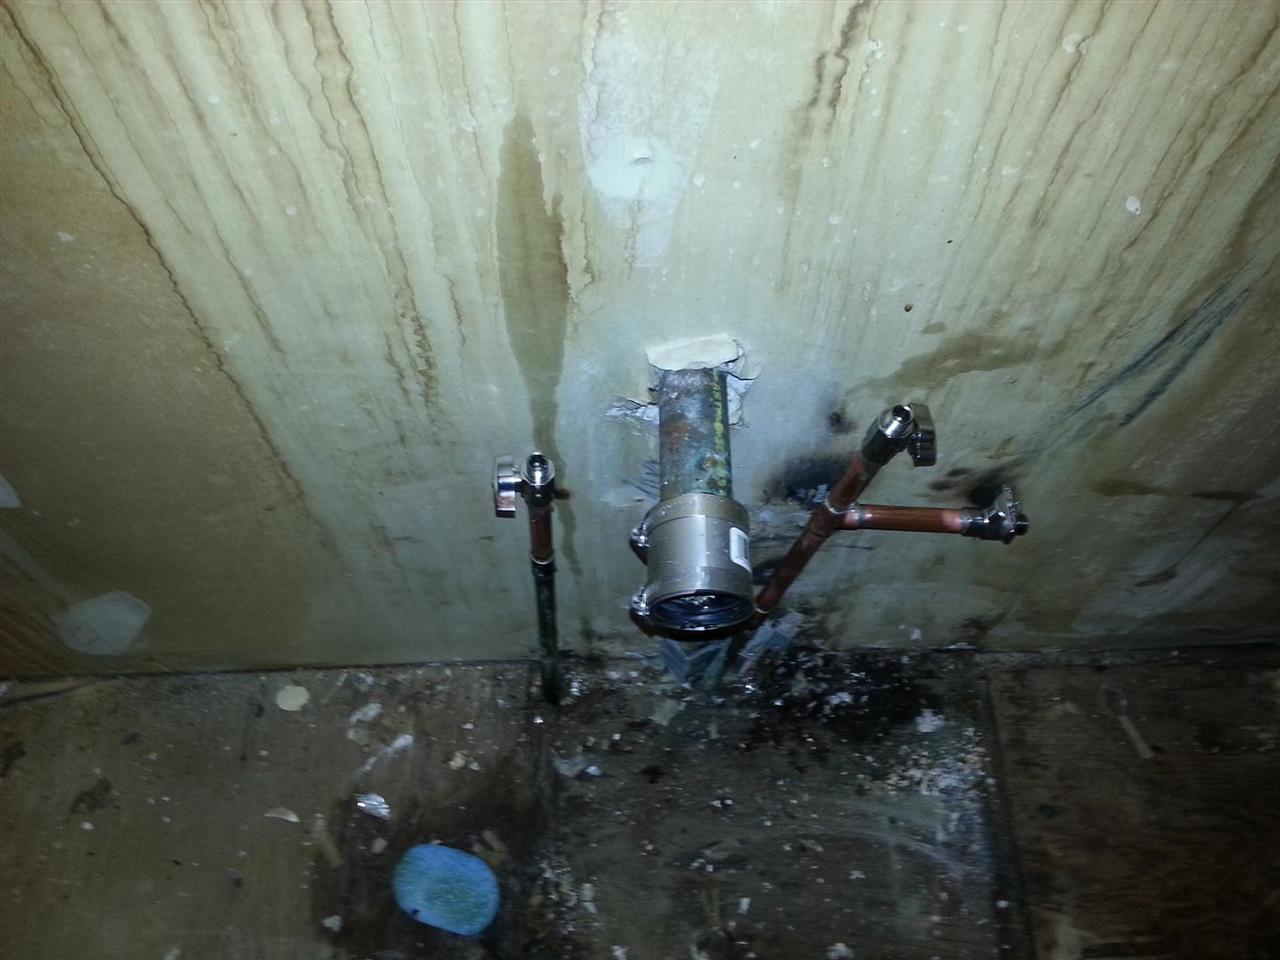
(11/29/2012)

(11/29/2012)

(11/29/2012)

(11/29/2012)

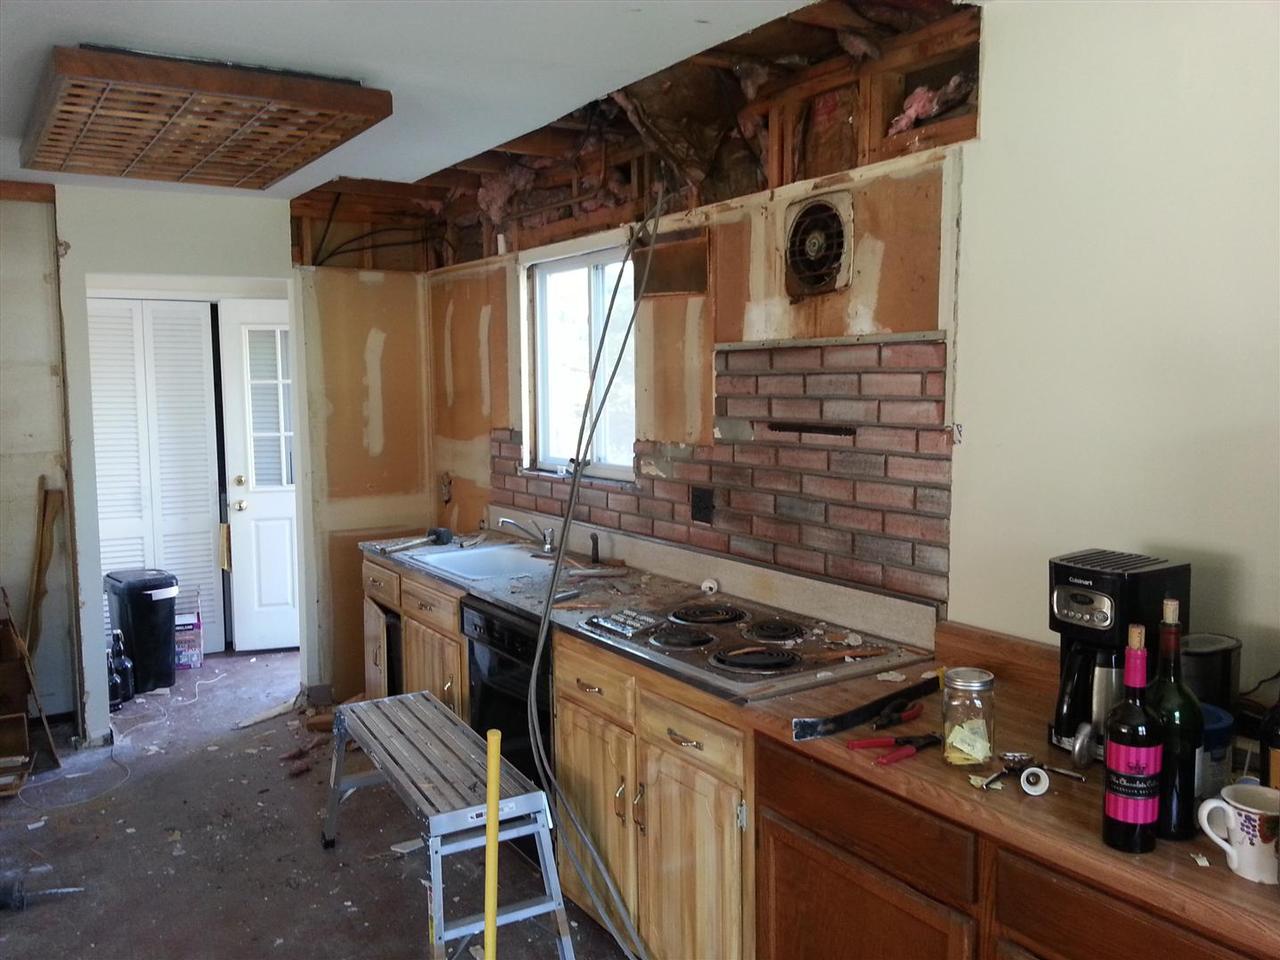
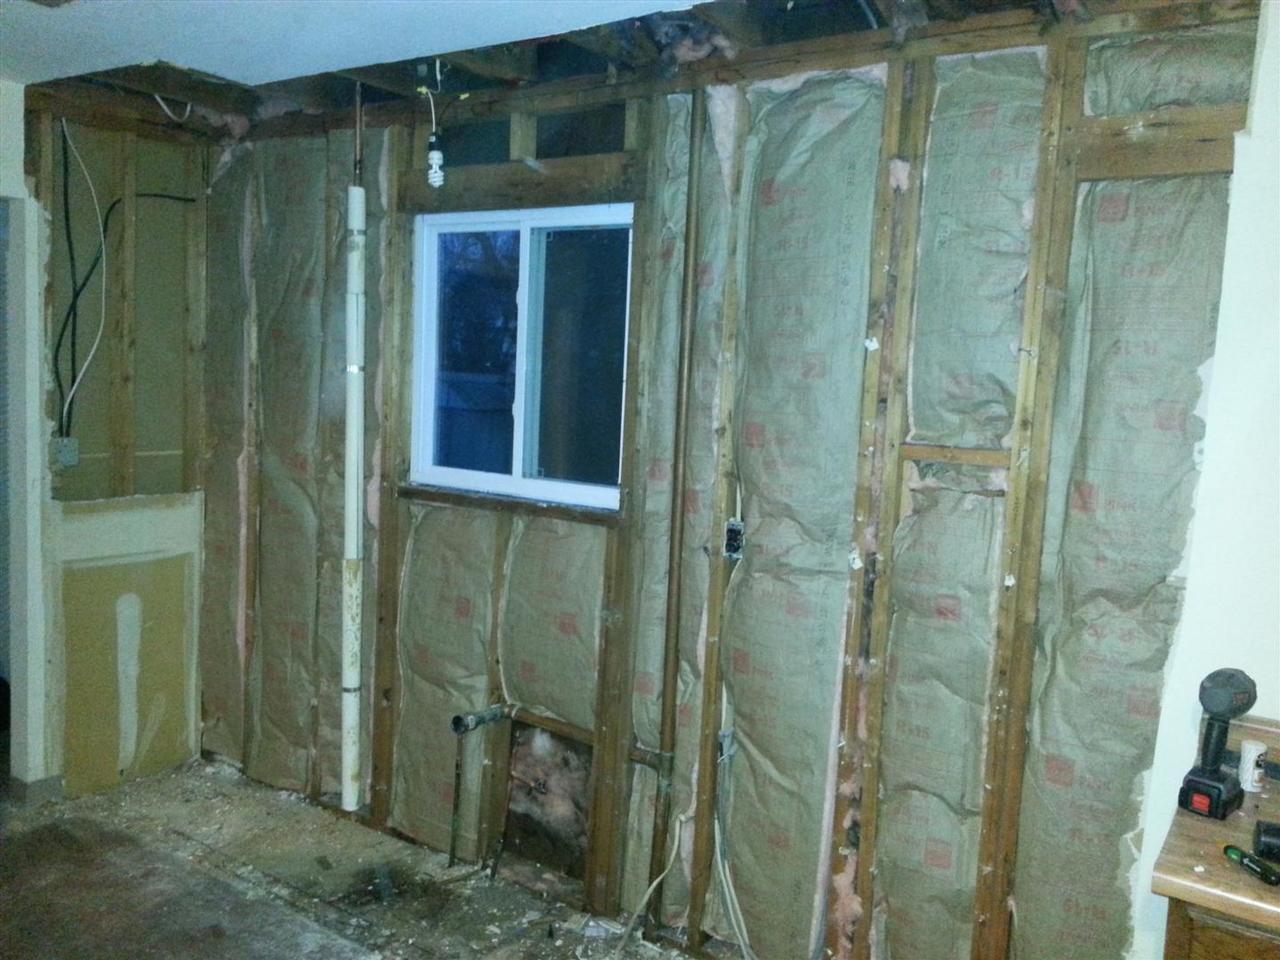
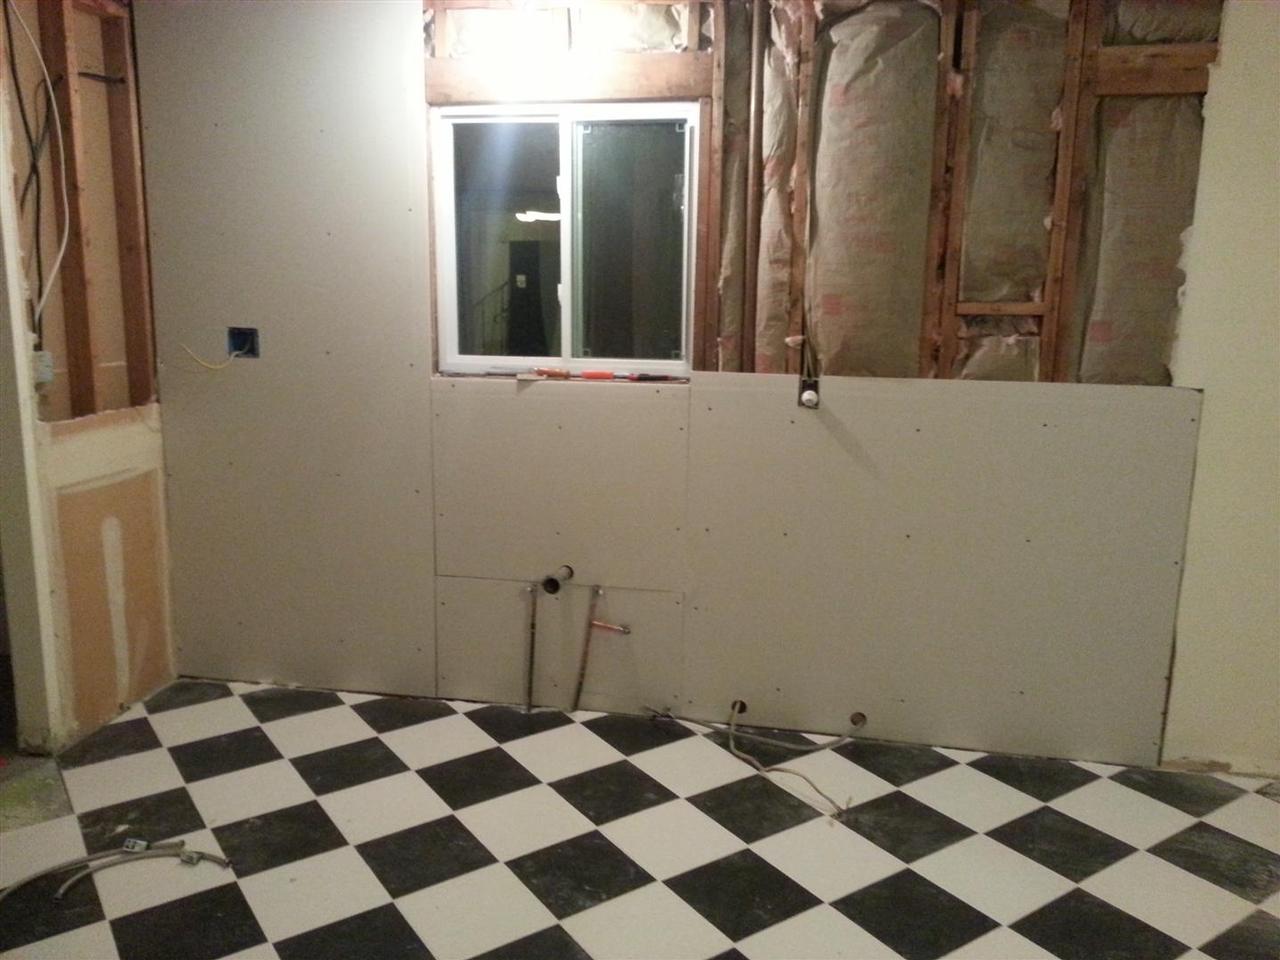
(12/01/2012)

(12/01/2012)

(12/01/2012)

(12/01/2012)

(12/01/2012)

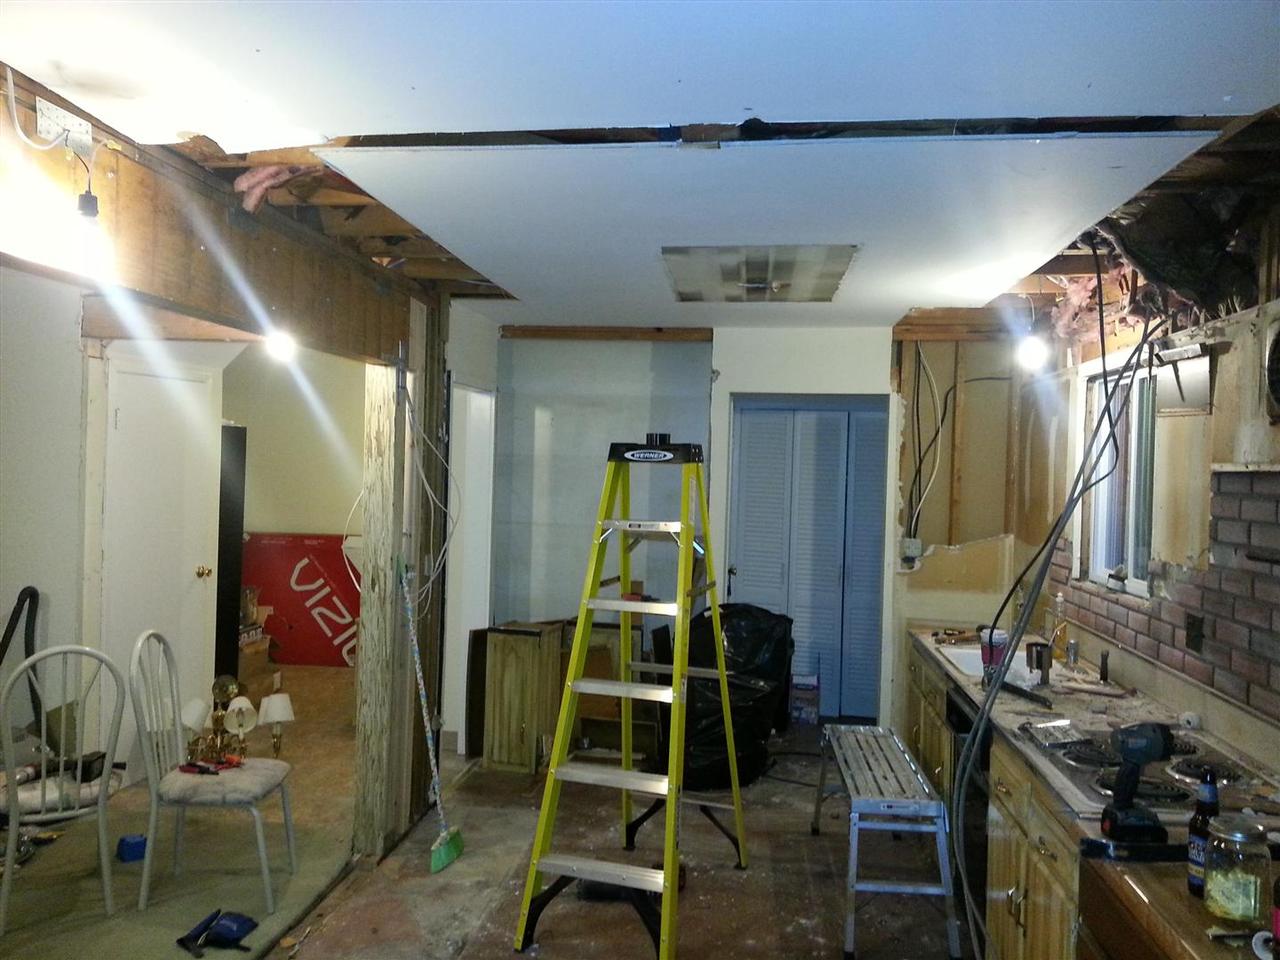
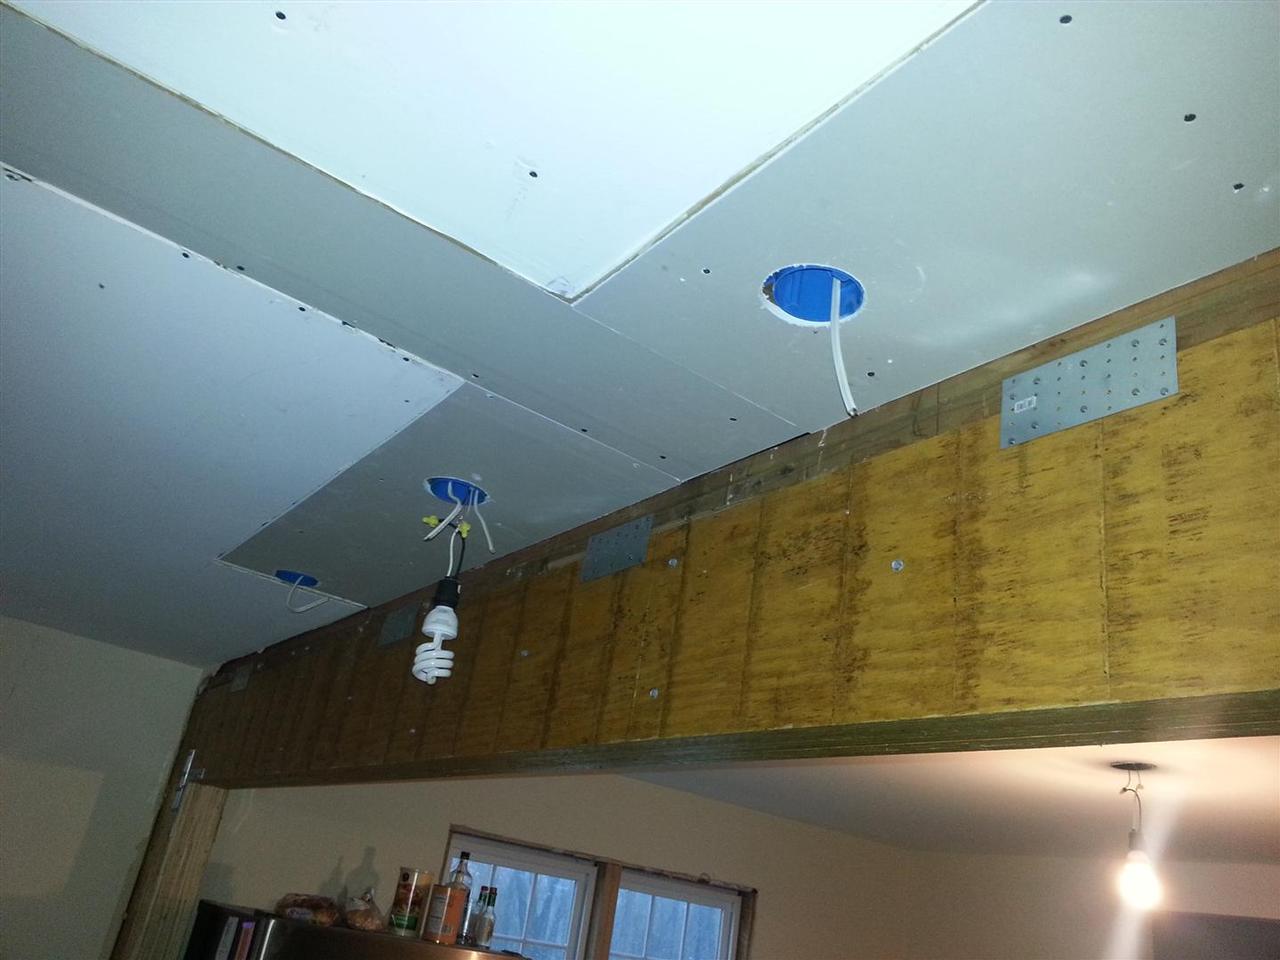
(12/02/2012)

(12/02/2012)

(12/02/2012)

(12/02/2012)

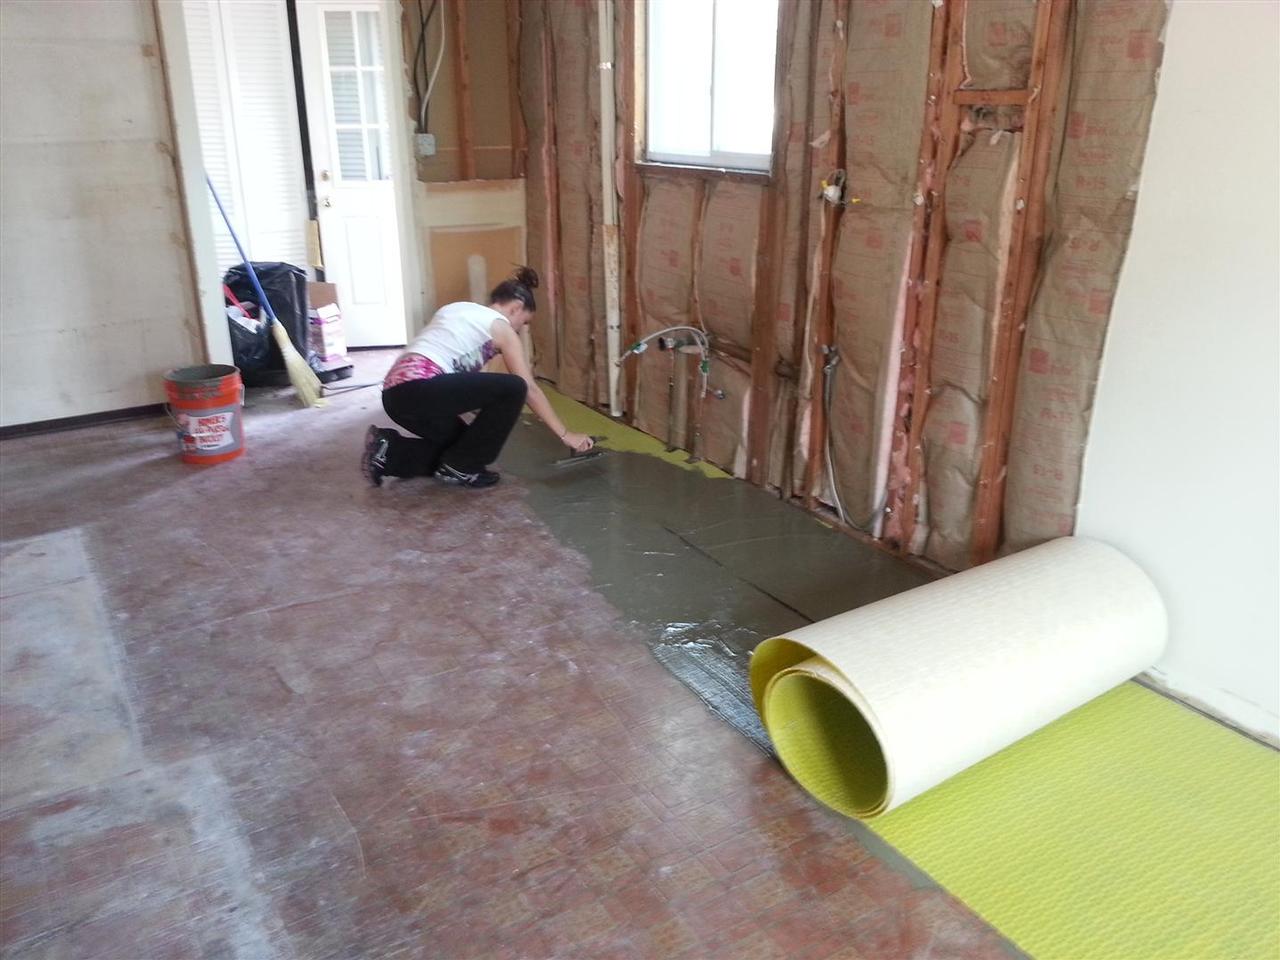
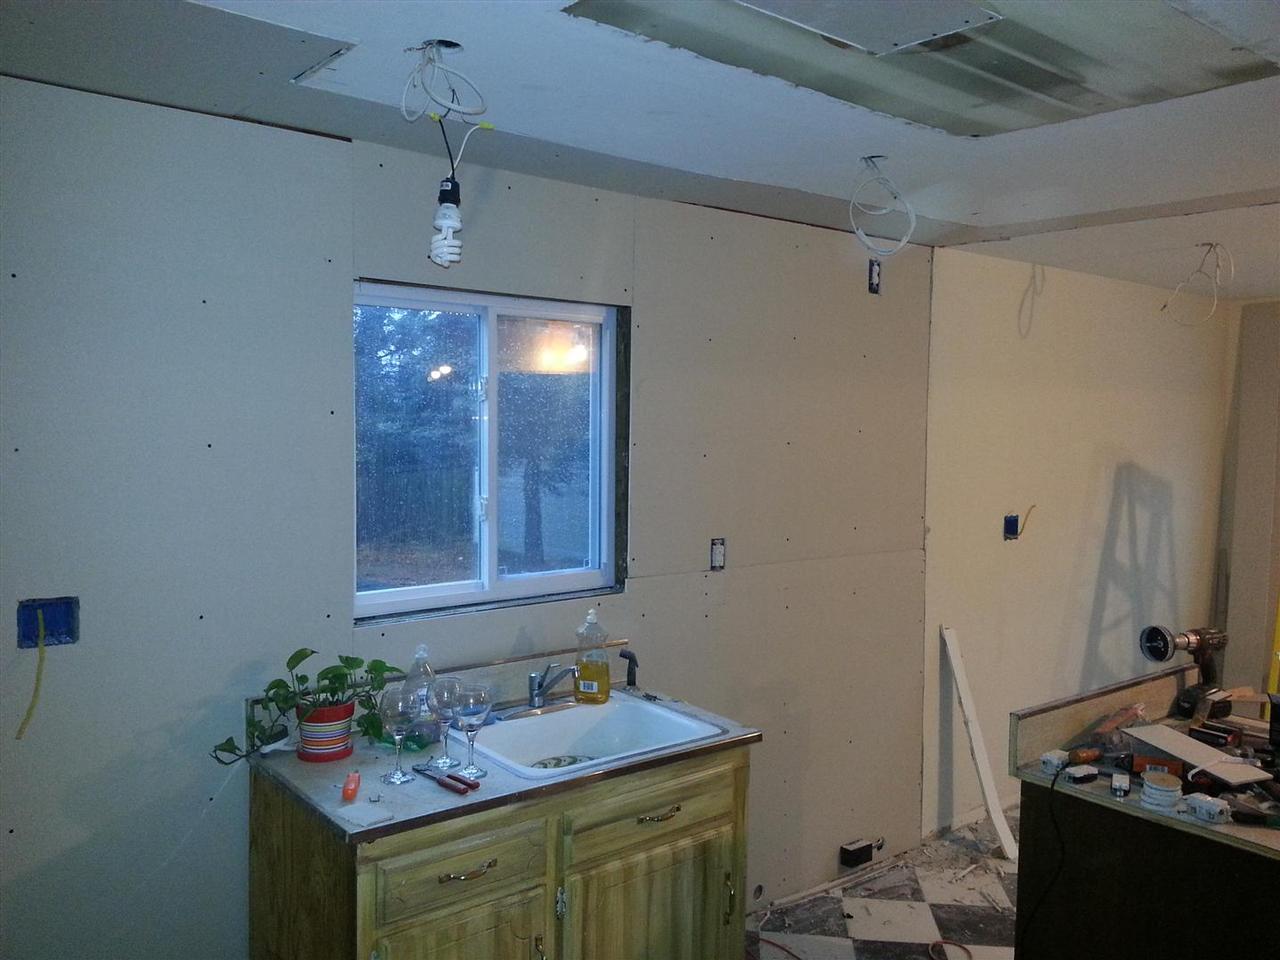
(12/03/2012)

(12/03/2012)

(12/04/2012)

(12/06/2012)

(12/06/2012)

(12/06/2012)

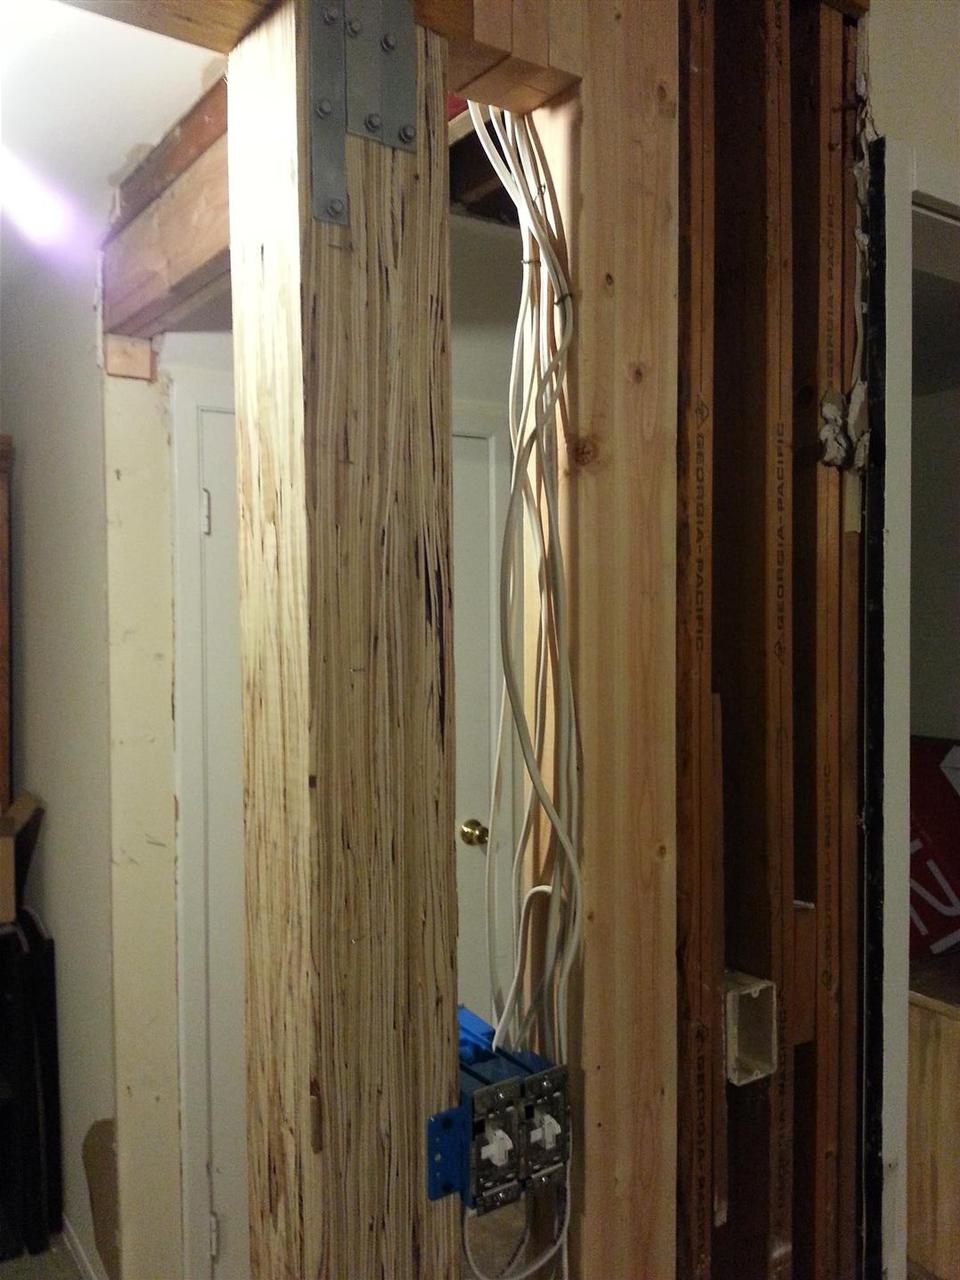
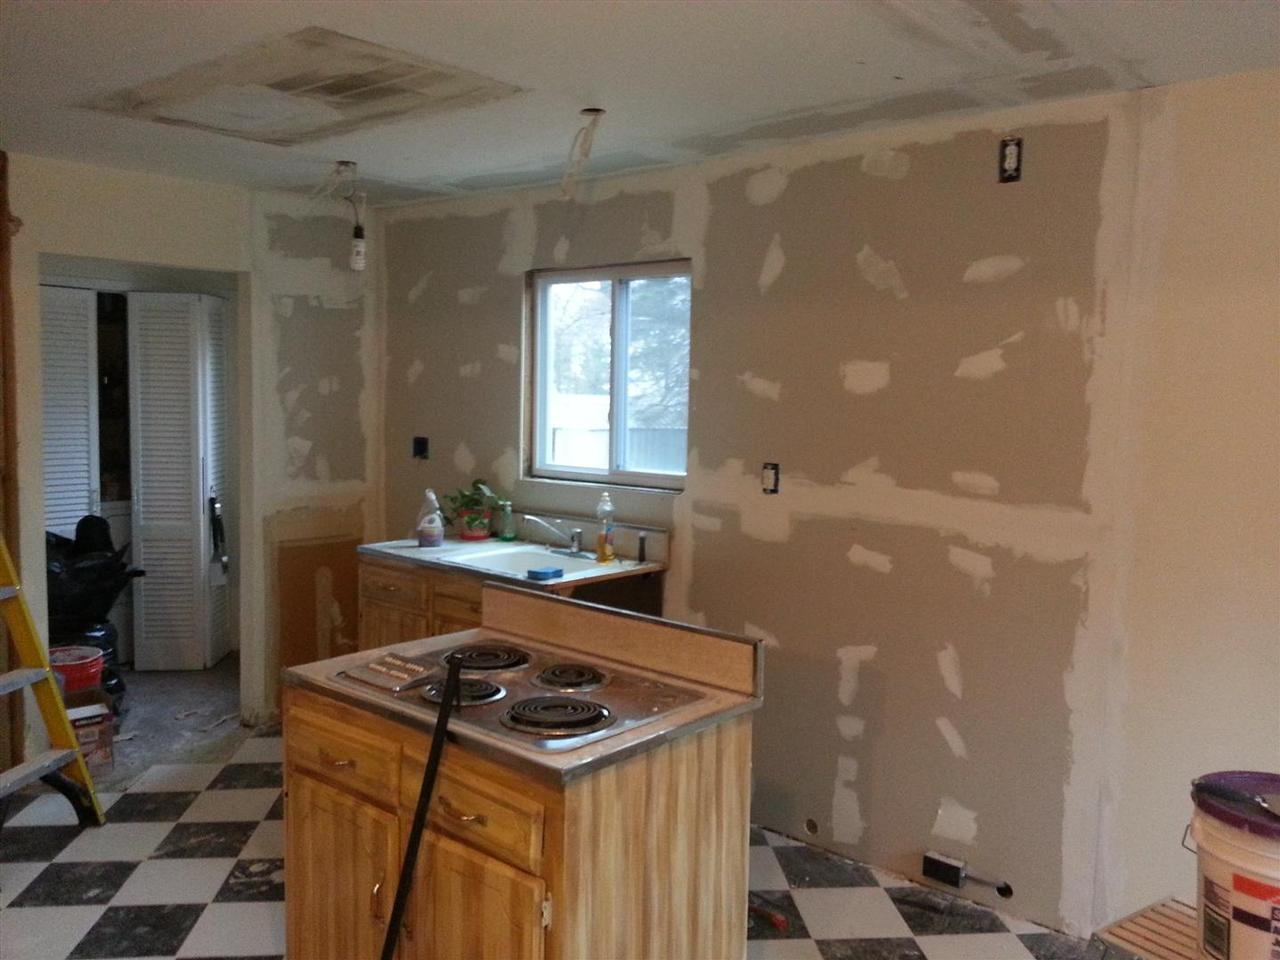
(12/10/2012)

(12/10/2012)

(12/10/2012)

(12/10/2012)

(12/11/2012)

(12/13/2012)

(12/16/2012)
Continue on with Kitchen Renovation Part 2
|