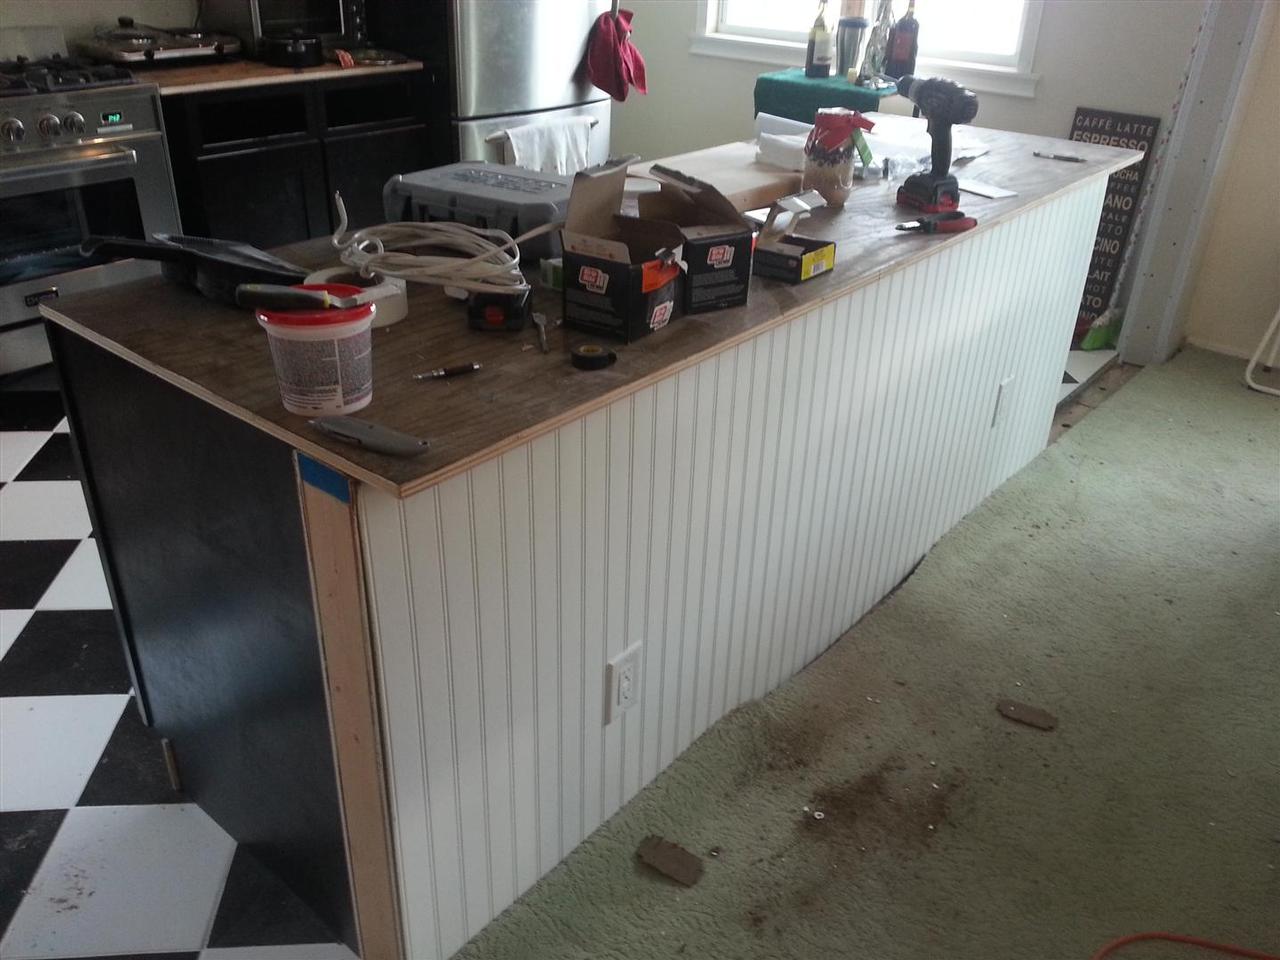
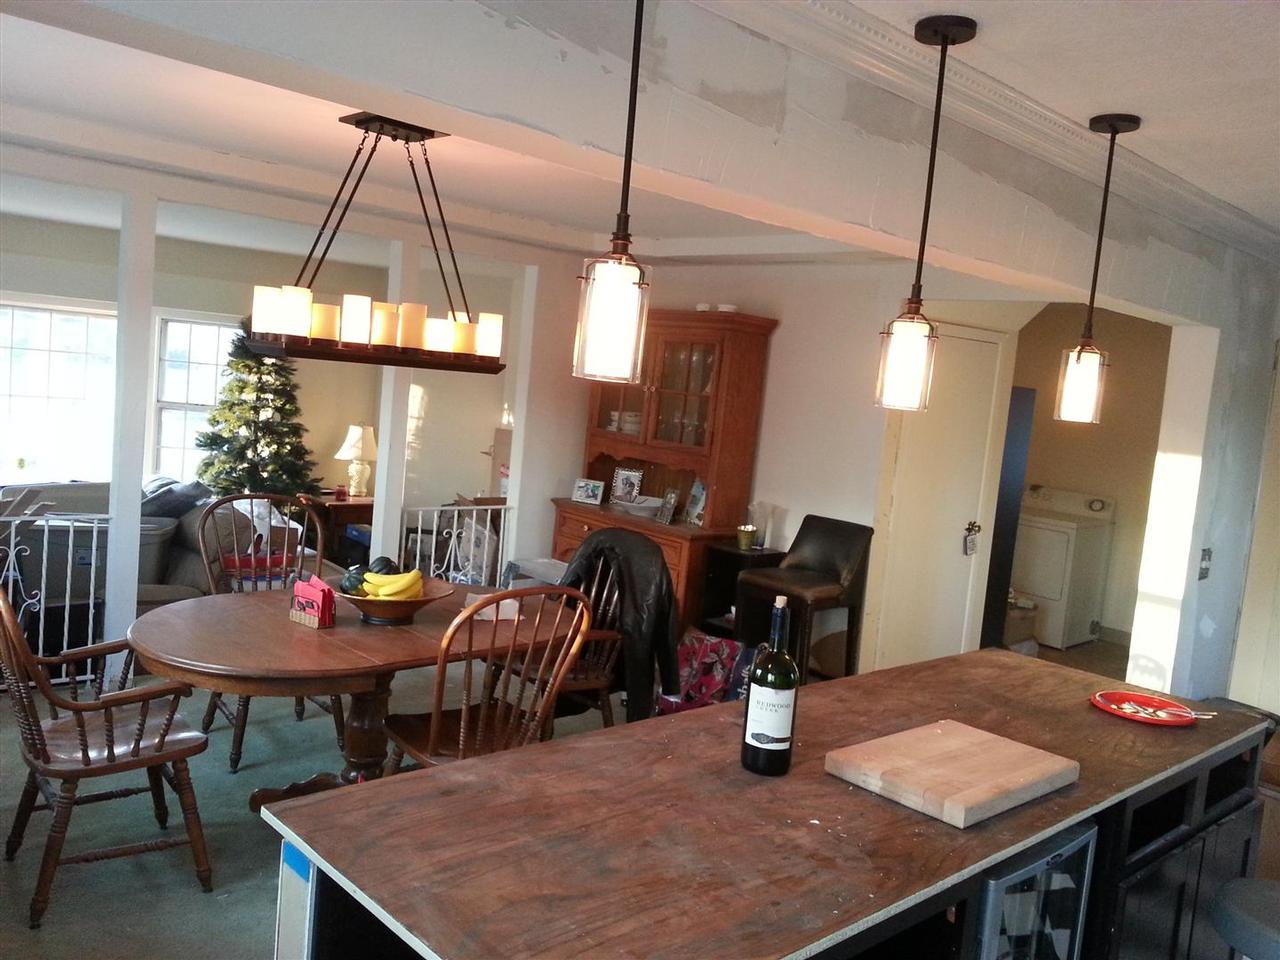
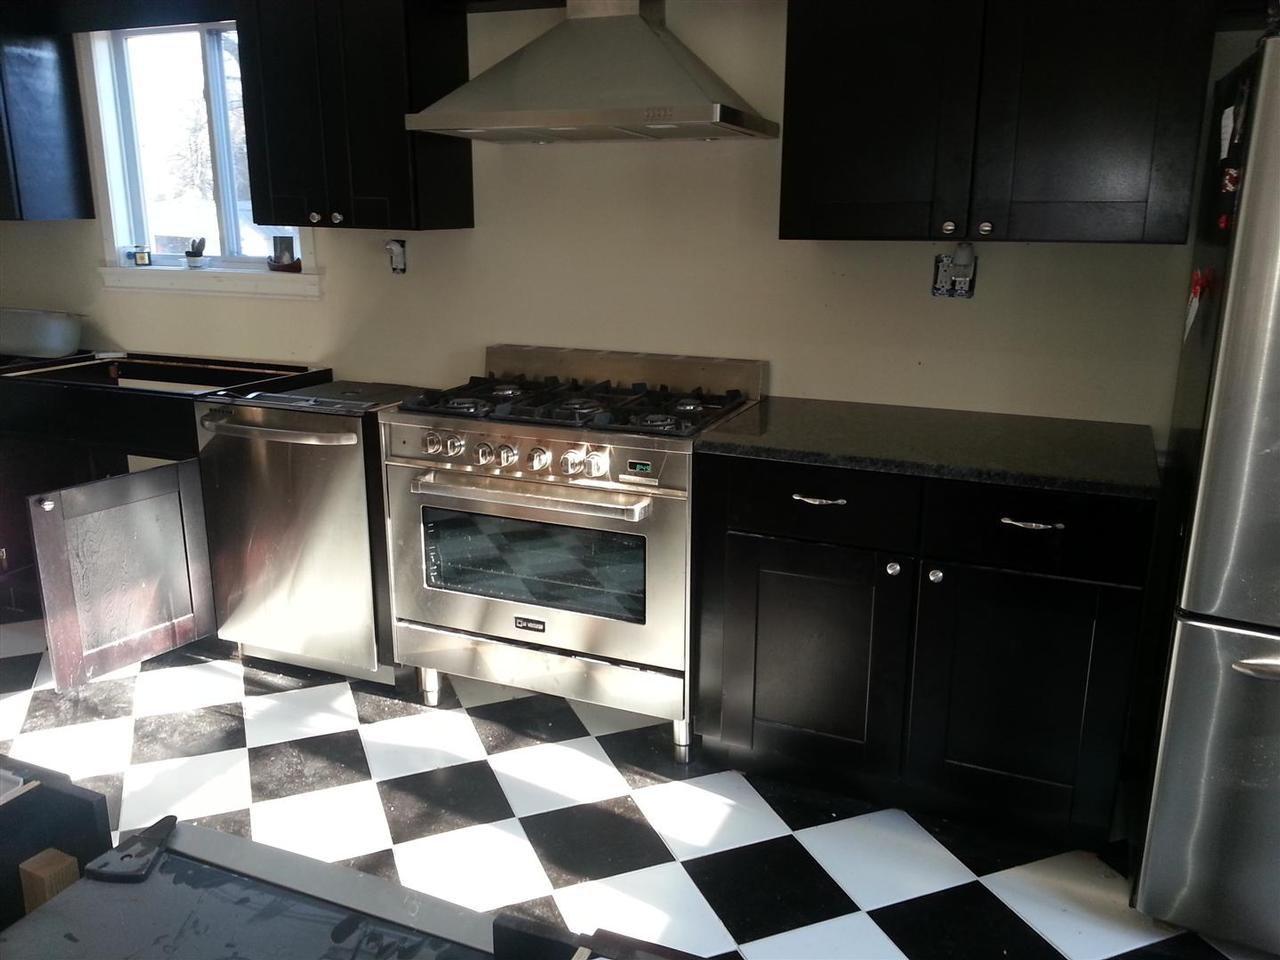
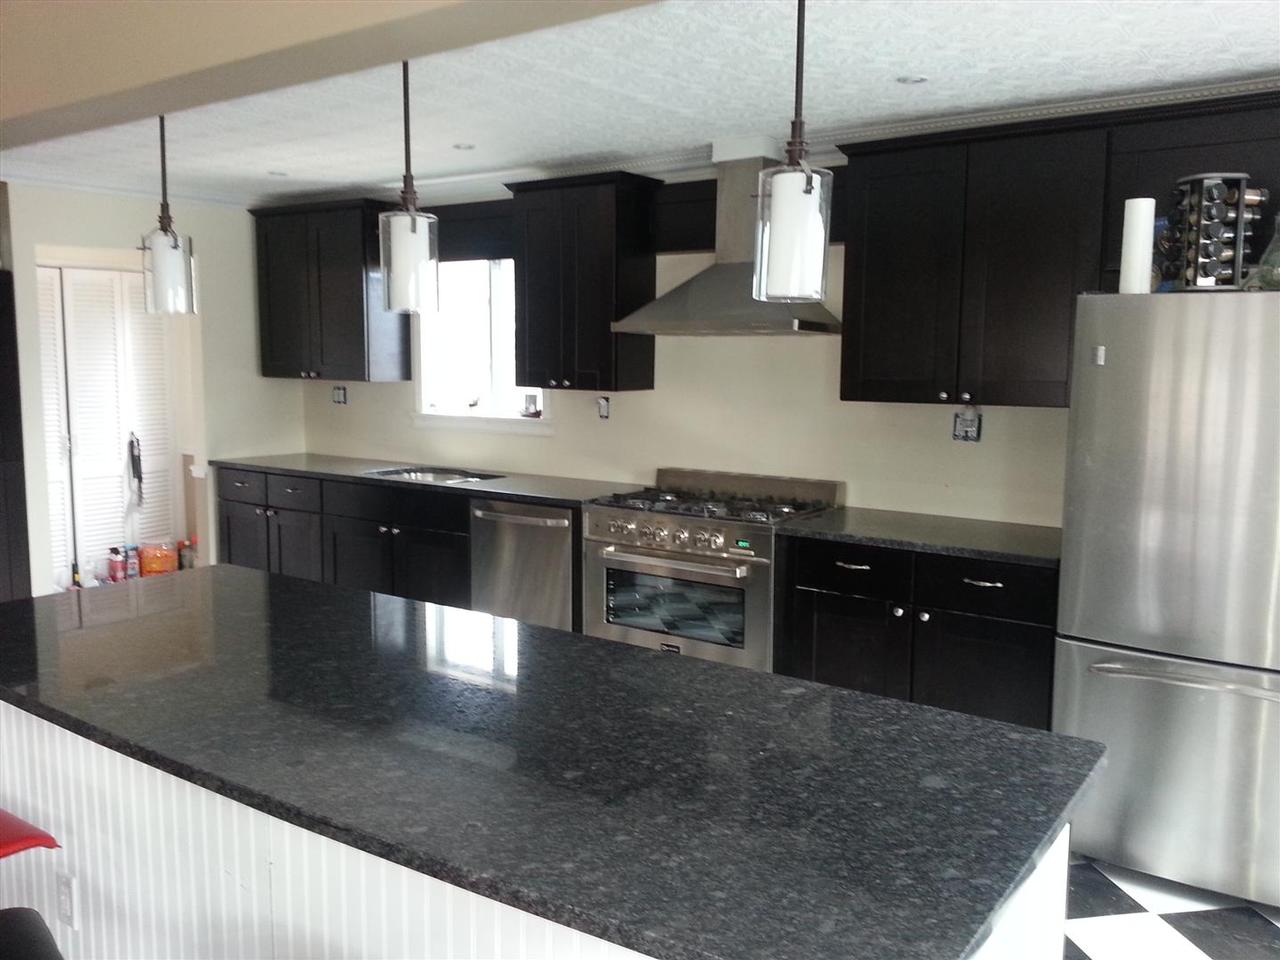
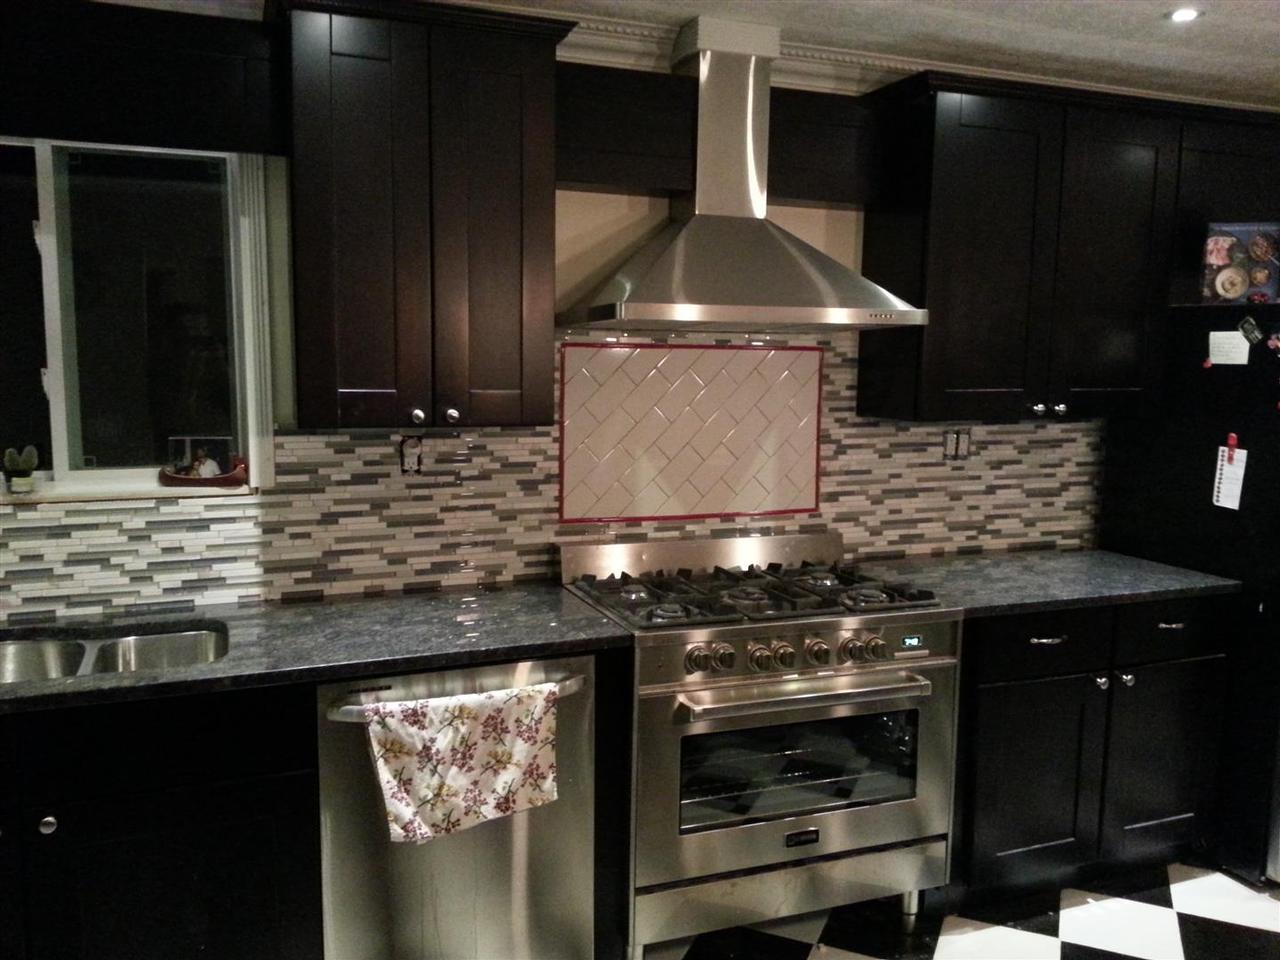
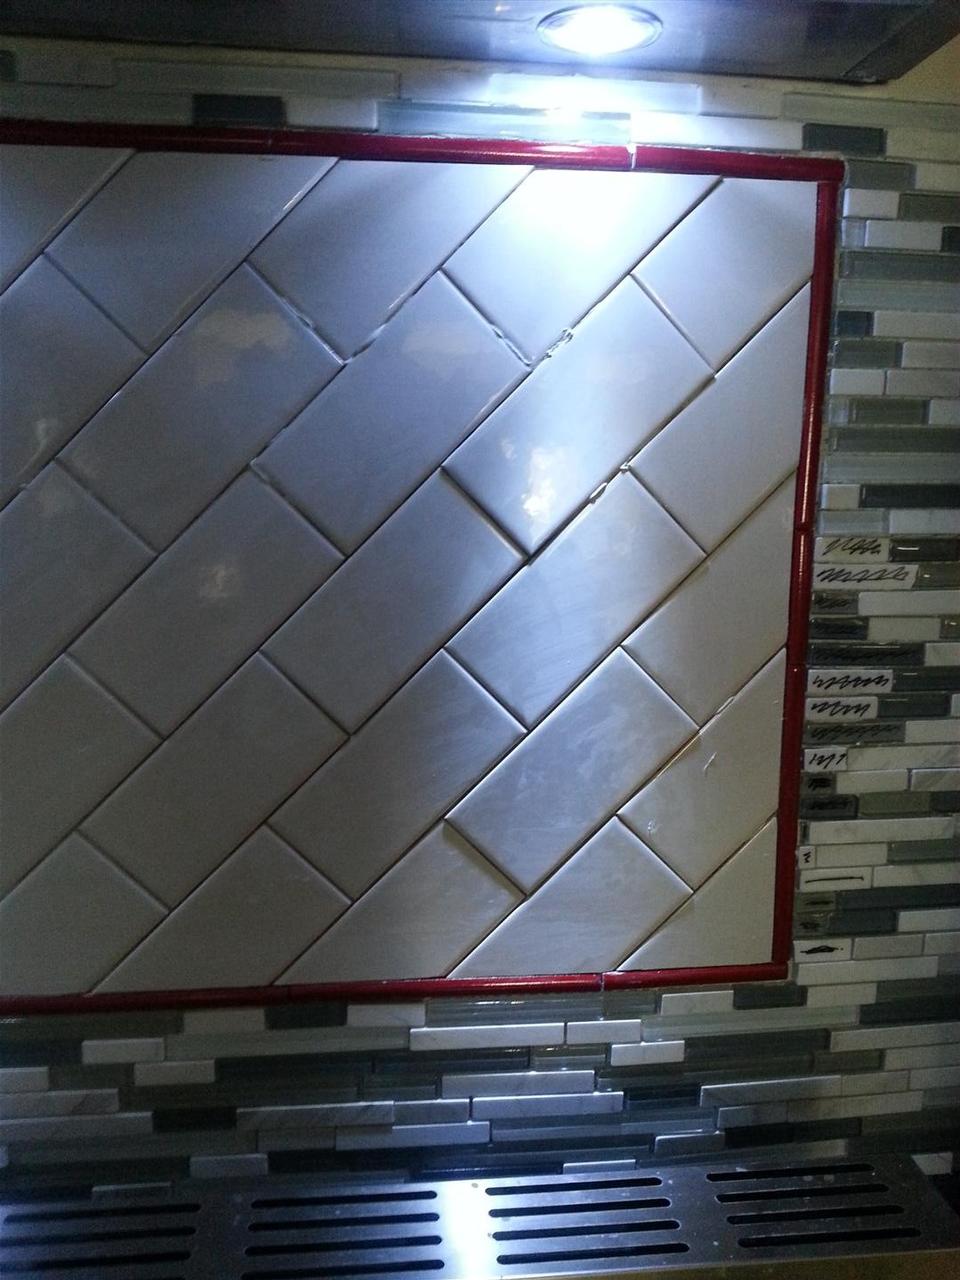
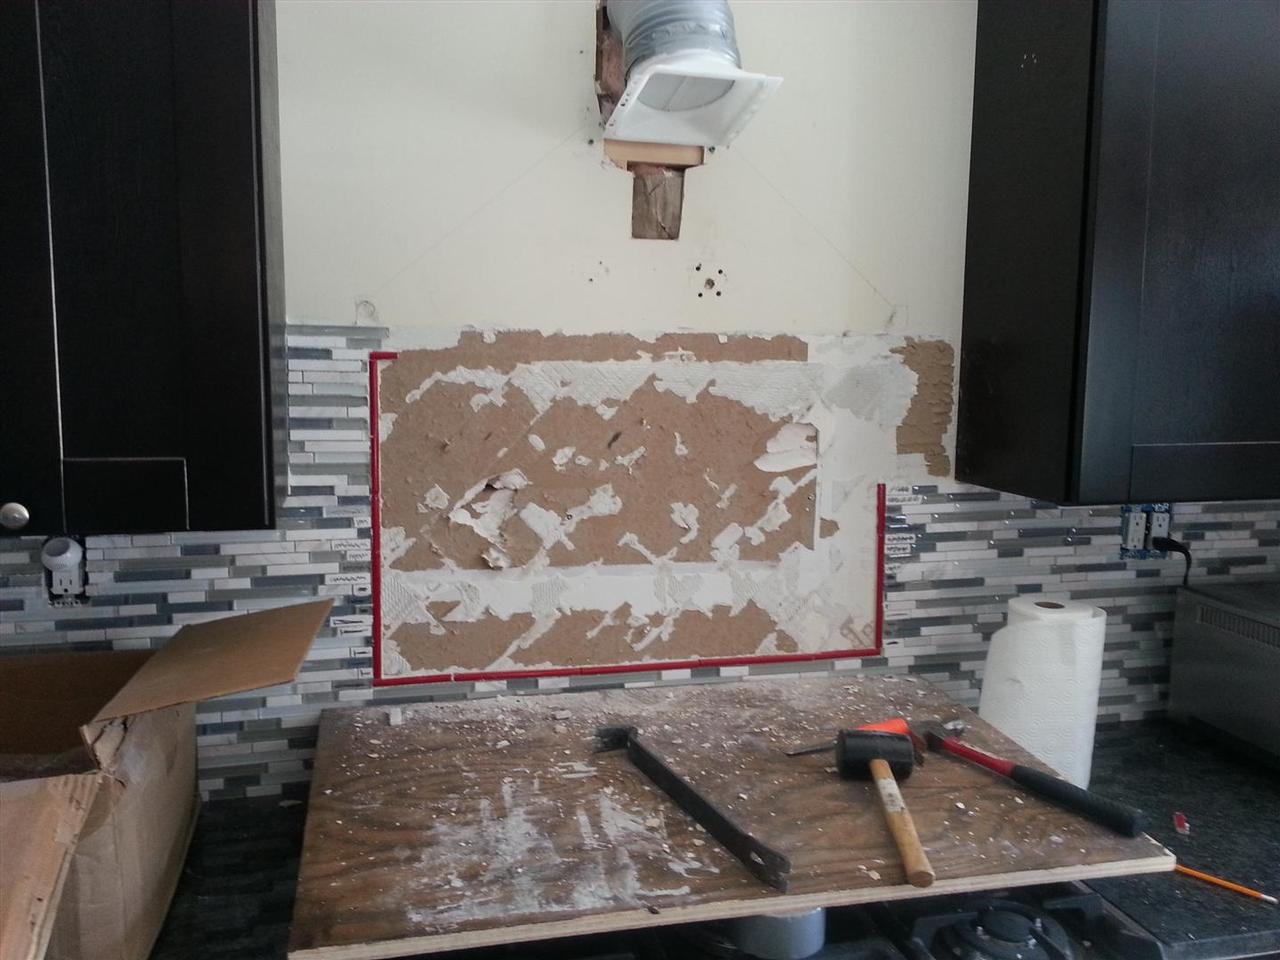
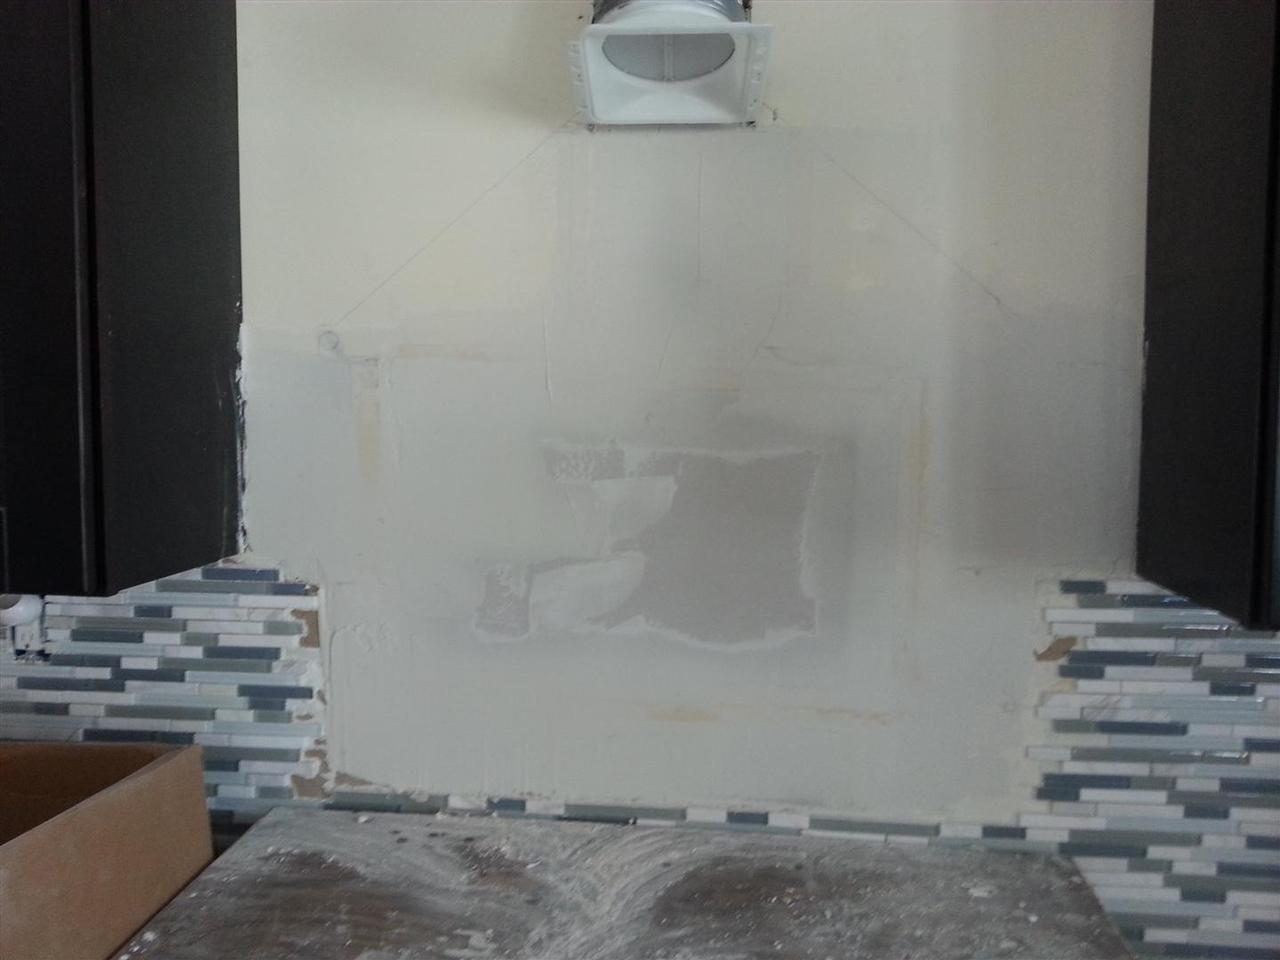
We have finally turned a corner with the kitchen reno, we are decidedly into construction rather than destruction. The major stuff is done, and we are starting the process of turning an empty unfinished room back into a kitchen.
See our previous work at Kitchen Renovation Part 1

(12/16/2012)

(12/17/2012)

(12/18/2012)

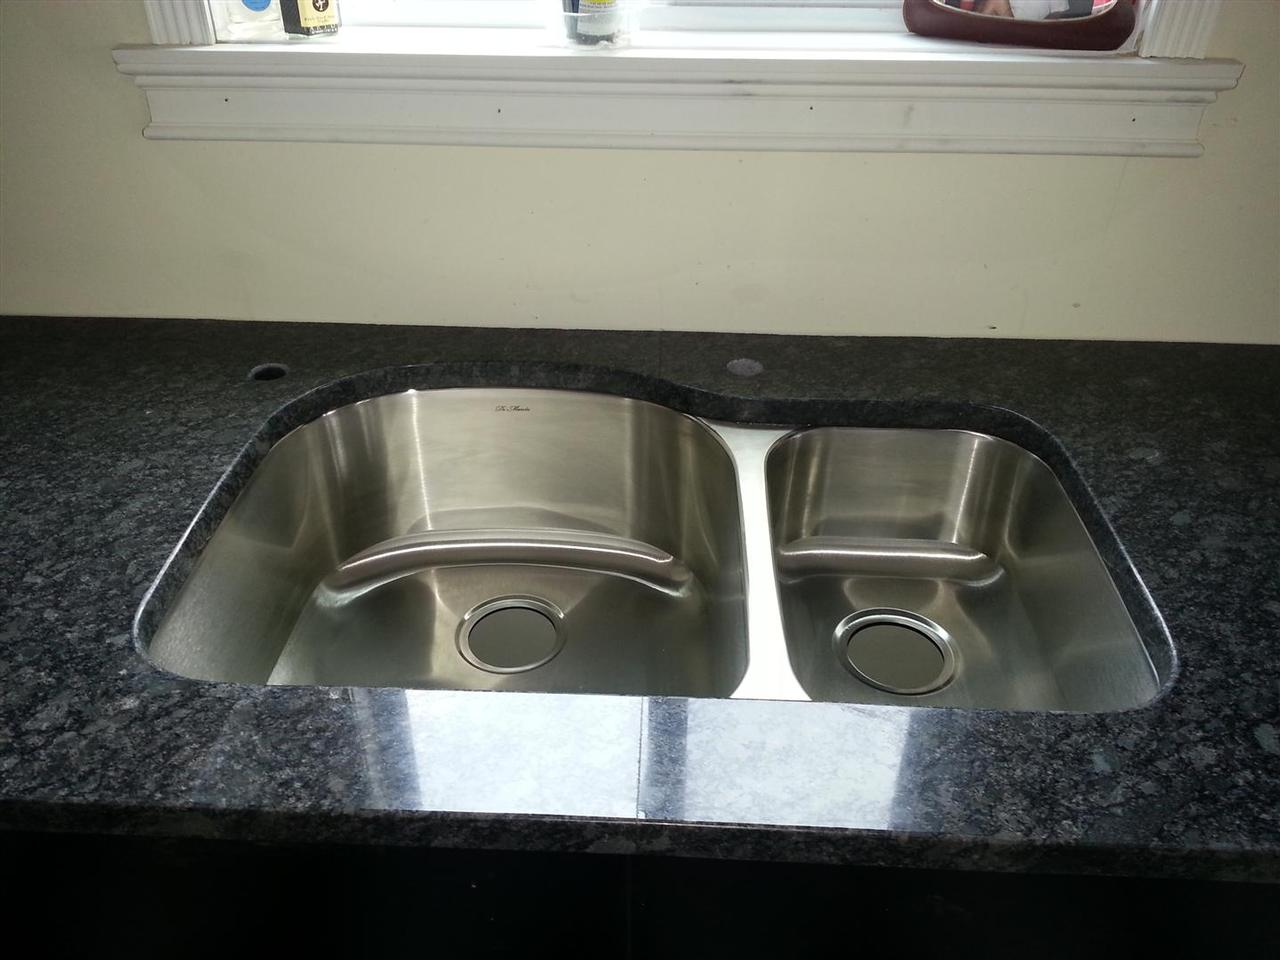
(12/19/2012)

(12/19/2012)

(12/21/2012)

(12/21/2012)

(12/23/2012)

(12/23/2012)

(12/23/2012)

(12/23/2012)

(12/23/2012)

(12/26/2012)

(01/01/2013)

(01/01/2013)

(01/02/2013)

(01/02/2013)

(01/02/2013)

(01/07/2013)

(01/22/2013)

(01/22/2013)

(01/22/2013)

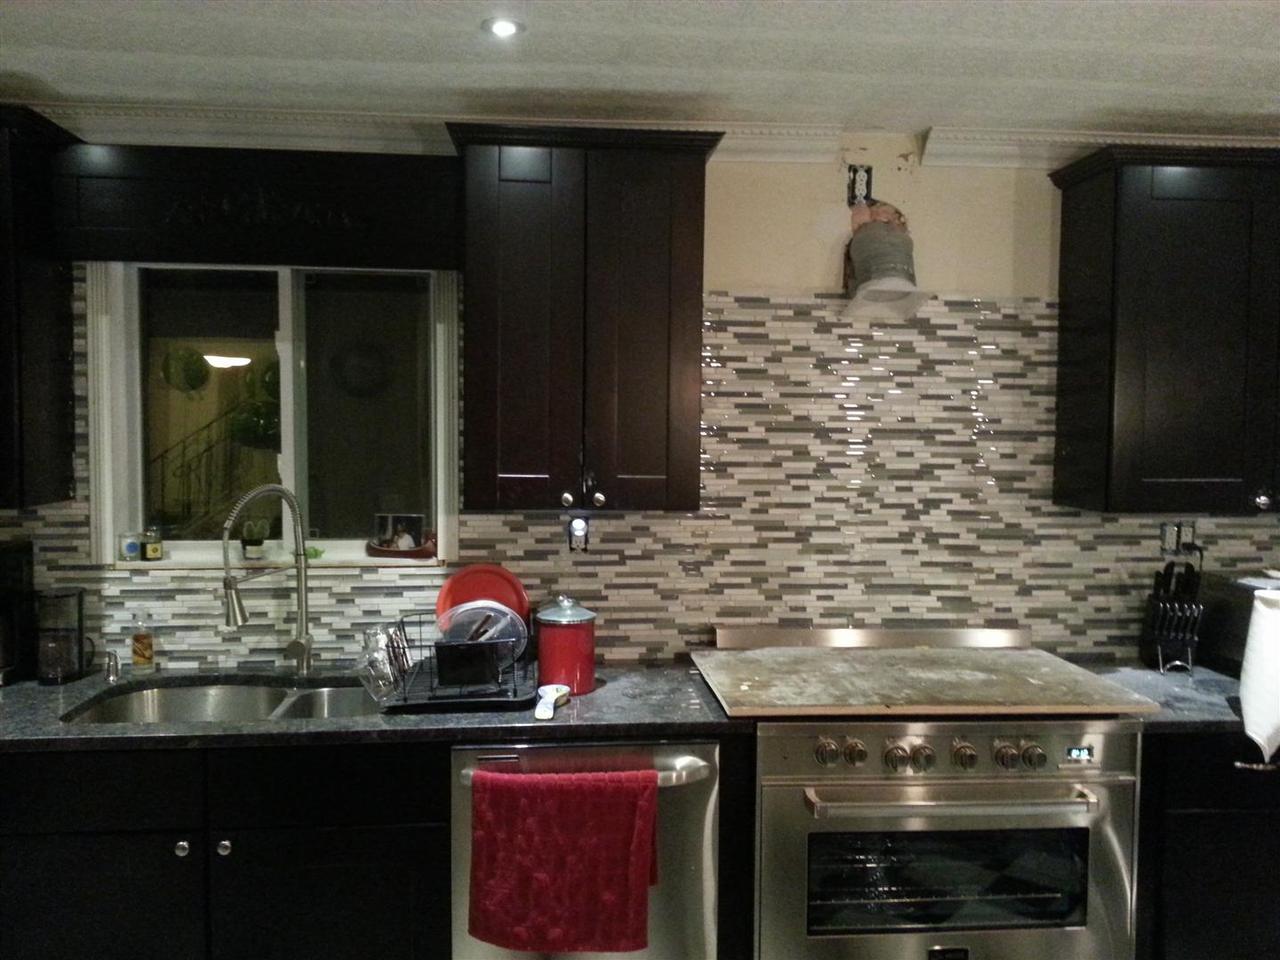
(03/19/2013)

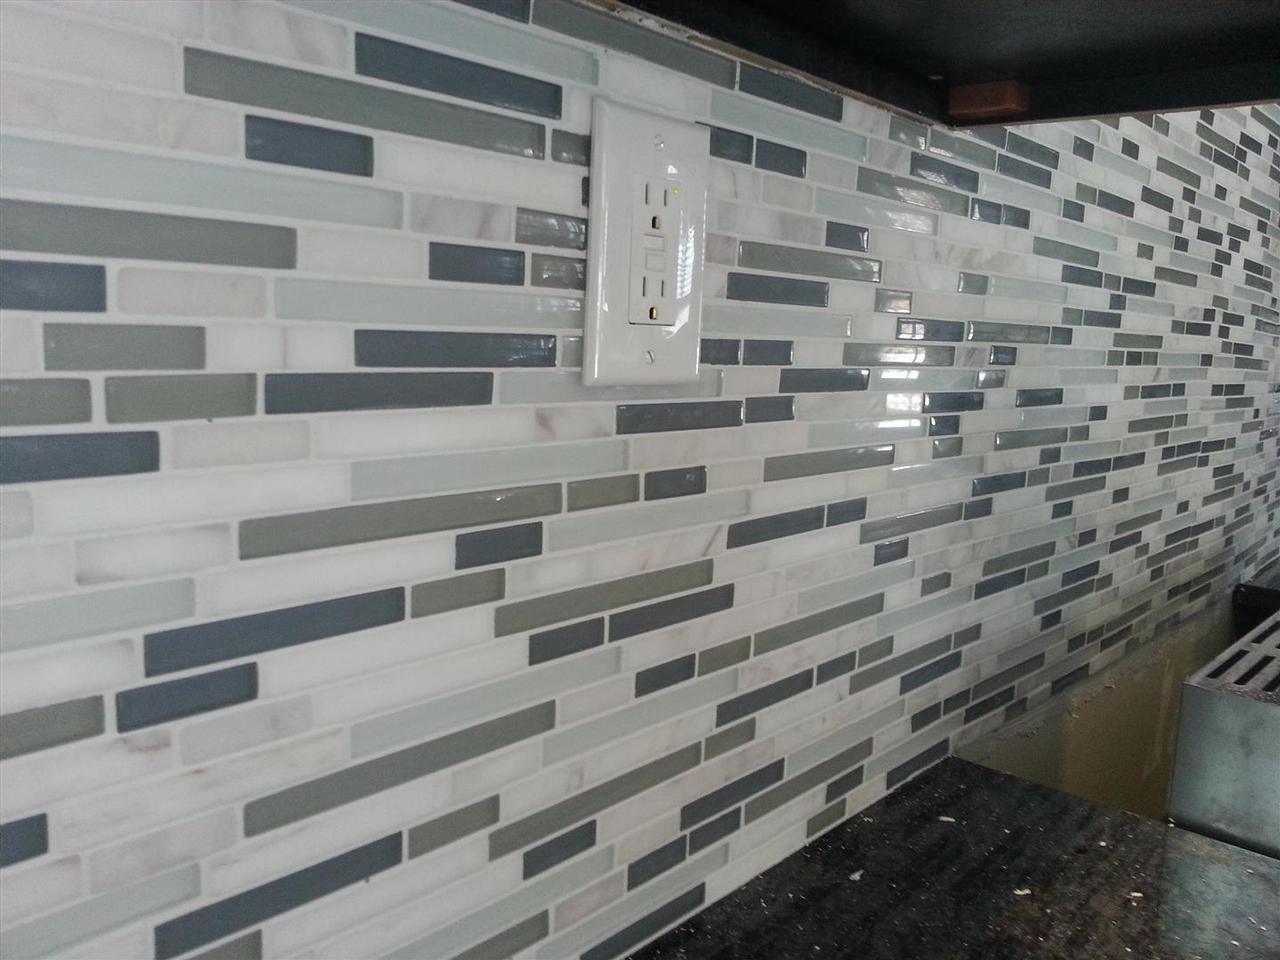
(03/20/2013)

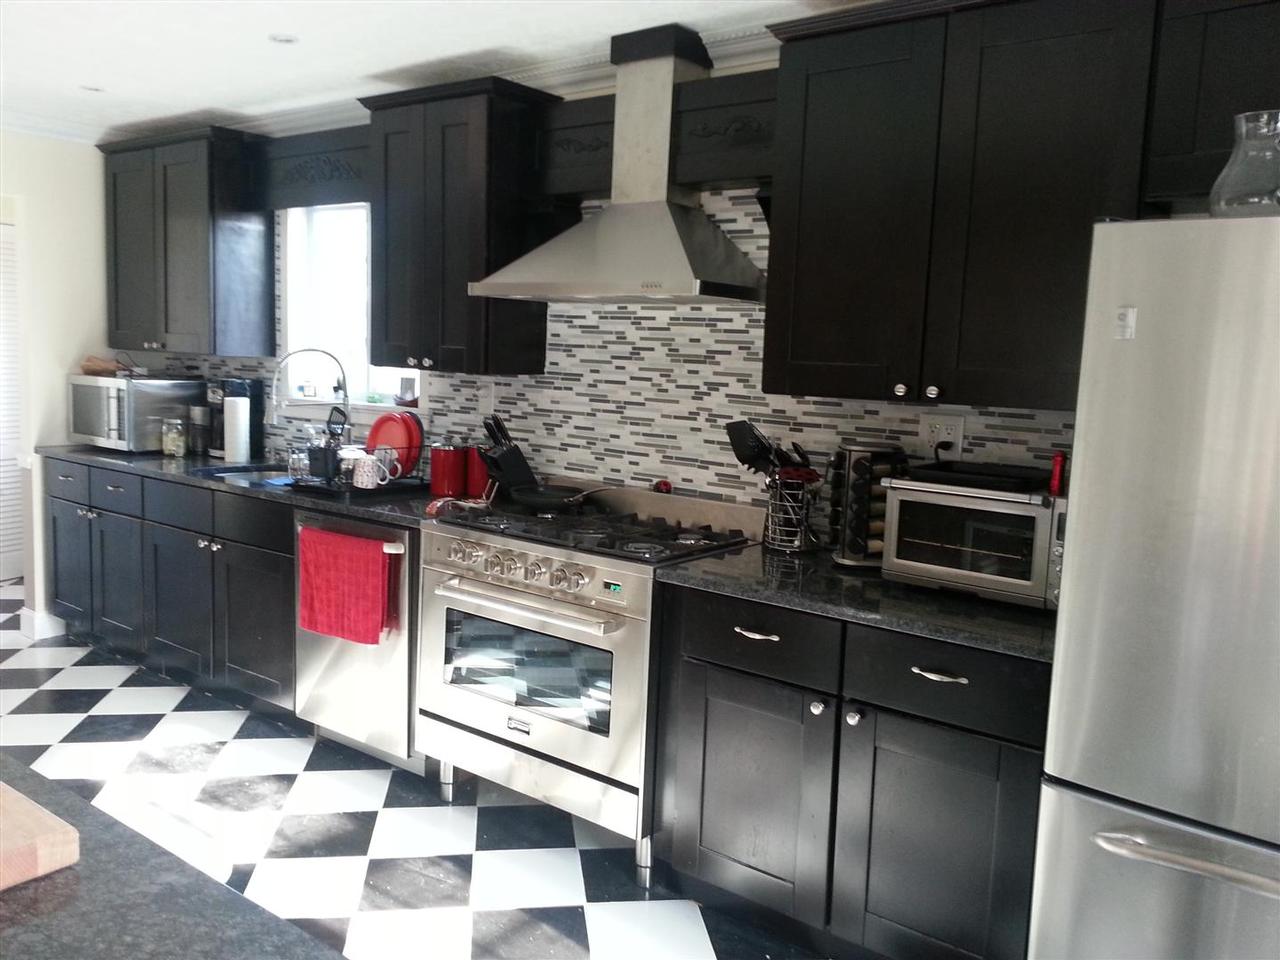
(03/20/2013)

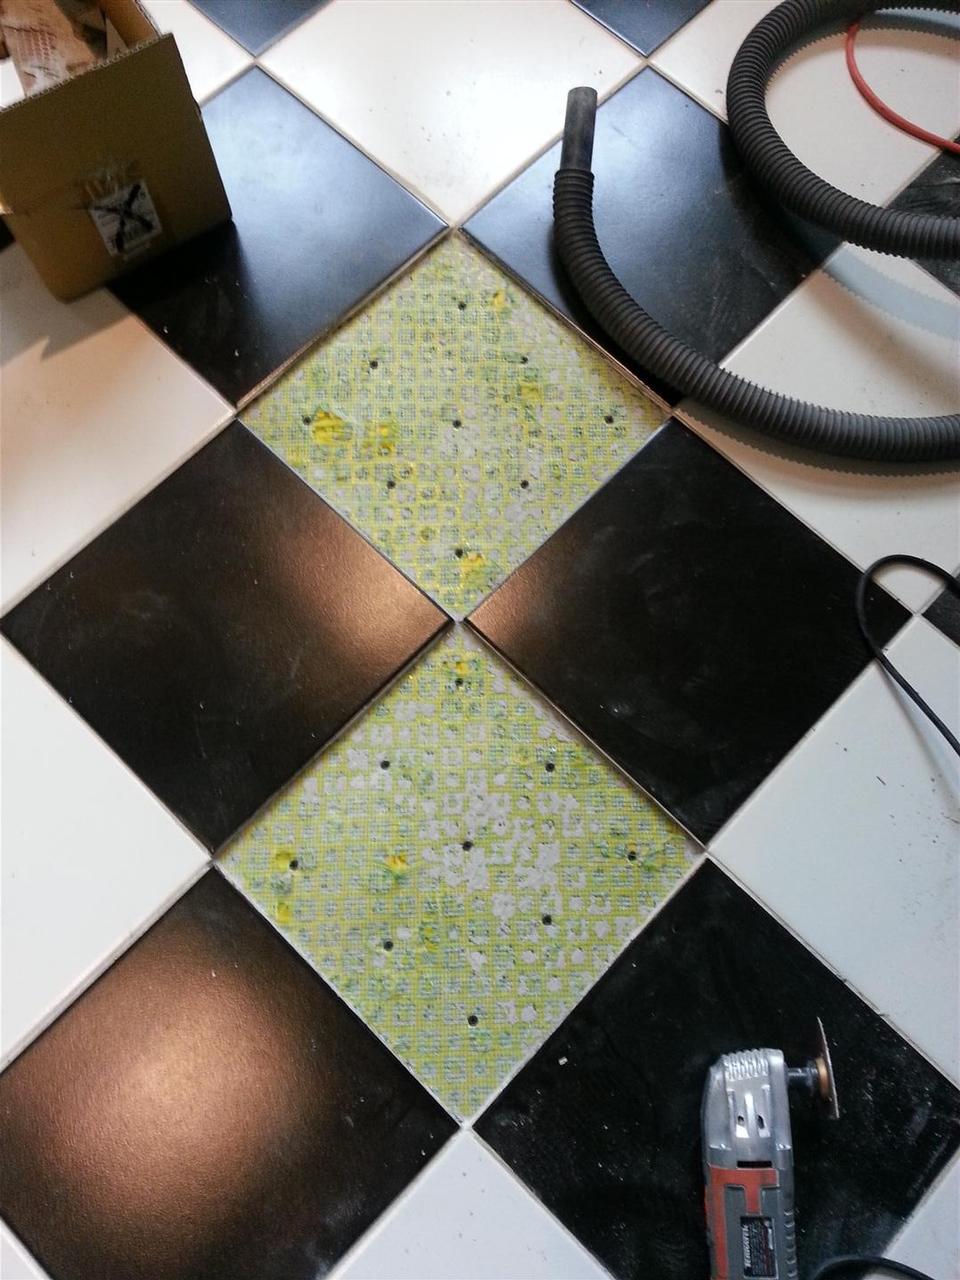
(03/20/2013)

(03/20/2013)

(03/20/2013)

(03/20/2013)

(03/20/2013)

(03/21/2013)

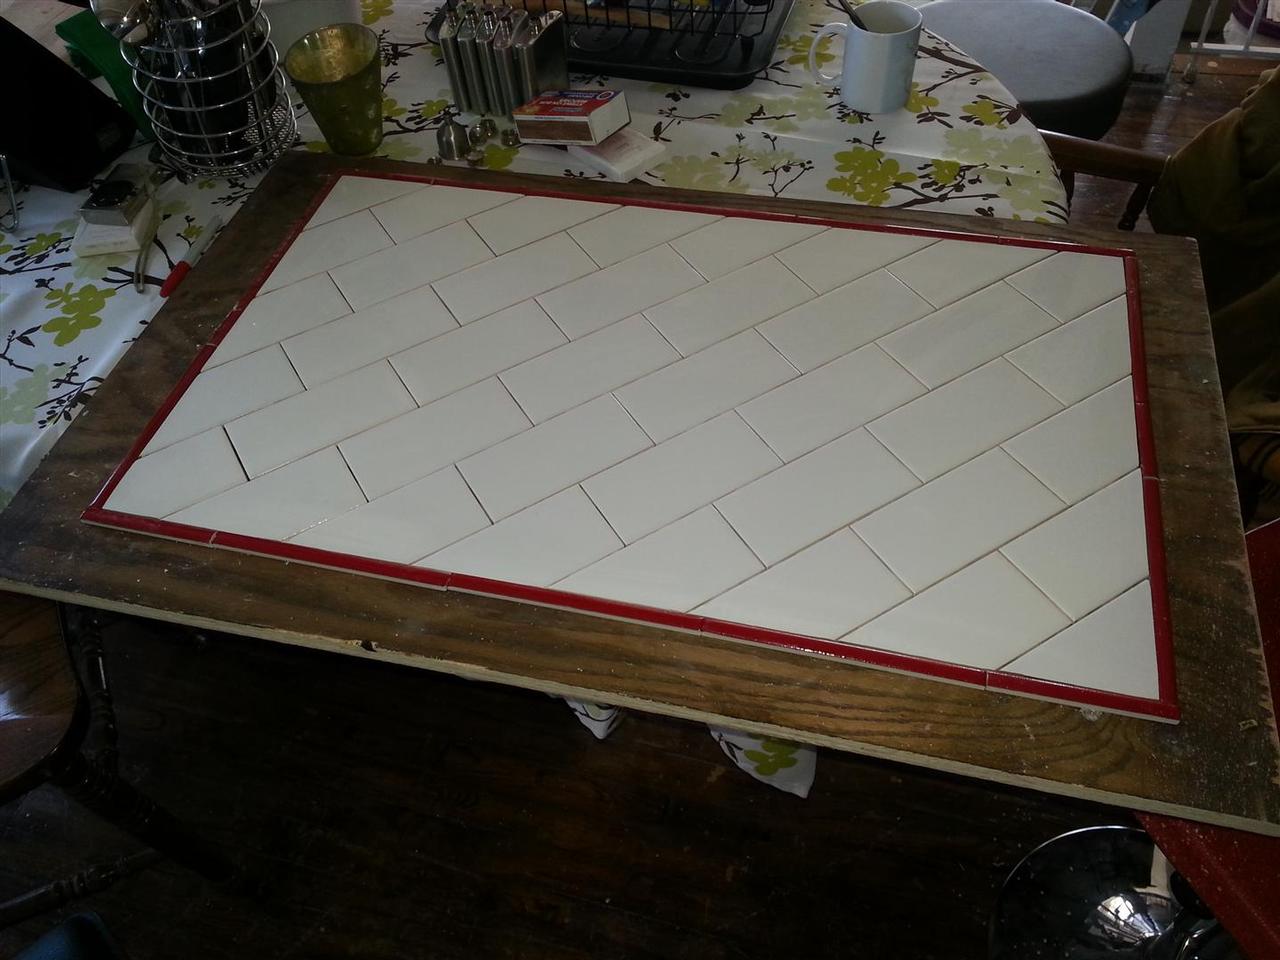
(03/23/2013)

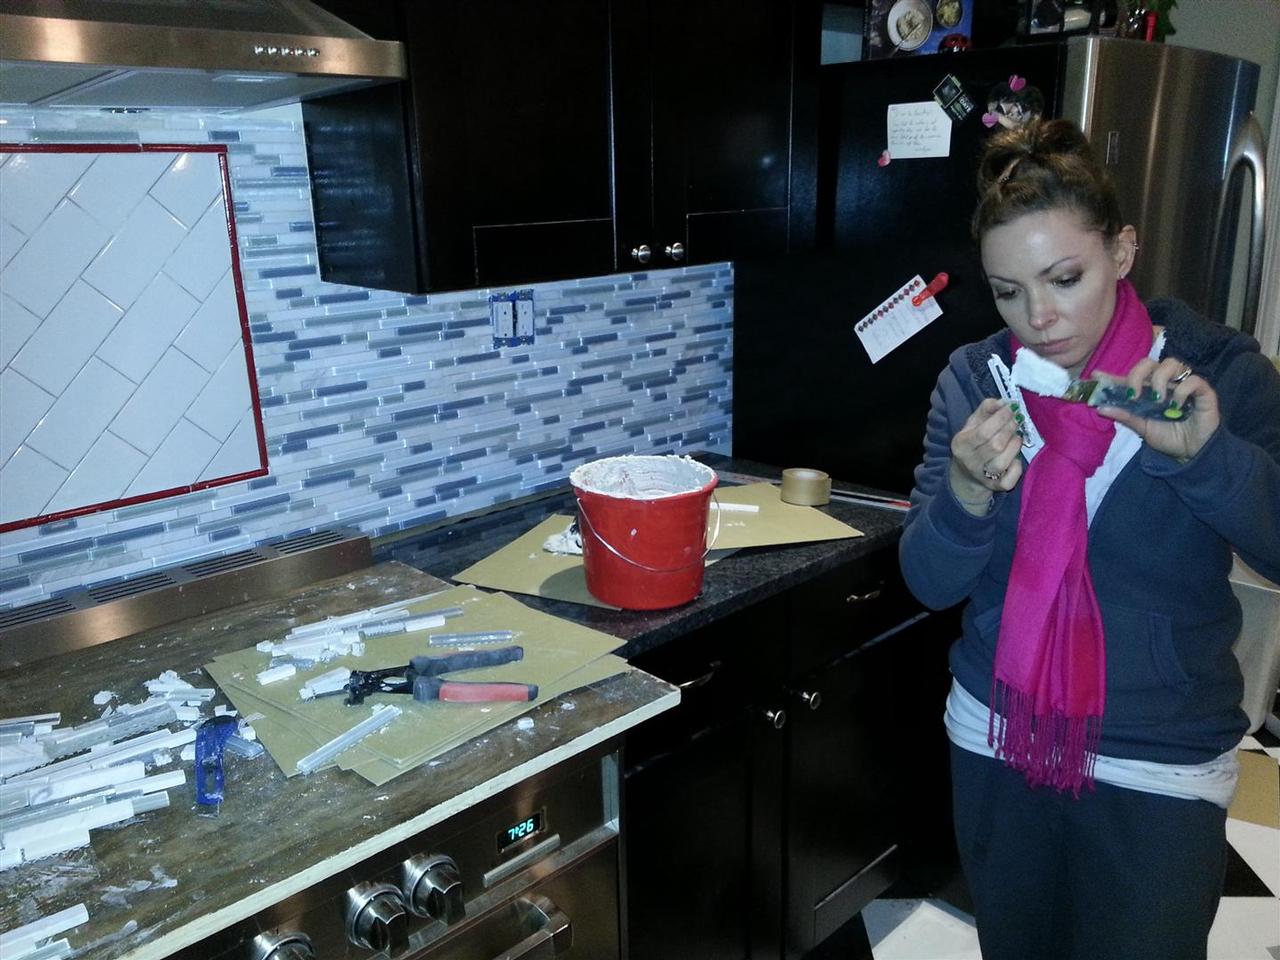
(03/23/2013)

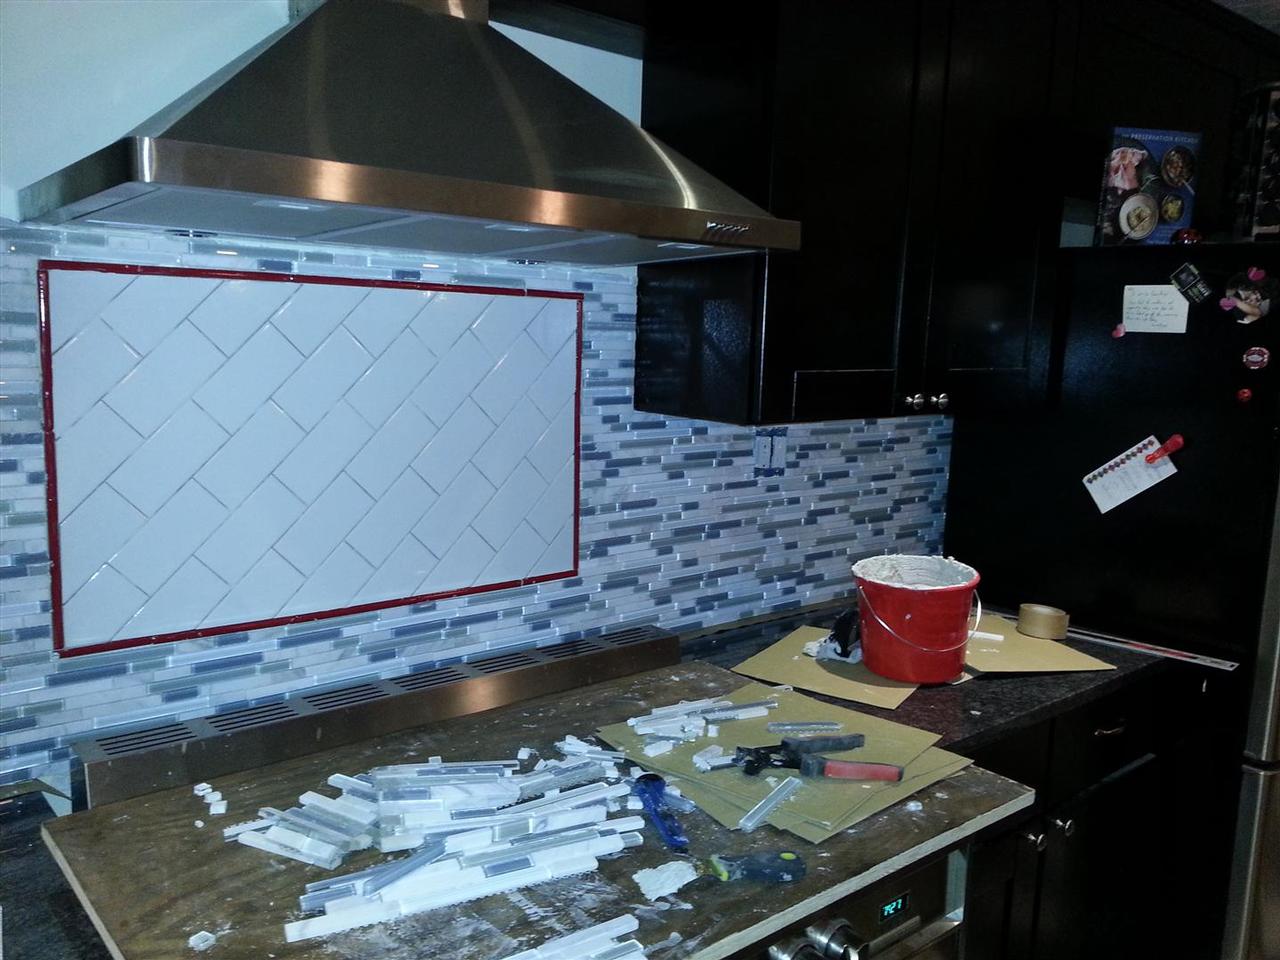
(03/23/2013)

(03/28/2013)

(03/29/2013)

(04/07/2013)

(04/08/2013)

(06/03/2013)

(06/03/2013)

(06/03/2013)
See our previous work at Kitchen Renovation Part 1
|