about bad renovations - all the bad renovations - latest bad updates - bad feedback - good people

our bad renovations:

Move in Condition
Master Bedroom
The Den
Half Bath (Downstairs)
Pointed Arch Destruction
Garage / Workshop
Hallway Facelift
New Windows
Load Bearing Beam
Kitchen Renovation Part 1
Kitchen Renovation Part 2
Dining Room
Basement
Pool Renovation
Dining Room Table
Formal Living Room
Nursery
Electrical Rewiring
Bedrooms
Air Conditioning / Heat Pumps
Front Porch
Outdoor Living
Landscaping


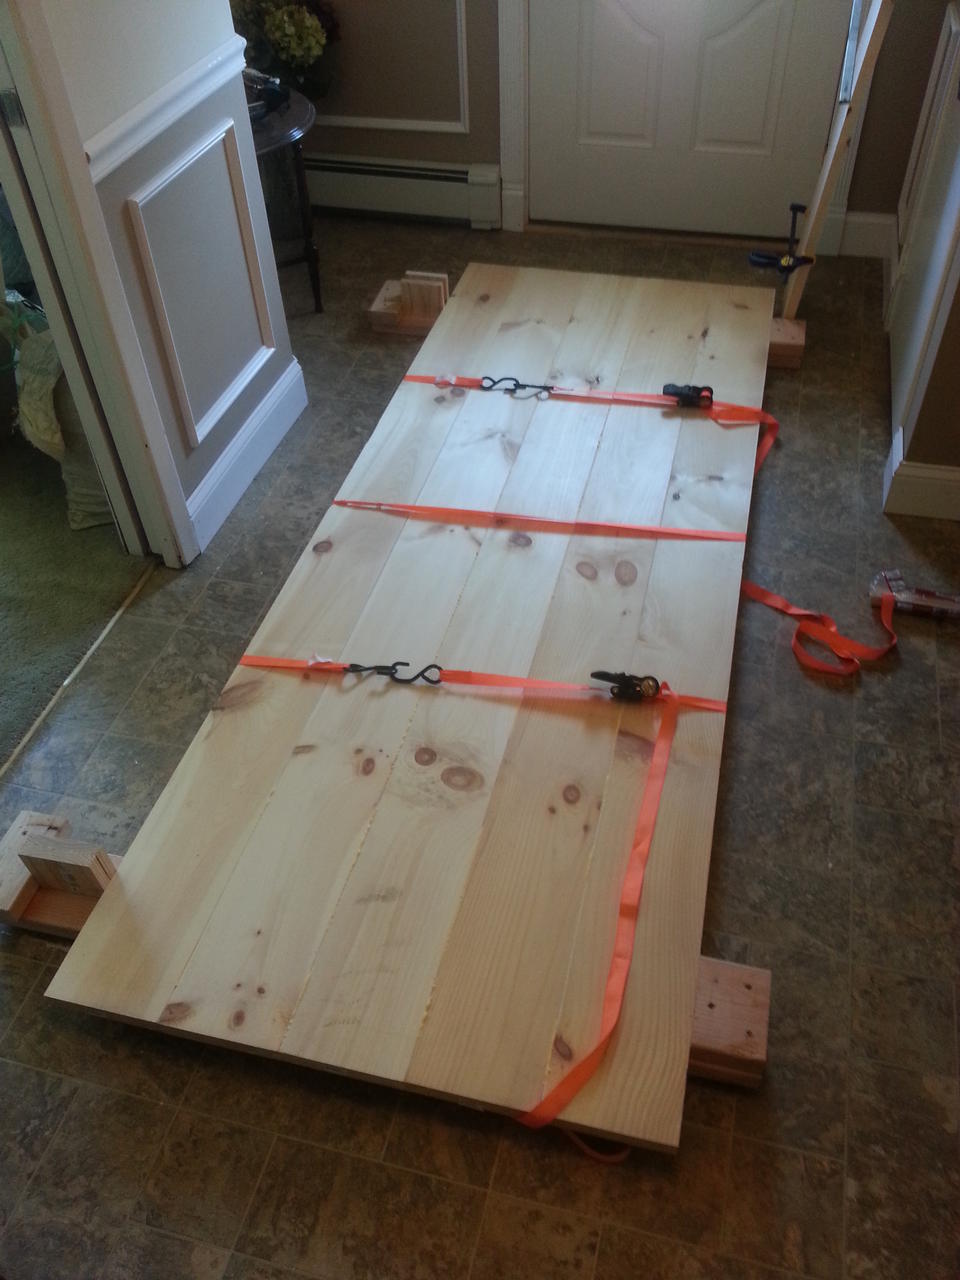
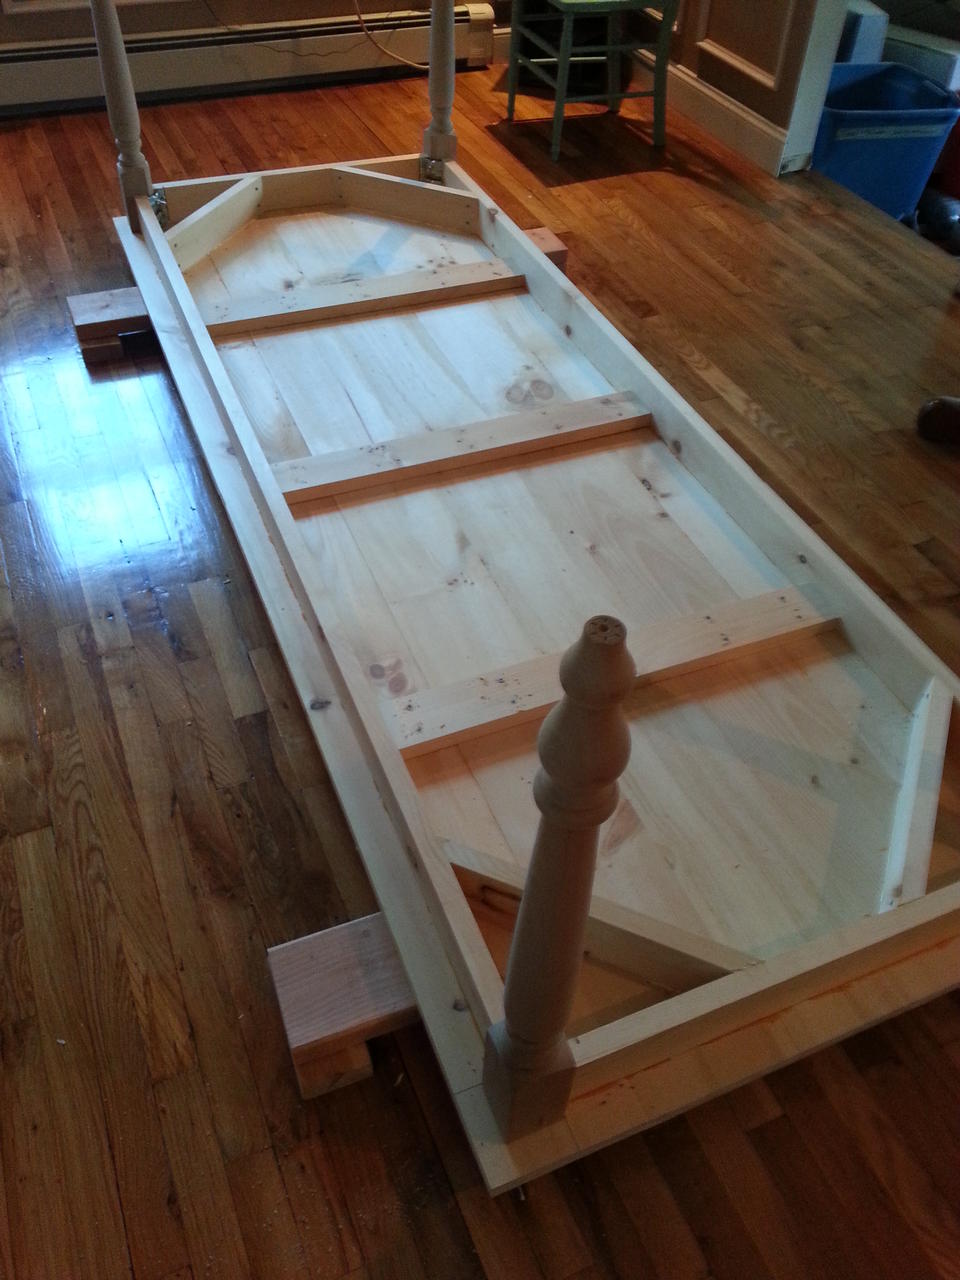
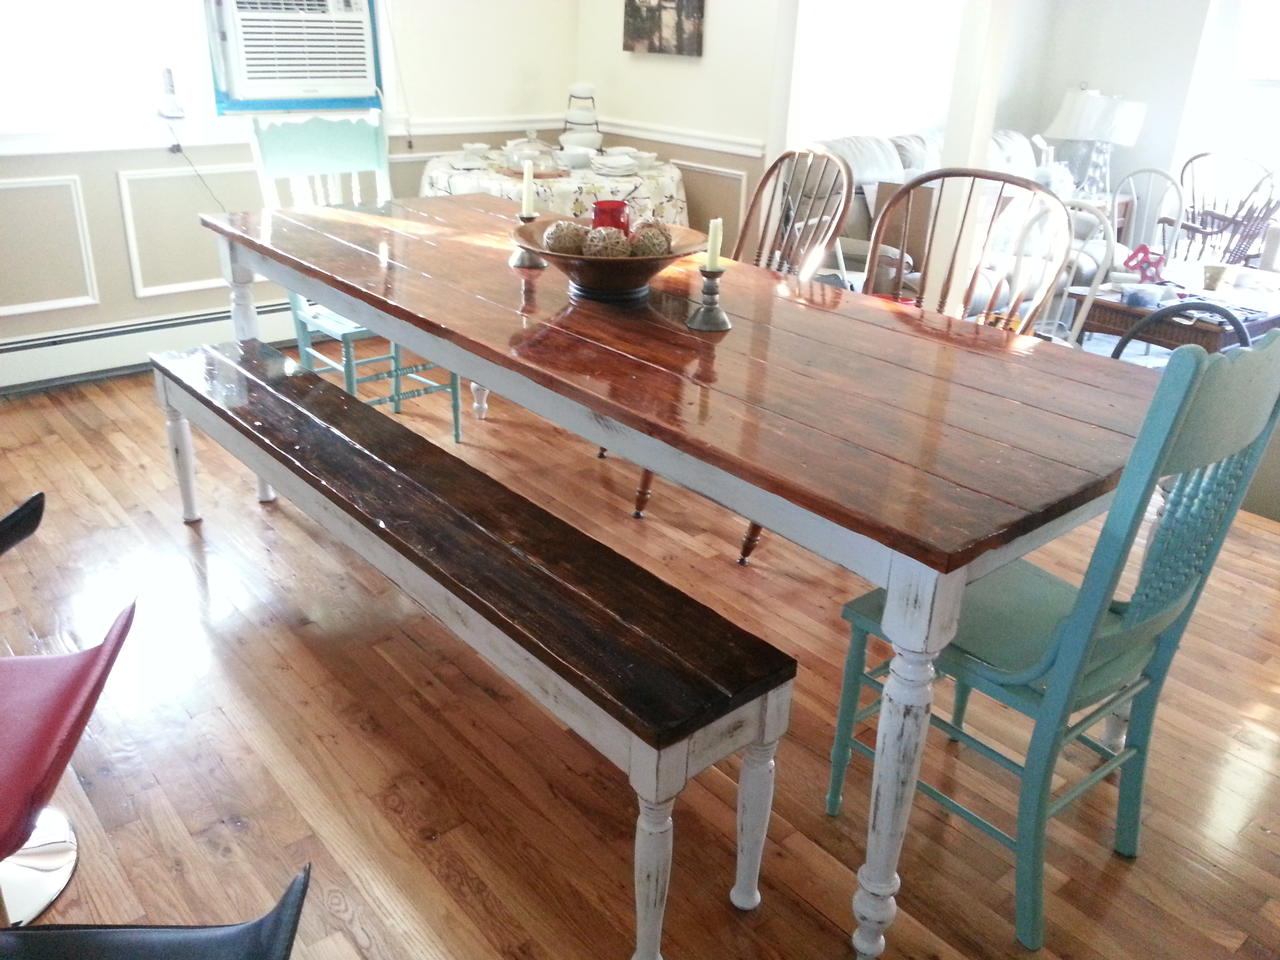
As Lauren and my second anniversary approaches, we deicded our gift to each other would be a new dining table. We fell in love with an antique Farmhouse style table and bench in an antique store out east in Greenport. We decided to take a shot at recreating the look and feel ourselves.

291: After not one, but two trips to Lowes in the same day, we finally found enough 5/4 pine for the table and bench.  We also have the spindles for the table and bench.

After not one, but two trips to Lowes in the same day, we finally found enough 5/4 pine for the table and bench. We also have the spindles for the table and bench. (07/15/2013)

292: This was my excuse to pick up a new biscuit joiner from harbor freight, as I don't plan on cutting enough biscuits in my lifetime to justify spending $250 on a name brand.  We stepped in 6 inches and put a biscuit every 12 inches.

This was my excuse to pick up a new biscuit joiner from harbor freight, as I don't plan on cutting enough biscuits in my lifetime to justify spending $250 on a name brand. We stepped in 6 inches and put a biscuit every 12 inches. (07/15/2013)

293: Since the 36-1/4 inch table top was just slightly too wide for my 36 inch bar clamps, I had to create some makeshift clamps out of scap wood and shims.  The rachet straps really helped tighten up the gaps while the glue dried.

Since the 36-1/4 inch table top was just slightly too wide for my 36 inch bar clamps, I had to create some makeshift clamps out of scap wood and shims. The rachet straps really helped tighten up the gaps while the glue dried. (07/15/2013)

294: Here we have the built up table and bench tops.  In my haste, I forgot to bevel the edges of the boards on the bench, however the table has a nice 1/8 inch bevel between boards.

Here we have the built up table and bench tops. In my haste, I forgot to bevel the edges of the boards on the bench, however the table has a nice 1/8 inch bevel between boards. (07/16/2013)

295: We cut the frame to length, cut the channels for the metal leg brackets, and cut for biscuits all around.

We cut the frame to length, cut the channels for the metal leg brackets, and cut for biscuits all around. (07/16/2013)

296: The frame is glued.  Most of our pipe clamps were a little short on throat length, so we used some workout equipment instead.

The frame is glued. Most of our pipe clamps were a little short on throat length, so we used some workout equipment instead. (07/16/2013)

297: We attached the skirting and framework, pre drilled, glued and screwed.

We attached the skirting and framework, pre drilled, glued and screwed. (07/17/2013)

298: We used double corner braces for each leg, so that we could remove the legs for easy transportation should the occasion ever arise.

We used double corner braces for each leg, so that we could remove the legs for easy transportation should the occasion ever arise. (07/17/2013)

299: Fully constructed, ready for finishing.

Fully constructed, ready for finishing. (07/19/2013)

300: The top came out a little more orange than we wanted using the

The top came out a little more orange than we wanted using the "golden oak" stain, so I wiped on some espresso stain to darken it. After that we put on three coats of gloss poly. We also sanded the legs and frame, exposing the paint colors underneath, giving it an antiqued finish. (07/28/2013)

301: Here is the table and bench together.  Unfortunately I really missed the mark attempting to duplicate the stain on the bench, and the result is much darker.  I may sand it all down and try again one day, but for now, Ill use it as is.

Here is the table and bench together. Unfortunately I really missed the mark attempting to duplicate the stain on the bench, and the result is much darker. I may sand it all down and try again one day, but for now, Ill use it as is. (07/31/2013)

302: Here is a closeup of the antiquing we did on the table legs and frame.

Here is a closeup of the antiquing we did on the table legs and frame. (07/31/2013)

we love to get feedback, so here's your chance to tell us just how bad we did. chances are we already know just how bad it really is...

your name
your email
(only if you want a scathing response)
what's a matta'?
bad feedback
what's my name?
(Spam Control)

some insensitive jerkwads have said:

Lisa Larson said,
I know you soooo want to do the project all over again to make us a table and bench too!!
on 15-Oct-13
Larson said,
That table is BAD ASS!!!
on 15-Oct-13