about bad renovations - all the bad renovations - latest bad updates - bad feedback - good people

our bad renovations:

Move in Condition
Master Bedroom
The Den
Half Bath (Downstairs)
Pointed Arch Destruction
Garage / Workshop
Hallway Facelift
New Windows
Load Bearing Beam
Kitchen Renovation Part 1
Kitchen Renovation Part 2
Dining Room
Basement
Pool Renovation
Dining Room Table
Formal Living Room
Nursery
Electrical Rewiring
Bedrooms
Air Conditioning / Heat Pumps
Front Porch
Outdoor Living
Landscaping


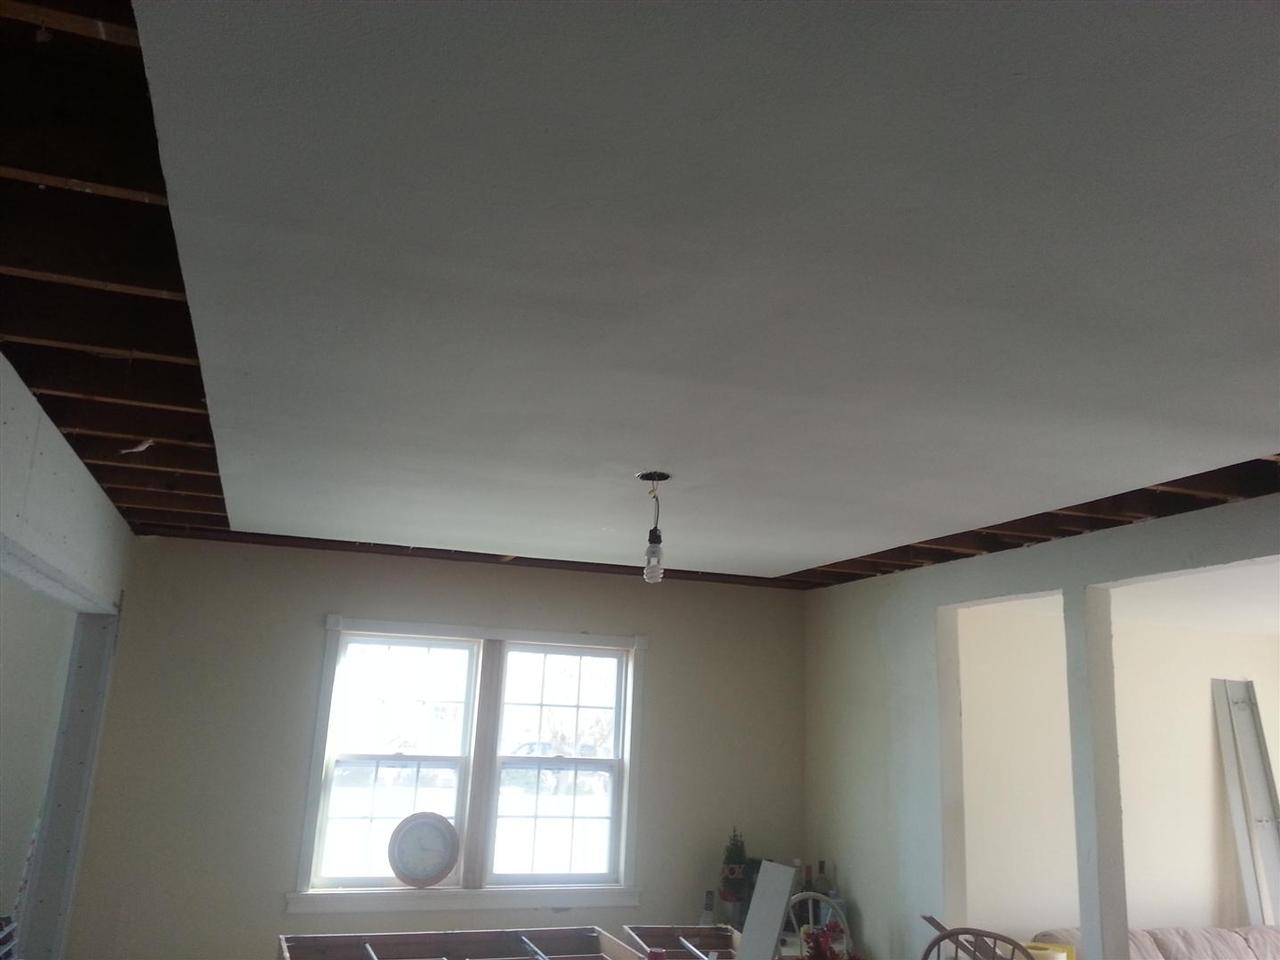
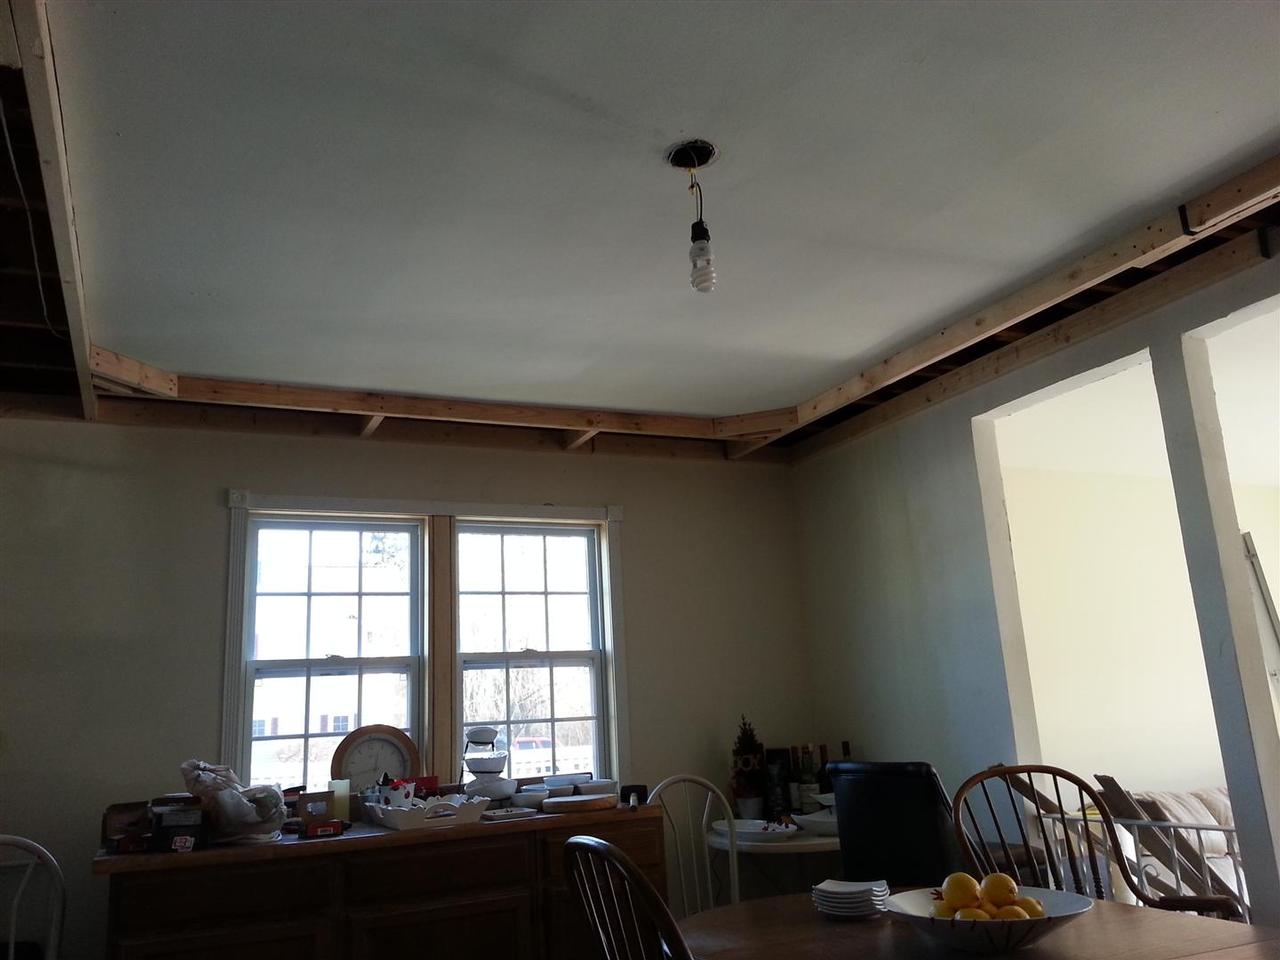
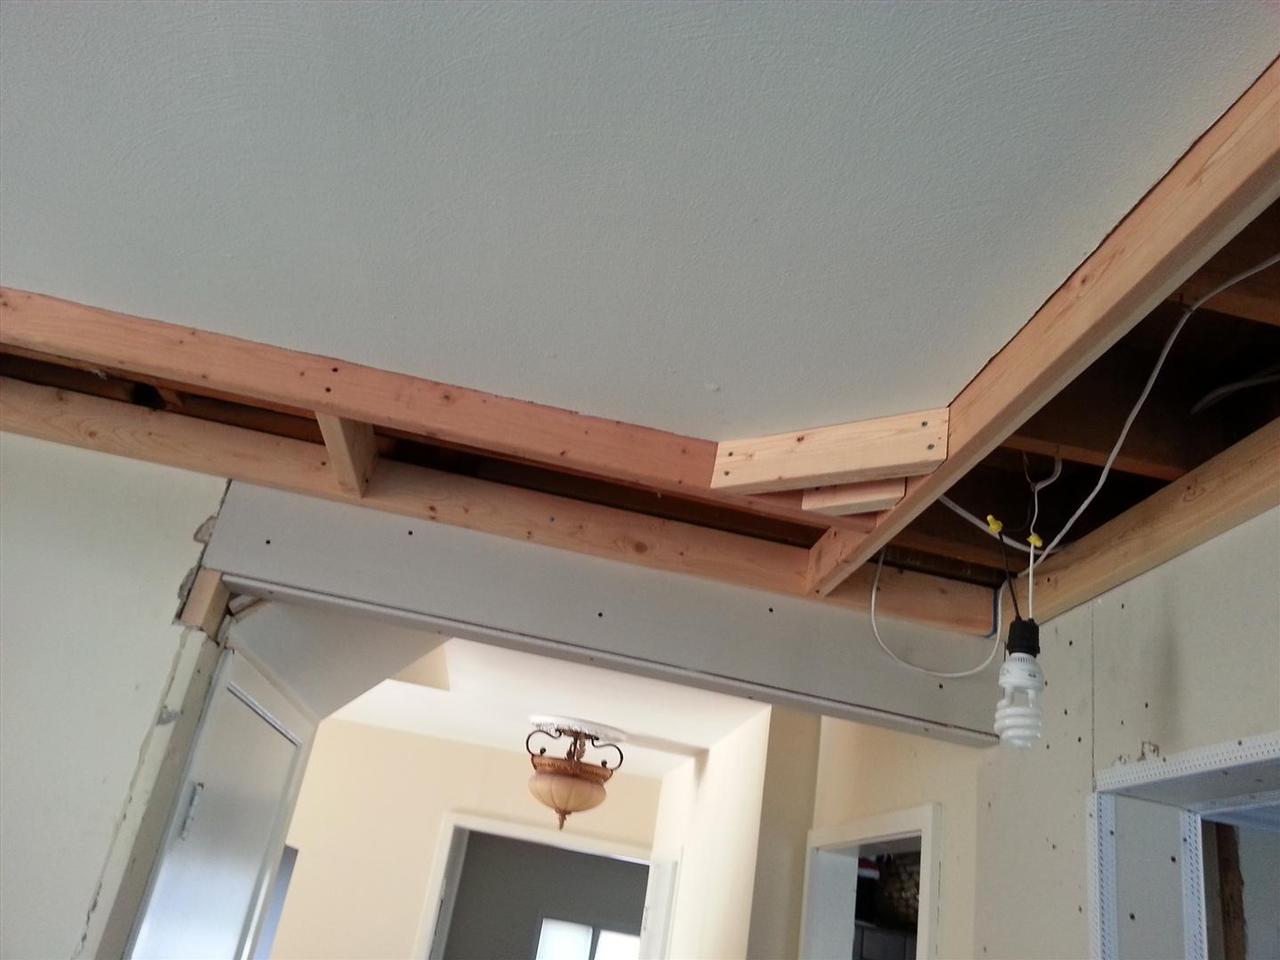
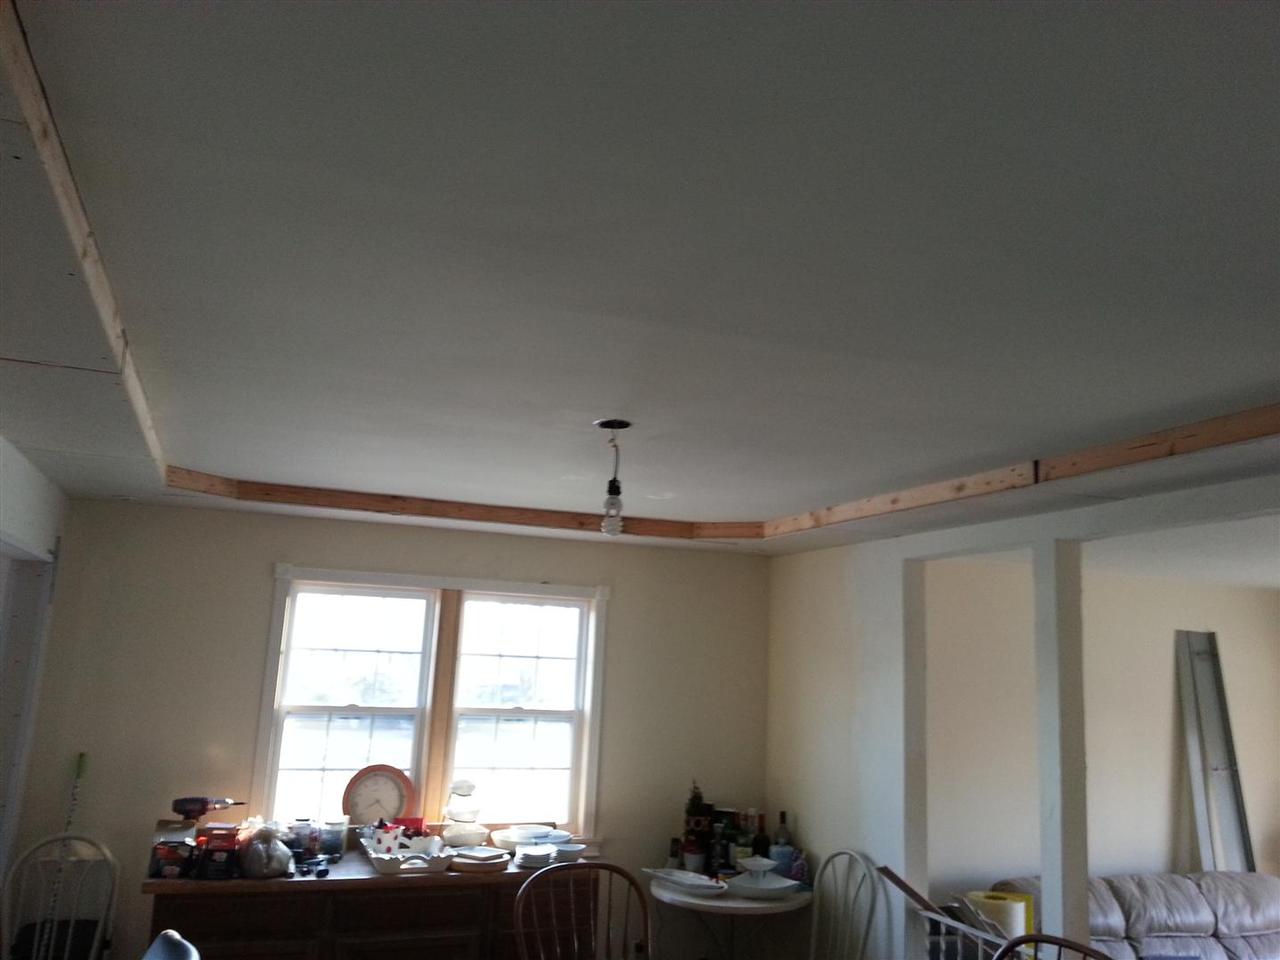
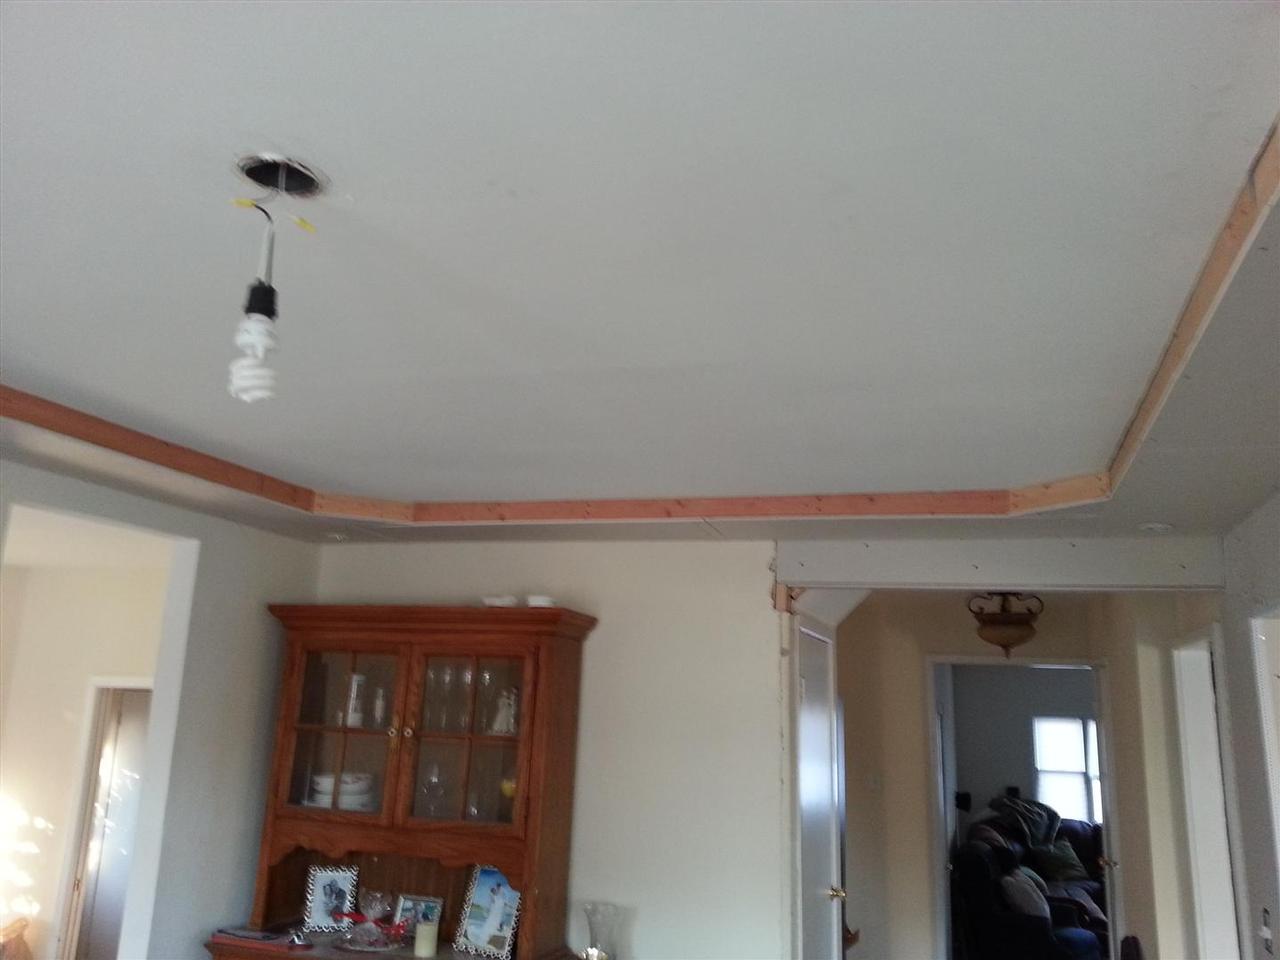
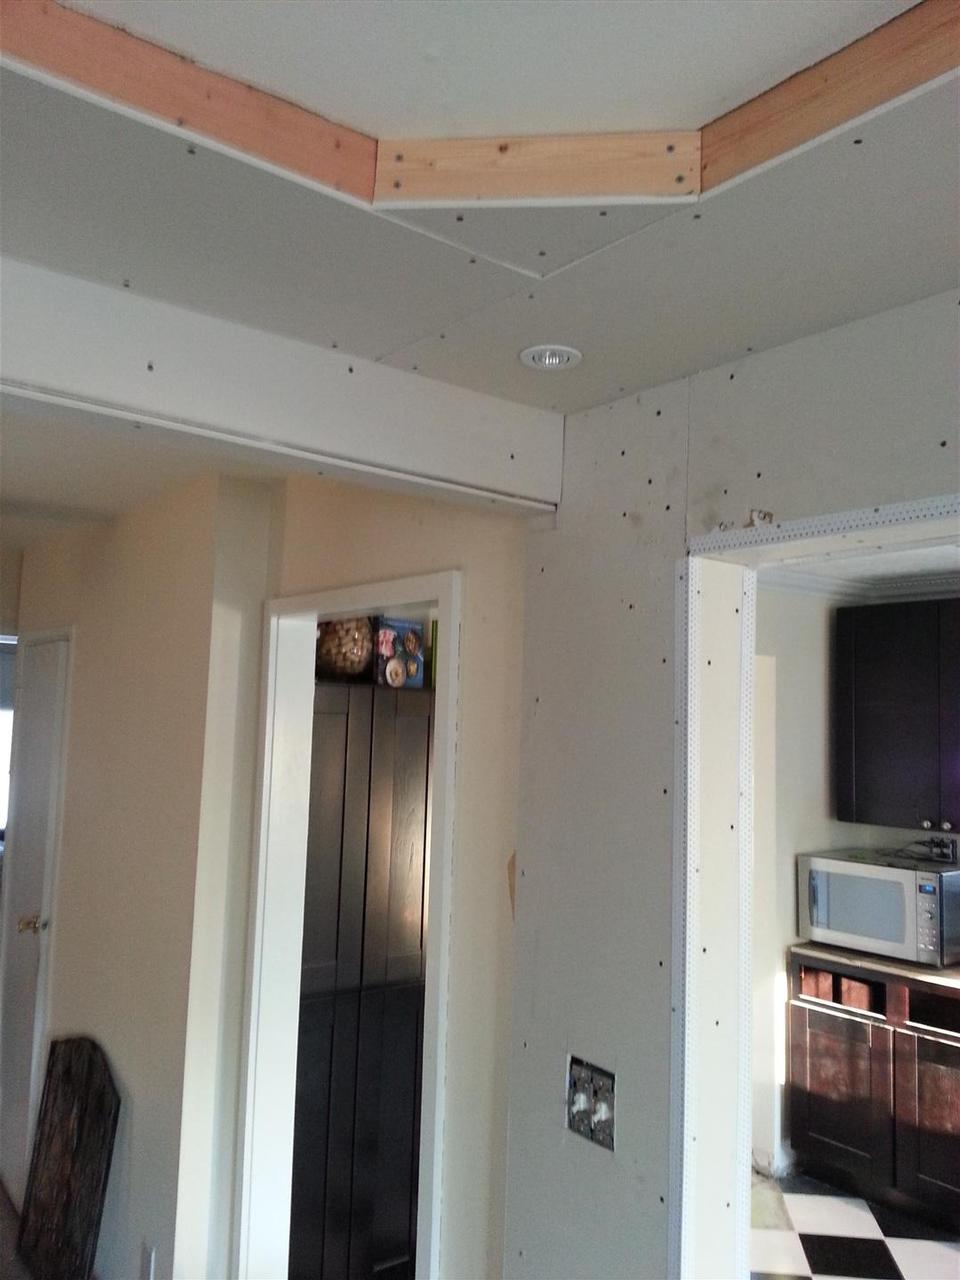
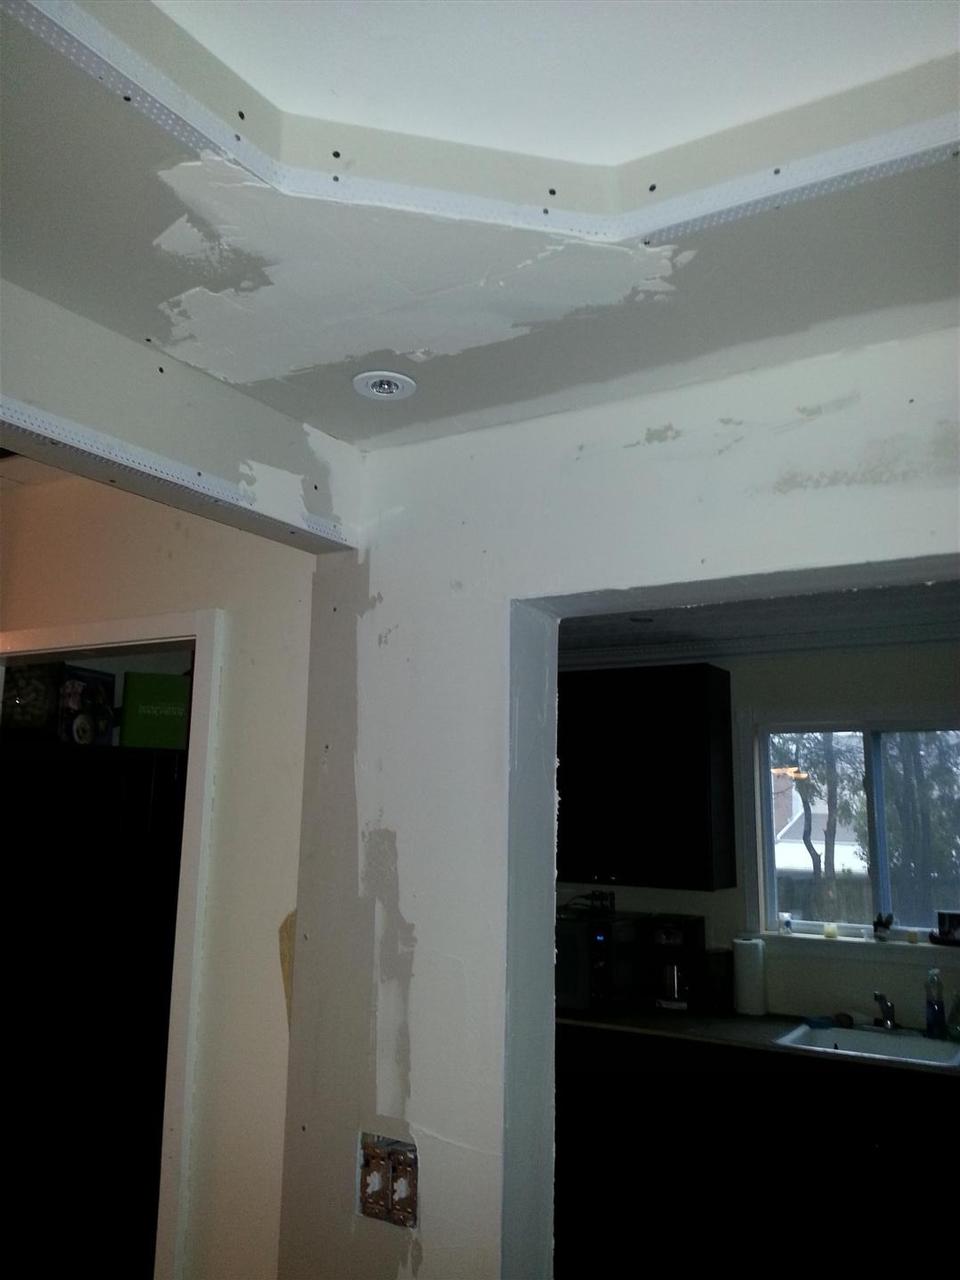
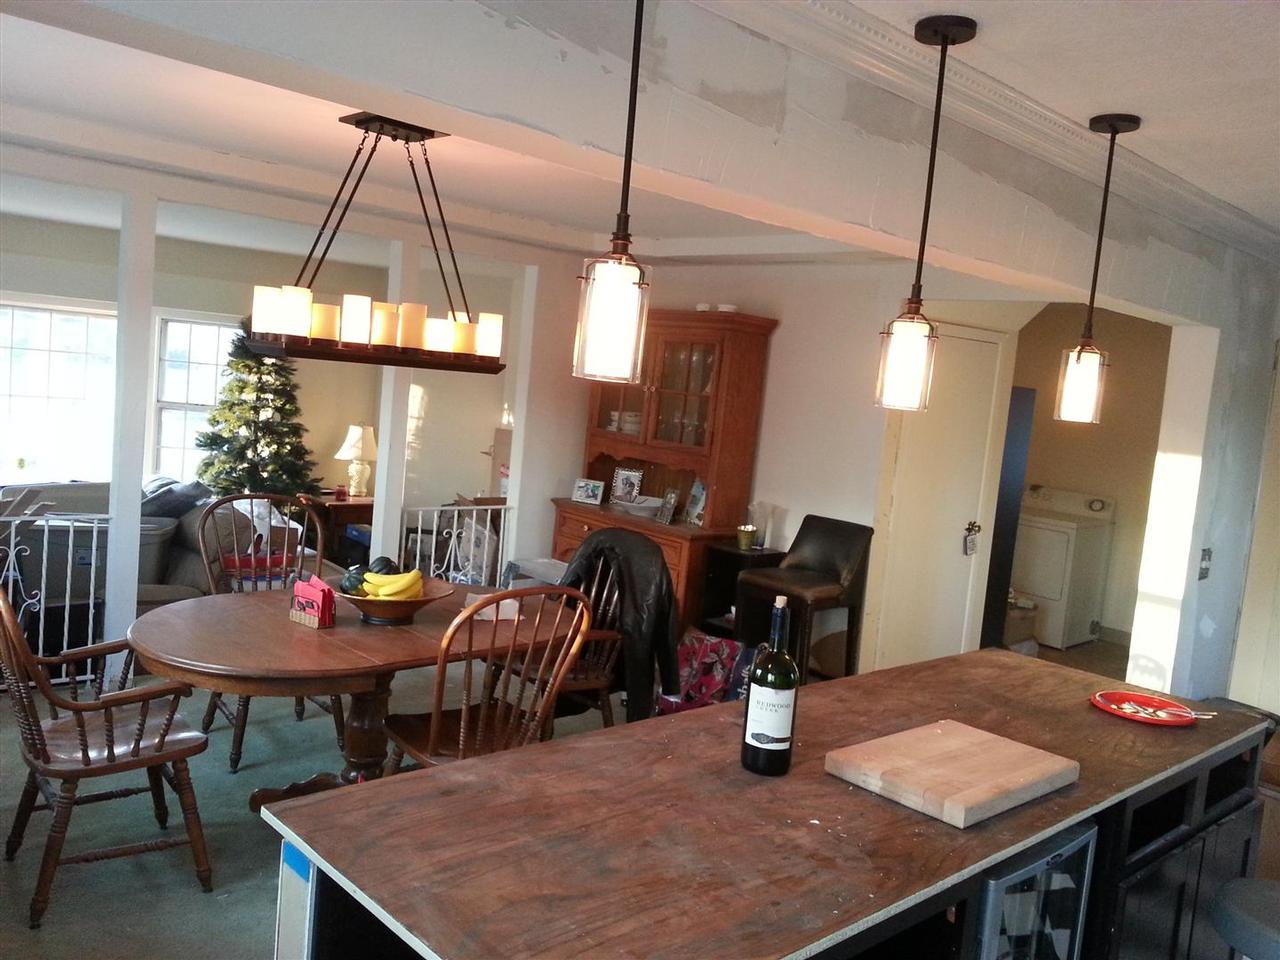
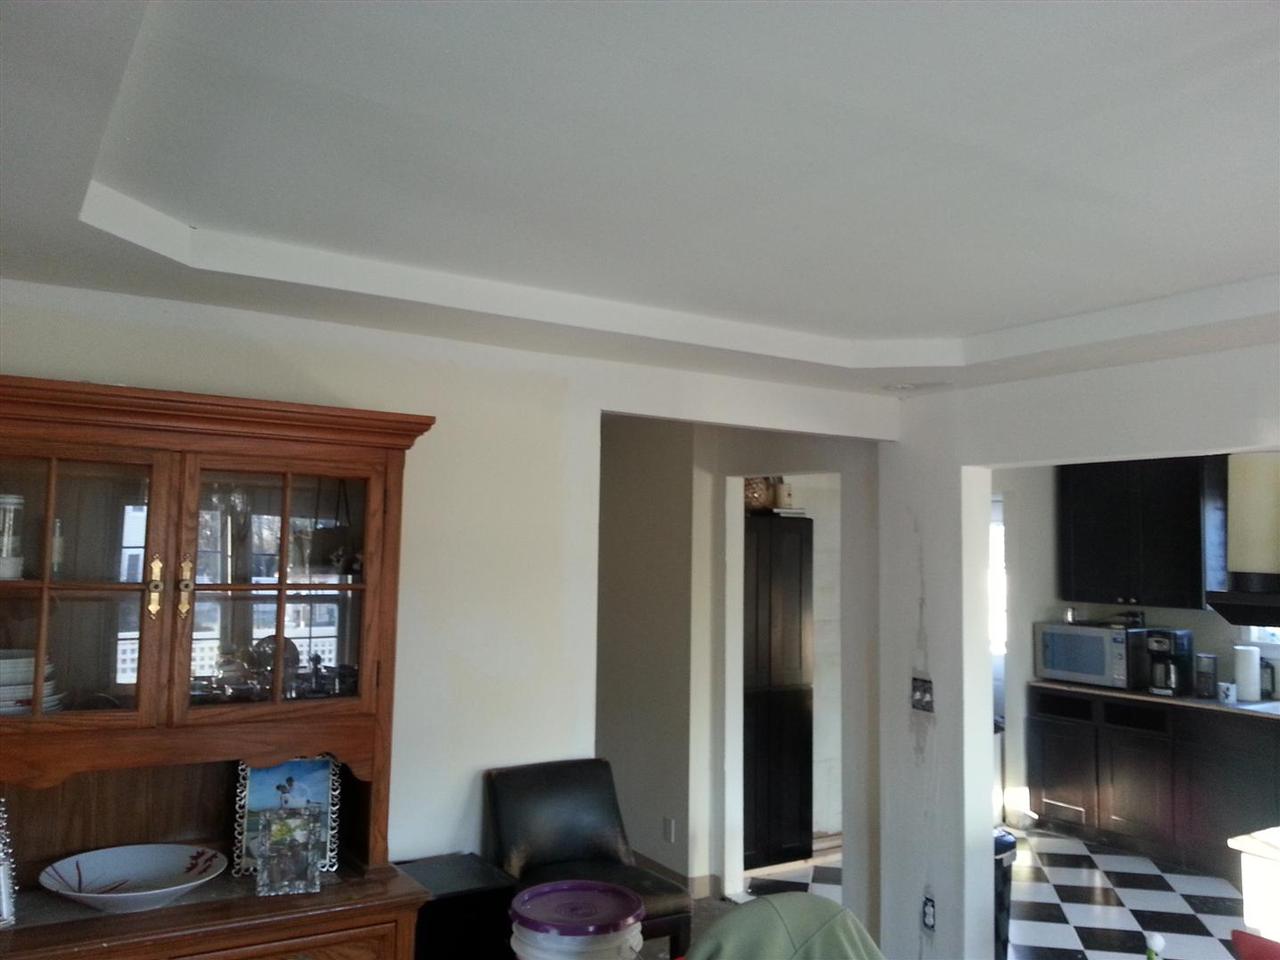
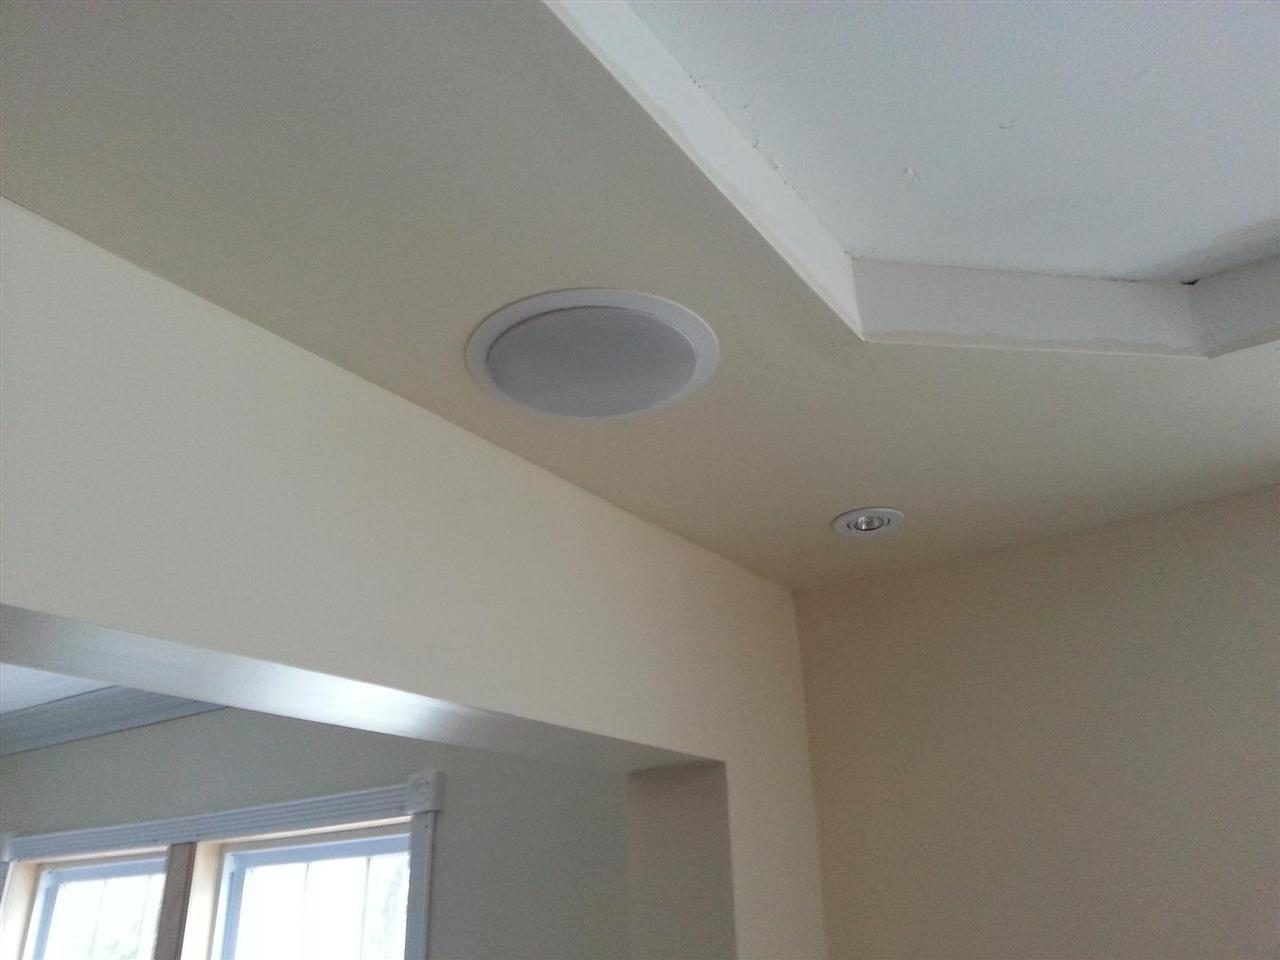
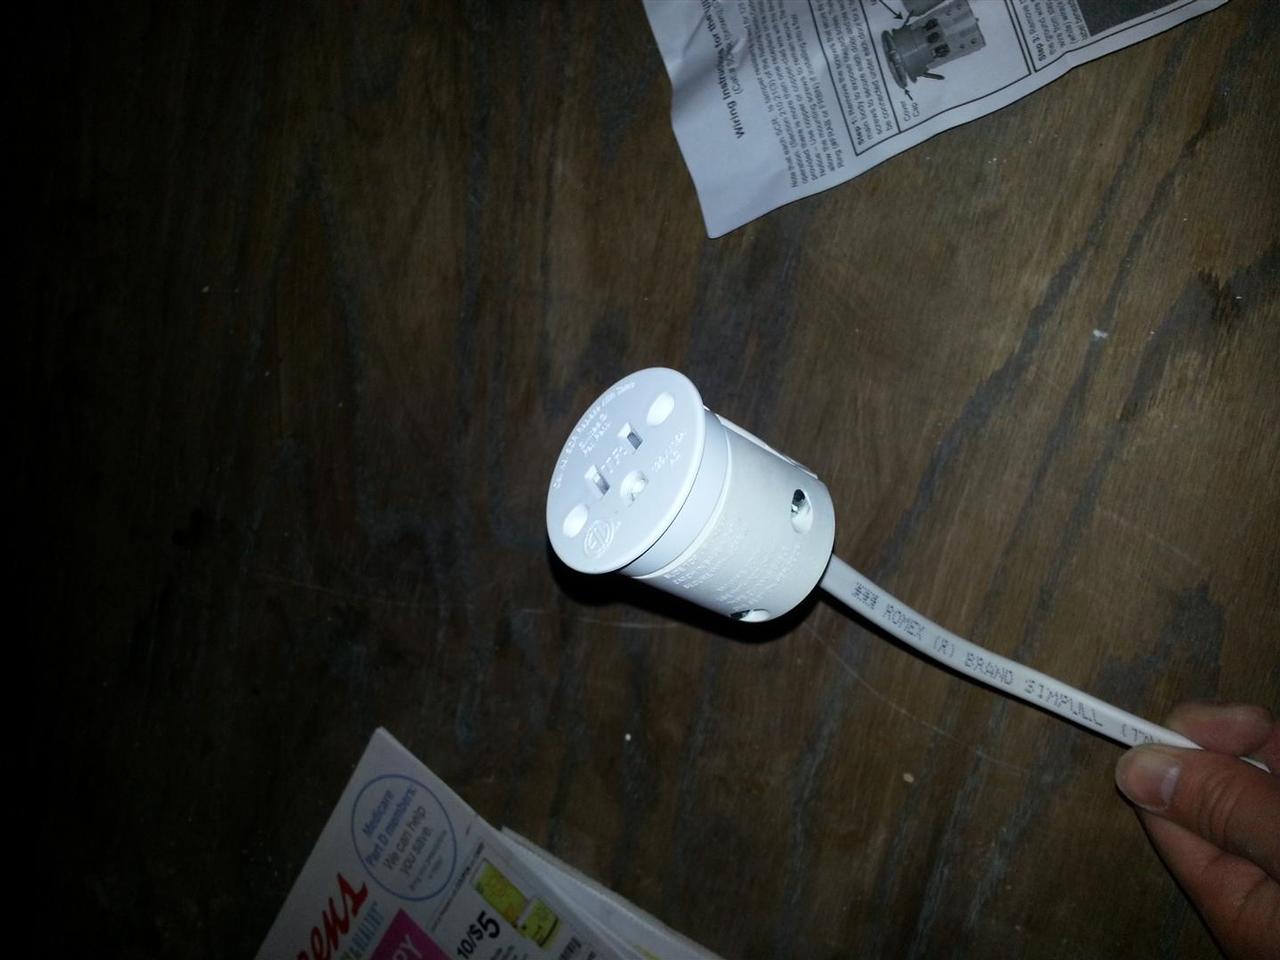
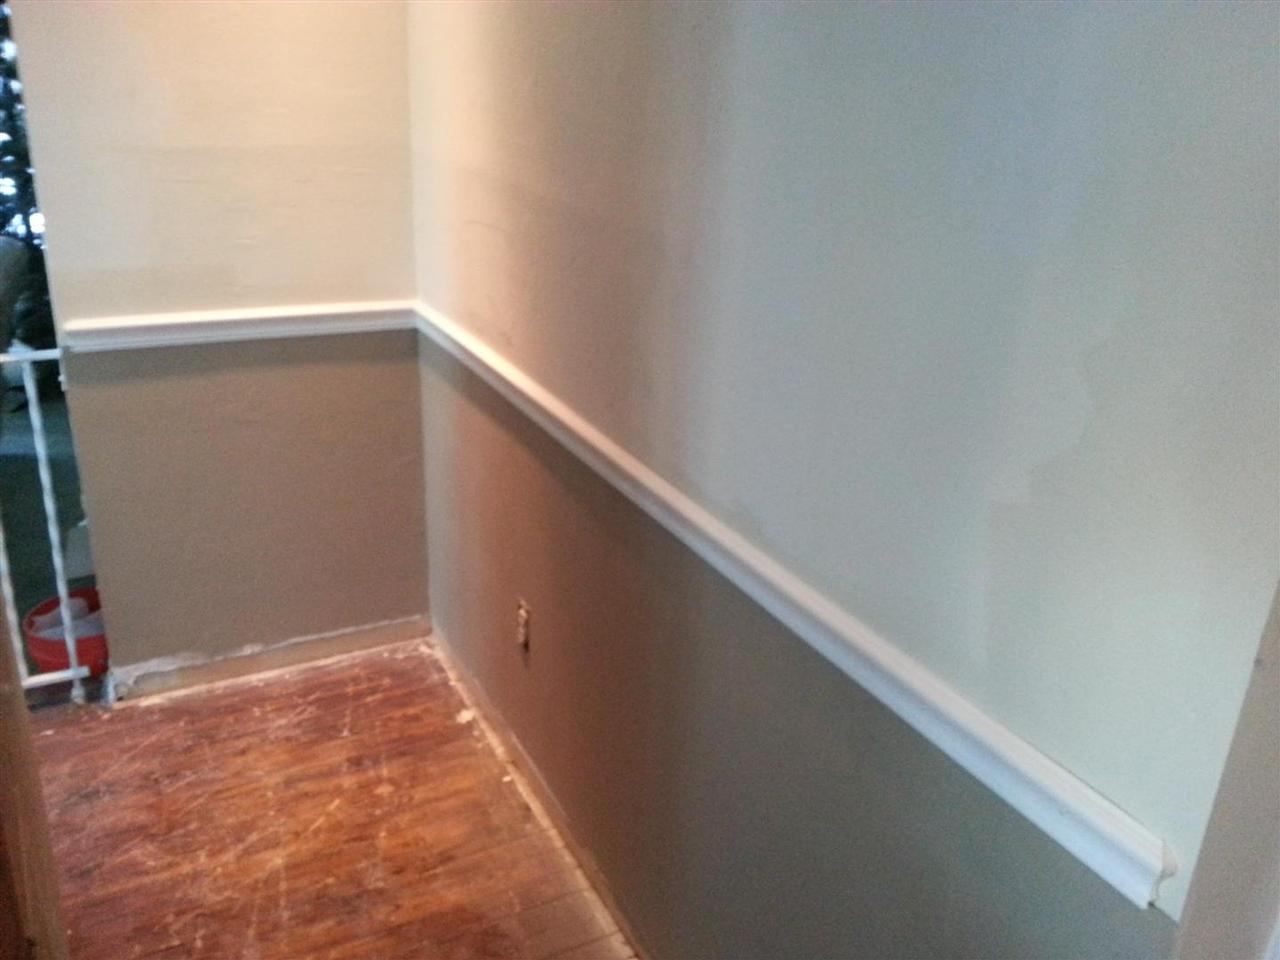
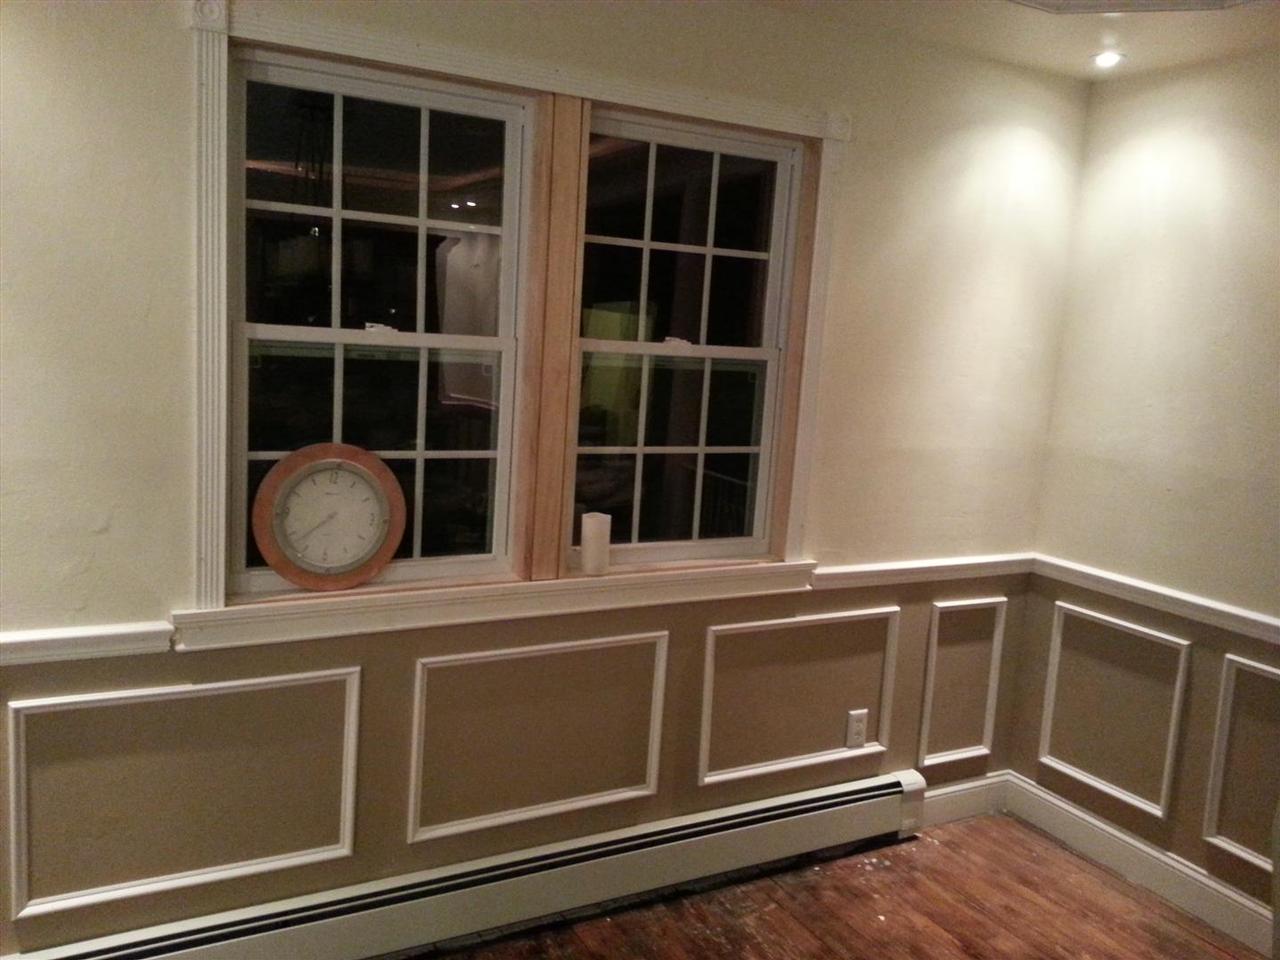
We decided to start a new section on the site for the finish work going on in the dining room, even though its fairly closely related to the kitchen and beam. The plans include adding a tray ceiling, pot lights, ceiling mounted speakers, crown moulding, chair rail and picture frame wainscoting. But first and foremost, I need to get the tray ceiling framed out and sheetrocked so we can stop bleeding out heat now that the cold weather is upon us.

172: We trimmed back the sheetrock in the ceiling where the dropped tray ceiling will go.

We trimmed back the sheetrock in the ceiling where the dropped tray ceiling will go. (01/02/2013)

173: We framed out the tray ceiling with random leftover 2x4s.  We screwed them in toe nail style, and then nailed hurricane ties in a few locations to shore things up.   We also added insulation against the rim joist on the exterior wall.

We framed out the tray ceiling with random leftover 2x4s. We screwed them in toe nail style, and then nailed hurricane ties in a few locations to shore things up. We also added insulation against the rim joist on the exterior wall. (01/06/2013)

174: On the short sides of the room, we cut down 10 foot 2x4s since we didnt want a splice, as there are no floor joists to tie into.  Then we started running romex for the pot lights in each corner.  We also have the speaker wire run to the two locations.

On the short sides of the room, we cut down 10 foot 2x4s since we didnt want a splice, as there are no floor joists to tie into. Then we started running romex for the pot lights in each corner. We also have the speaker wire run to the two locations. (01/06/2013)

175: The sheetrock goes up on the bottom.  The house is finally sealed back up.  We're averaging over 4 gallons of fuel oil a day, and it hasnt been terribly cold out.  I hope this helps cut down our consumption.

The sheetrock goes up on the bottom. The house is finally sealed back up. We're averaging over 4 gallons of fuel oil a day, and it hasnt been terribly cold out. I hope this helps cut down our consumption. (01/07/2013)

176: Heres the other side of the room.  We need to move the hutch over a bit, that way the pot light isn't blocked in that corner.

Heres the other side of the room. We need to move the hutch over a bit, that way the pot light isn't blocked in that corner. (01/07/2013)

177: Since we have a second floor and no insulation above this room, we kept the halogen bulbs since the heat will easily dissipate.  They really have a lovely golden hue at low levels.  For some reason, These 4 pot lights were a HUGE pain in the ass compared to the ones that went in the kitchen.  Maybe I was rushing through these.

Since we have a second floor and no insulation above this room, we kept the halogen bulbs since the heat will easily dissipate. They really have a lovely golden hue at low levels. For some reason, These 4 pot lights were a HUGE pain in the ass compared to the ones that went in the kitchen. Maybe I was rushing through these. (01/07/2013)

179: We finished the sheetrock and corner bead on the tray ceiling.  Now, the first rough coat of tape and mud goes up.  Had a lot of void to fill in on the tray ceiling diagonals.  I only had motivation enough to tape one wall, the one against the beam.  I will have to do the others while I wait for the thicker mud to dry out.

We finished the sheetrock and corner bead on the tray ceiling. Now, the first rough coat of tape and mud goes up. Had a lot of void to fill in on the tray ceiling diagonals. I only had motivation enough to tape one wall, the one against the beam. I will have to do the others while I wait for the thicker mud to dry out. (01/14/2013)

183: The chandelier looks nice set into the tray ceiling.  The website listed it as using medium bulbs, but upon arrival, it actually takes candelabra bulbs.  We only had a few, which is why some candles are not illuminated.

The chandelier looks nice set into the tray ceiling. The website listed it as using medium bulbs, but upon arrival, it actually takes candelabra bulbs. We only had a few, which is why some candles are not illuminated. (01/22/2013)

184: The drywall and mud is all up and ready to go.

The drywall and mud is all up and ready to go. (01/27/2013)

185: The tray ceiling was exhausting work getting everything faired out evenly.  It took a LOT of sanding.  Luckily we were able to use the shop vac sanding screen for the bulk of the sanding to help cut down on dust, but for the final coat we used a fine sanding sponge.

The tray ceiling was exhausting work getting everything faired out evenly. It took a LOT of sanding. Luckily we were able to use the shop vac sanding screen for the bulk of the sanding to help cut down on dust, but for the final coat we used a fine sanding sponge. (01/27/2013)

186: Lauren rolls on the very first paint on the stub wall covering the beams post.

Lauren rolls on the very first paint on the stub wall covering the beams post. (01/28/2013)

187: We painted the entire beam and finished the kitchen.  We need to touch up the crown moulding, and possibly give the ceiling another coat, but its nice to see some things fully finished.

We painted the entire beam and finished the kitchen. We need to touch up the crown moulding, and possibly give the ceiling another coat, but its nice to see some things fully finished. (01/29/2013)

188: The recessed portion of the tray ceiling needs paint around the edges, and some touching up here and there on the top, mostly due to an errant roller slipping out of control leaving navajo white skidmarks on a flat pure white ceiling.

The recessed portion of the tray ceiling needs paint around the edges, and some touching up here and there on the top, mostly due to an errant roller slipping out of control leaving navajo white skidmarks on a flat pure white ceiling. (01/29/2013)

189: For audible entertainment, we went with a pair of 6 1/2 two way ceiling mounted speakers from monoprice.  They feature kevlar cones, a silk dome tweeter, and a full crossover, not just the usual cap and coil.  They have a low mounting depth, so I could cut the holes anywere in the tray ceiling.  The clips rotate outward and pull the speaker up agains the sheetrock.

For audible entertainment, we went with a pair of 6 1/2 two way ceiling mounted speakers from monoprice. They feature kevlar cones, a silk dome tweeter, and a full crossover, not just the usual cap and coil. They have a low mounting depth, so I could cut the holes anywere in the tray ceiling. The clips rotate outward and pull the speaker up agains the sheetrock. (01/29/2013)

190: Here are the speakers installed.  They look OK, lets hope they sound just as good.  We currently have them hooked up to the back channels of the 7.1 harmon kardon receiver.  I have a 50x2 power amp ordered, which will allow us to use zone 2 to power the dining room and outdoor speakers, while maintaining the use of all 7.1 in the den.

Here are the speakers installed. They look OK, lets hope they sound just as good. We currently have them hooked up to the back channels of the 7.1 harmon kardon receiver. I have a 50x2 power amp ordered, which will allow us to use zone 2 to power the dining room and outdoor speakers, while maintaining the use of all 7.1 in the den. (01/30/2013)

191: This is the Self Contained Receptacle by Sillites.  It looks like a normal extension cord end, but its actually a miniature electrical work box that permanently mounts in a 1-3/4 inch hole.  You run romex directly into the SCR, attach the cover plates, and screw the whole thing down.   We are using this inside the tray ceiling, that way we can run the rope lights off the same light switch as the corner pot lights.

This is the Self Contained Receptacle by Sillites. It looks like a normal extension cord end, but its actually a miniature electrical work box that permanently mounts in a 1-3/4 inch hole. You run romex directly into the SCR, attach the cover plates, and screw the whole thing down. We are using this inside the tray ceiling, that way we can run the rope lights off the same light switch as the corner pot lights. (02/06/2013)

192: The tray ceiling is nearly complete.  I just need to paint the crown moulding, and find a way to keep the rope lights down inside their little nook.

The tray ceiling is nearly complete. I just need to paint the crown moulding, and find a way to keep the rope lights down inside their little nook. (02/06/2013)

193: We painted the lower 1/3 of the wall with a darker flat, then added the chair rail.  Ill be replacing the radiator covers with new.

We painted the lower 1/3 of the wall with a darker flat, then added the chair rail. Ill be replacing the radiator covers with new. (02/18/2013)

194: We pulled up the carpet in the dining room.  As you can see, the condition of the floors is pretty rough.  Looks like they were already refinished once right on top of the original finish without sanding.  The floors are a little soft, but Ill probably sand them down and refinish them to get a few more years out of them before we eventually replace with matching bamboo.

We pulled up the carpet in the dining room. As you can see, the condition of the floors is pretty rough. Looks like they were already refinished once right on top of the original finish without sanding. The floors are a little soft, but Ill probably sand them down and refinish them to get a few more years out of them before we eventually replace with matching bamboo. (02/18/2013)

195: Here you see the new rad covers, and the piture frame wainscoting.  Im happy with the results, considering we did it all by eye.  The chair rail is pine, but the pictureframe moulding is actually composite.  This was my first time working with composit moulding, and so far Im pretty happy with it.  Especially considering its half the price of pine.

Here you see the new rad covers, and the piture frame wainscoting. Im happy with the results, considering we did it all by eye. The chair rail is pine, but the pictureframe moulding is actually composite. This was my first time working with composit moulding, and so far Im pretty happy with it. Especially considering its half the price of pine. (02/18/2013)

251: Here we are sanding the dining room floor to refinish it.  Now that we see it all sanded, it looks like the original floor was white oak, and not red oak like I thought.  Guess the floors wont quite match up now.

Here we are sanding the dining room floor to refinish it. Now that we see it all sanded, it looks like the original floor was white oak, and not red oak like I thought. Guess the floors wont quite match up now. (05/28/2013)

252: Sanding the floors was a much bigger job than I thought it would be.  It took a full day, so  Im glad we made use of a rainy saturday.  We had to rent the drum sander and a sanding edger from home depot, along with buying a ton of sanding media.  I wish we had more rooms to sand to get more out of our money, but I'm not about to start working on the upstairs bedrooms now.

Sanding the floors was a much bigger job than I thought it would be. It took a full day, so Im glad we made use of a rainy saturday. We had to rent the drum sander and a sanding edger from home depot, along with buying a ton of sanding media. I wish we had more rooms to sand to get more out of our money, but I'm not about to start working on the upstairs bedrooms now. (05/28/2013)

286: After much more sanding with the orbital, half sheet and belt sanders, the first coat of poly goes down.  What a difference.  I wish I hadn't filled the cracks in with wood putty though, I would have much preferred the imperfections to the look of the putty.

After much more sanding with the orbital, half sheet and belt sanders, the first coat of poly goes down. What a difference. I wish I hadn't filled the cracks in with wood putty though, I would have much preferred the imperfections to the look of the putty. (07/04/2013)

287: What a difference a nice oil based poly makes.

What a difference a nice oil based poly makes. (07/04/2013)

290: Here's the finished floor.  Nice to have the mouldings back on, even if they do need to be filled and painted.  Overall, I'm happy with the way the floors turned out, and I really didnt think the floors had much life left in them when we first uncovered them.  But honestly, it wasn't much cheaper or less work than simply replacing the floors with new pre-finished wood.  I'll have to weigh my options when it comes to refinishing upstairs.

Here's the finished floor. Nice to have the mouldings back on, even if they do need to be filled and painted. Overall, I'm happy with the way the floors turned out, and I really didnt think the floors had much life left in them when we first uncovered them. But honestly, it wasn't much cheaper or less work than simply replacing the floors with new pre-finished wood. I'll have to weigh my options when it comes to refinishing upstairs. (07/09/2013)

we love to get feedback, so here's your chance to tell us just how bad we did. chances are we already know just how bad it really is...

your name
your email
(only if you want a scathing response)
what's a matta'?
bad feedback
what's my name?
(Spam Control)

some insensitive jerkwads have said: