about bad renovations - all the bad renovations - latest bad updates - bad feedback - good people

our bad renovations:

Move in Condition
Master Bedroom
The Den
Half Bath (Downstairs)
Pointed Arch Destruction
Garage / Workshop
Hallway Facelift
New Windows
Load Bearing Beam
Kitchen Renovation Part 1
Kitchen Renovation Part 2
Dining Room
Basement
Pool Renovation
Dining Room Table
Formal Living Room
Nursery
Electrical Rewiring
Bedrooms
Air Conditioning / Heat Pumps
Front Porch
Outdoor Living
Landscaping


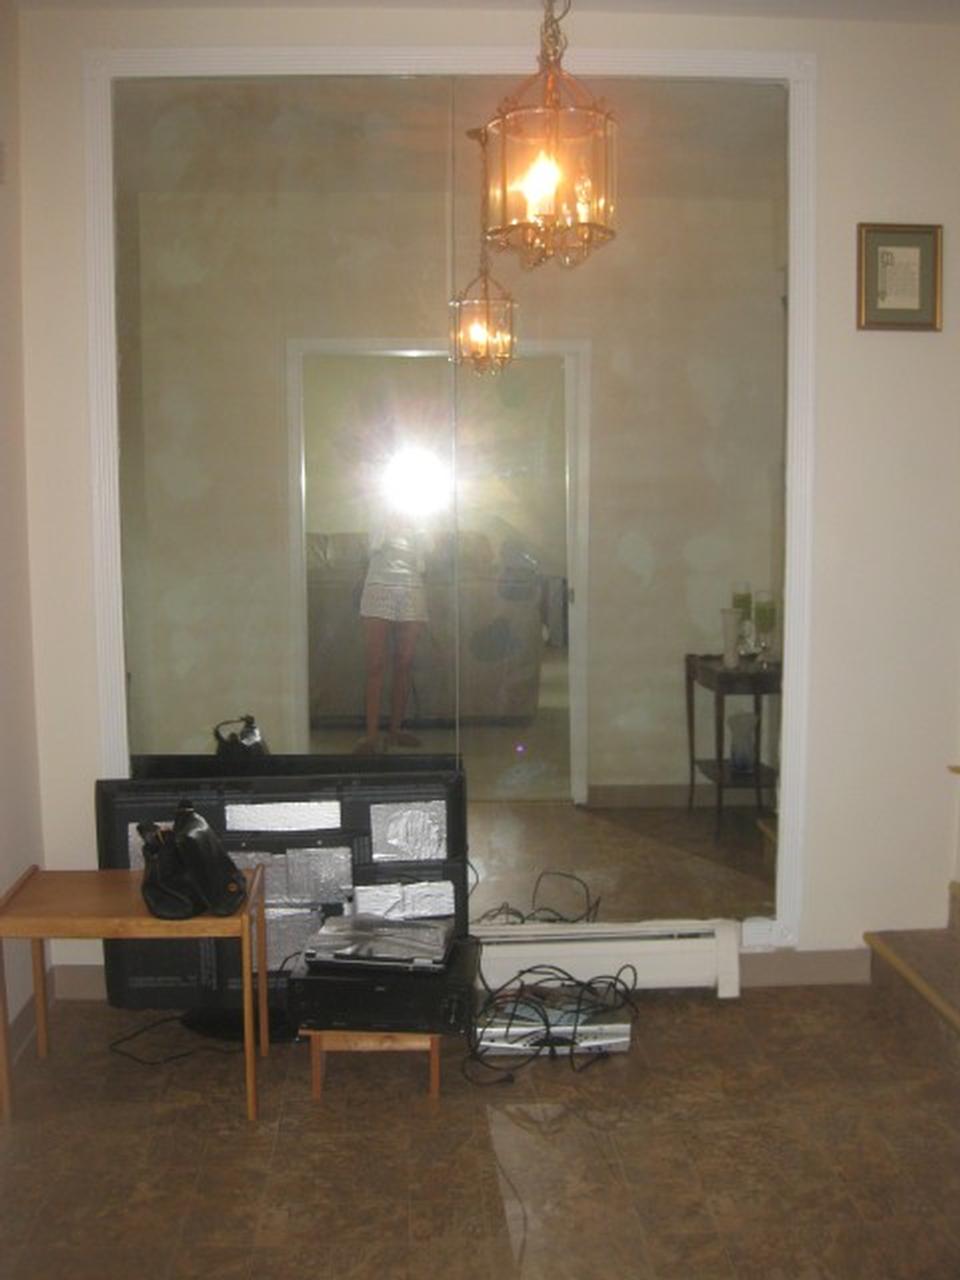
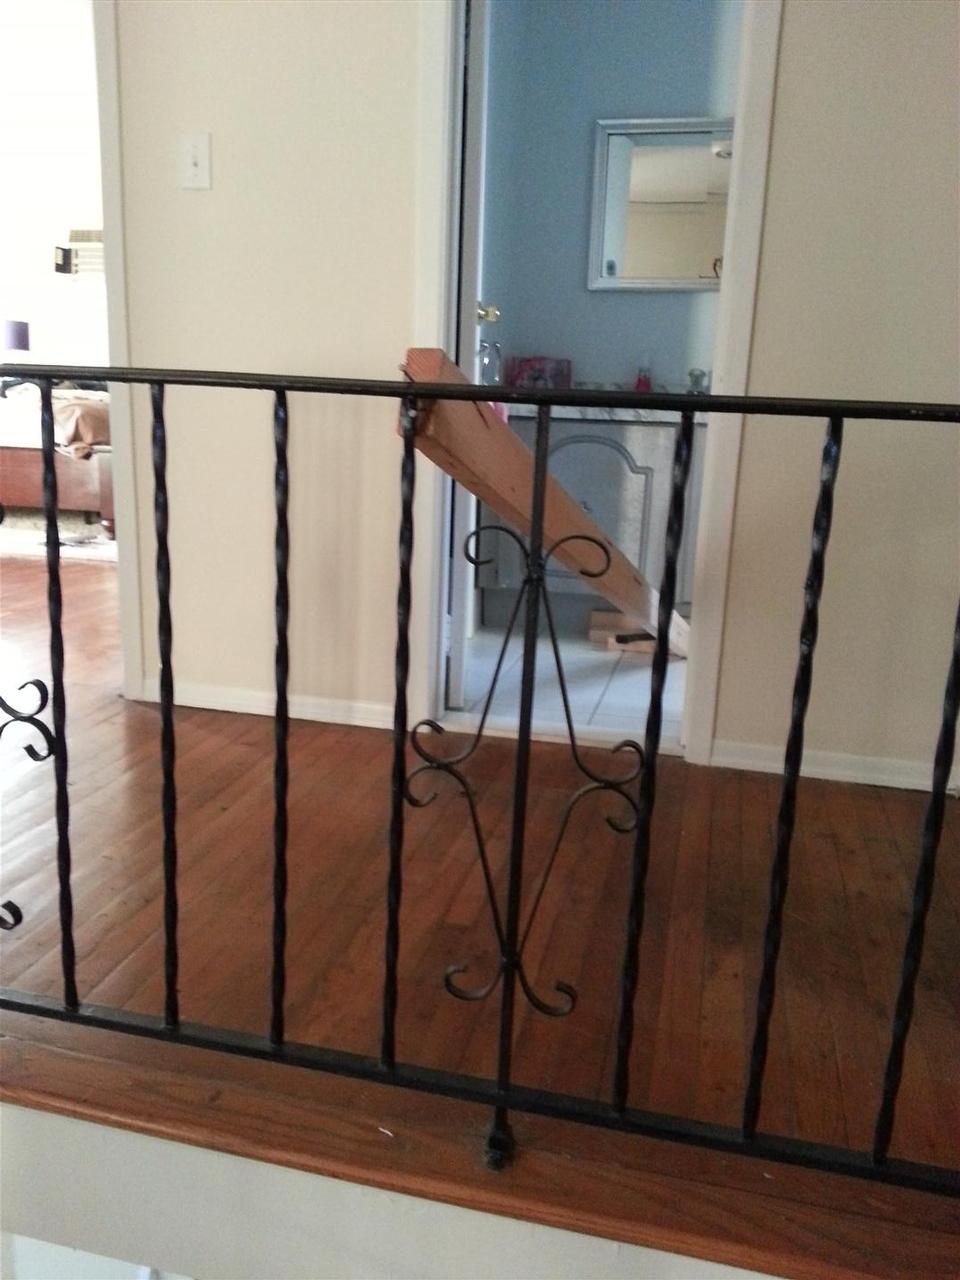
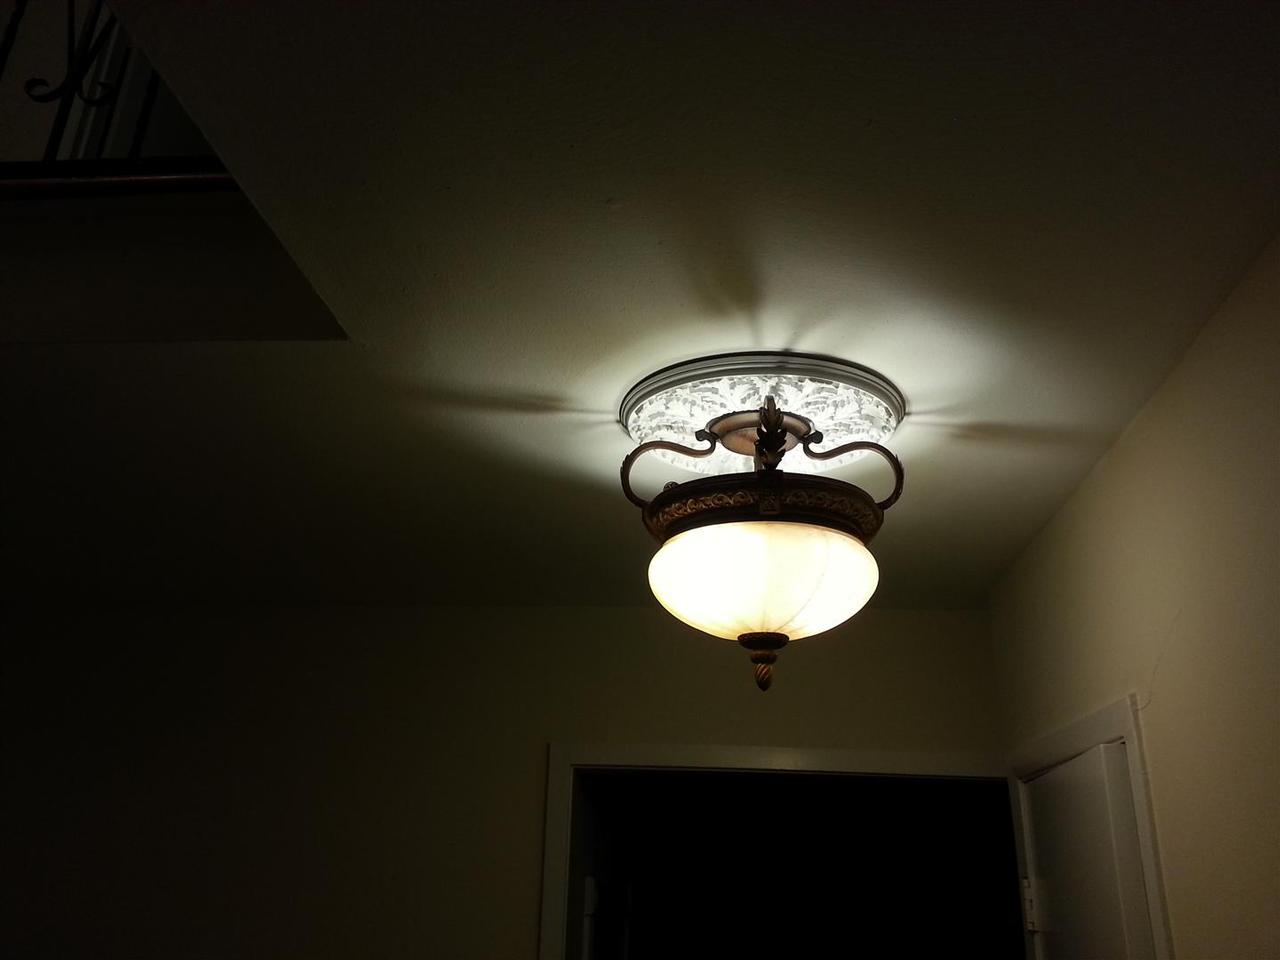
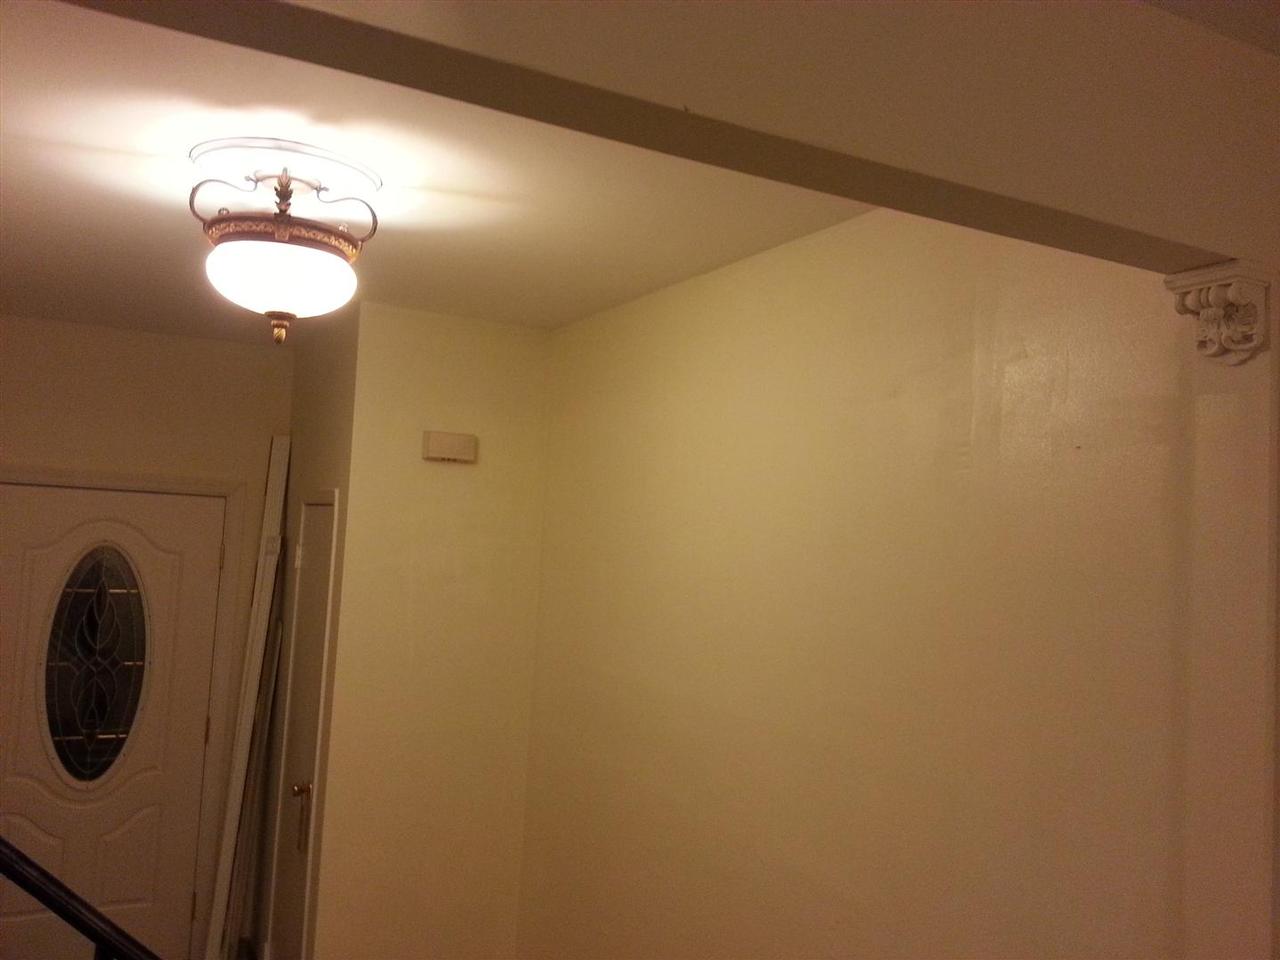
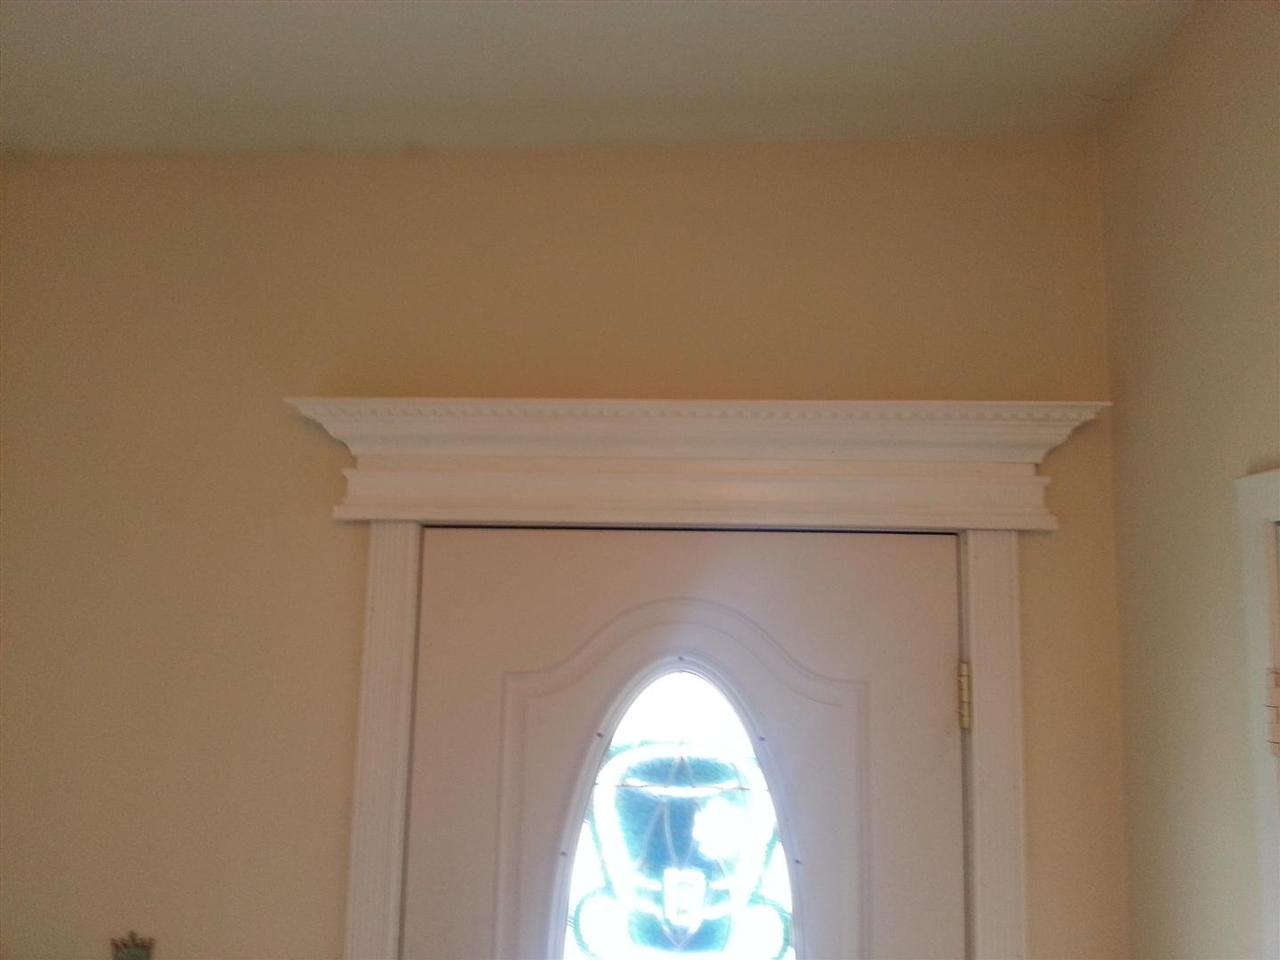
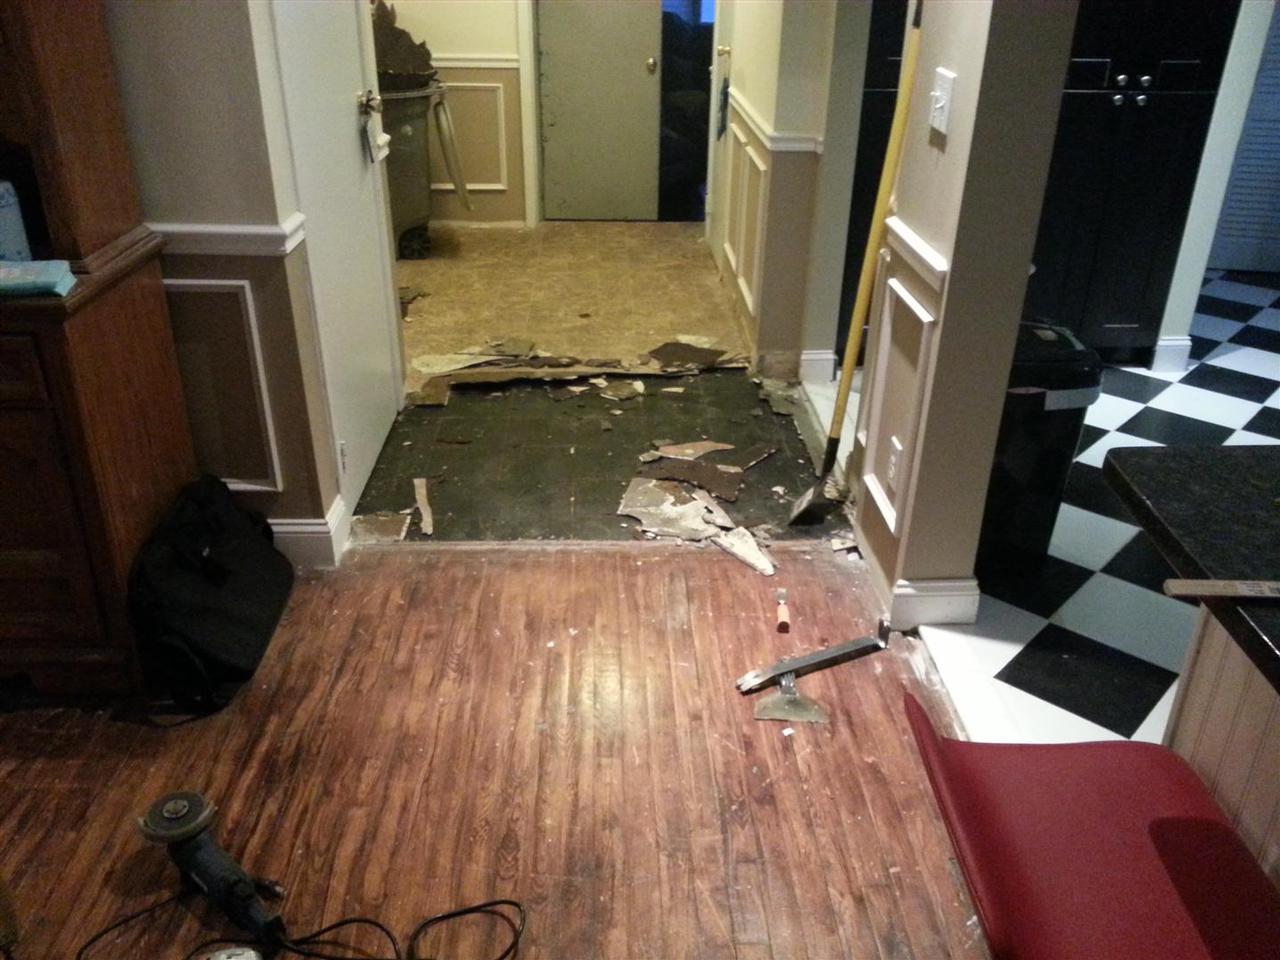
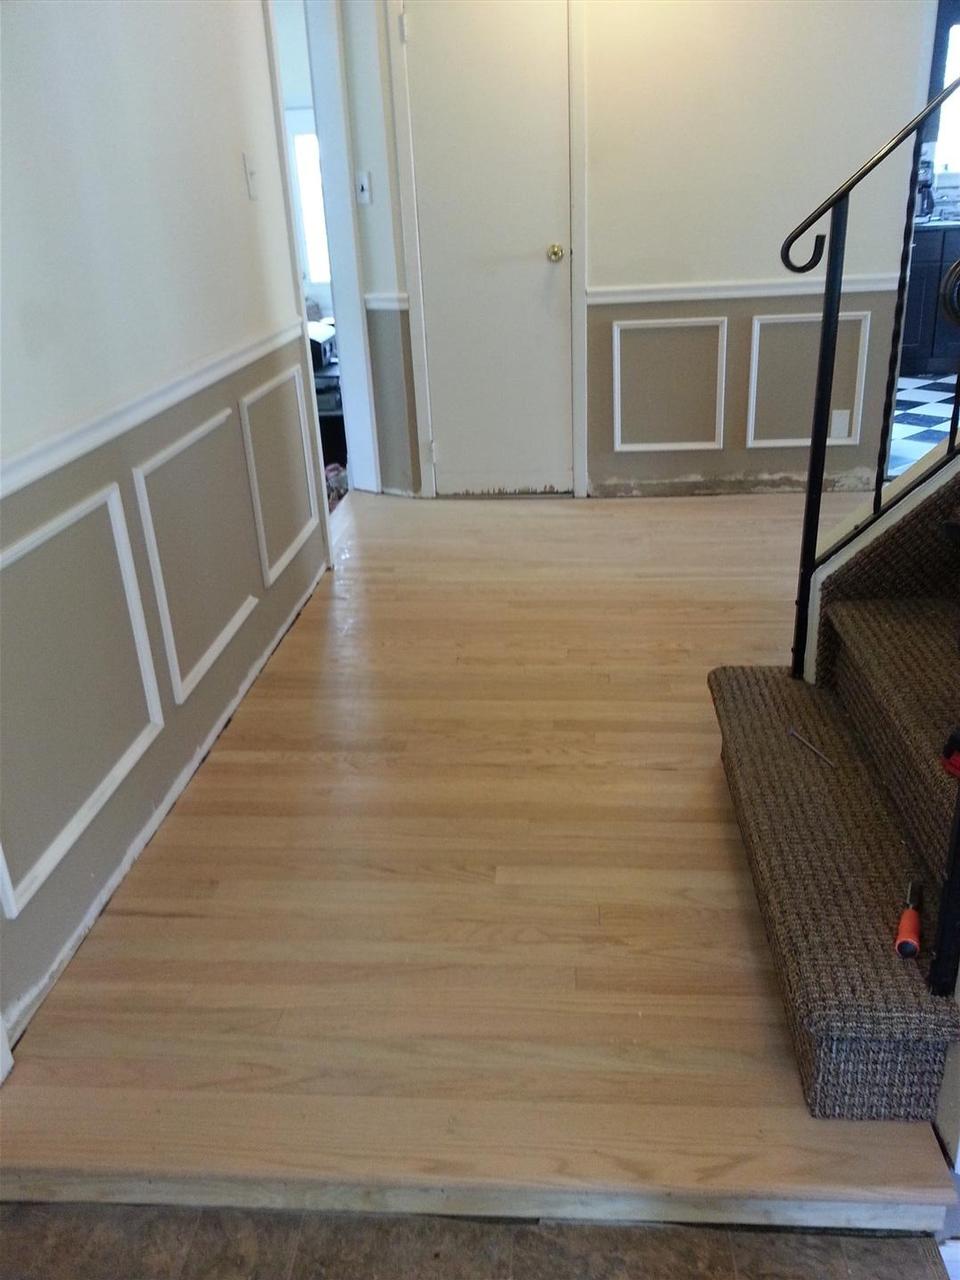
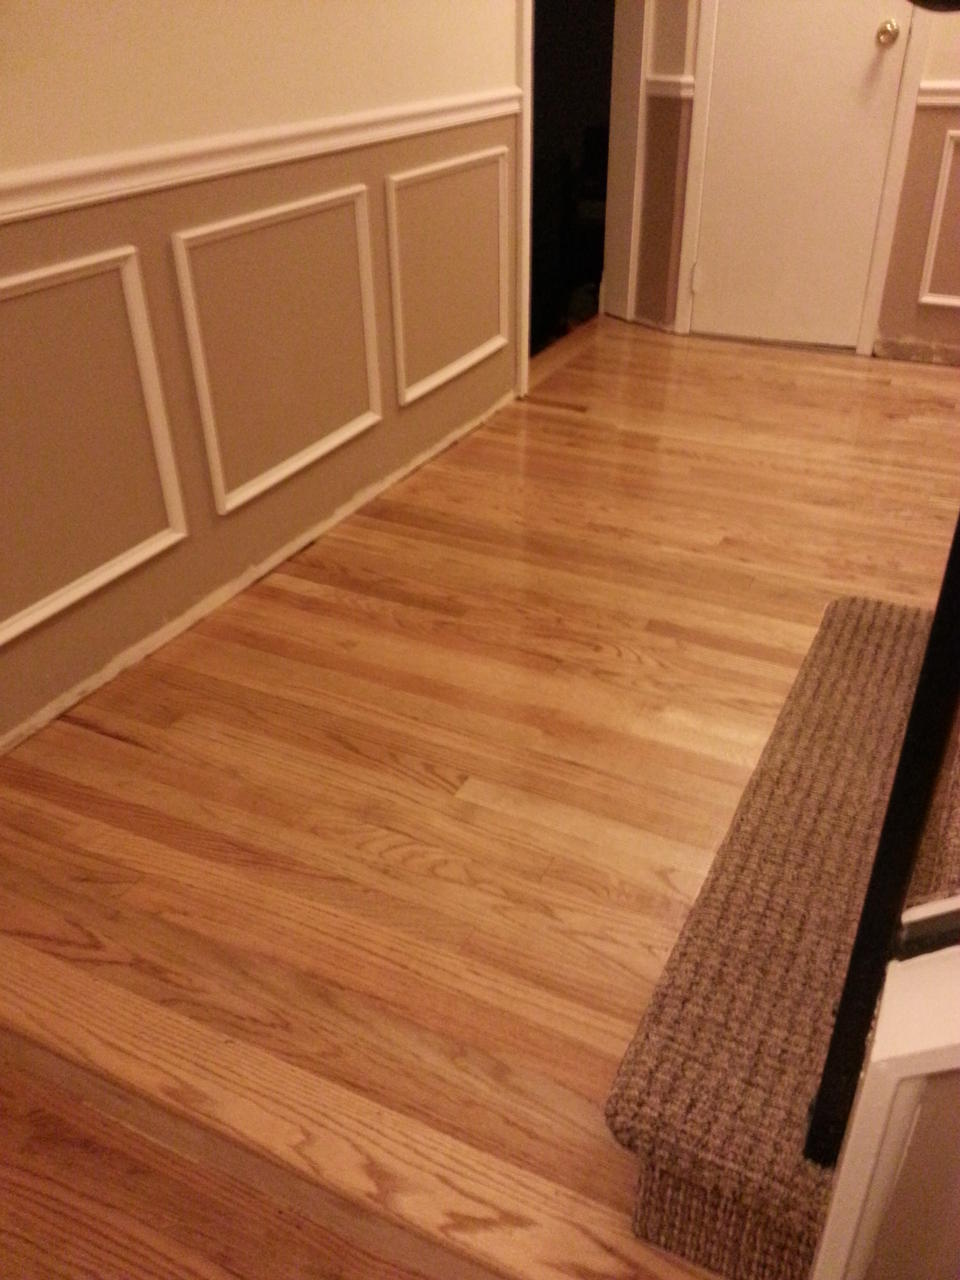
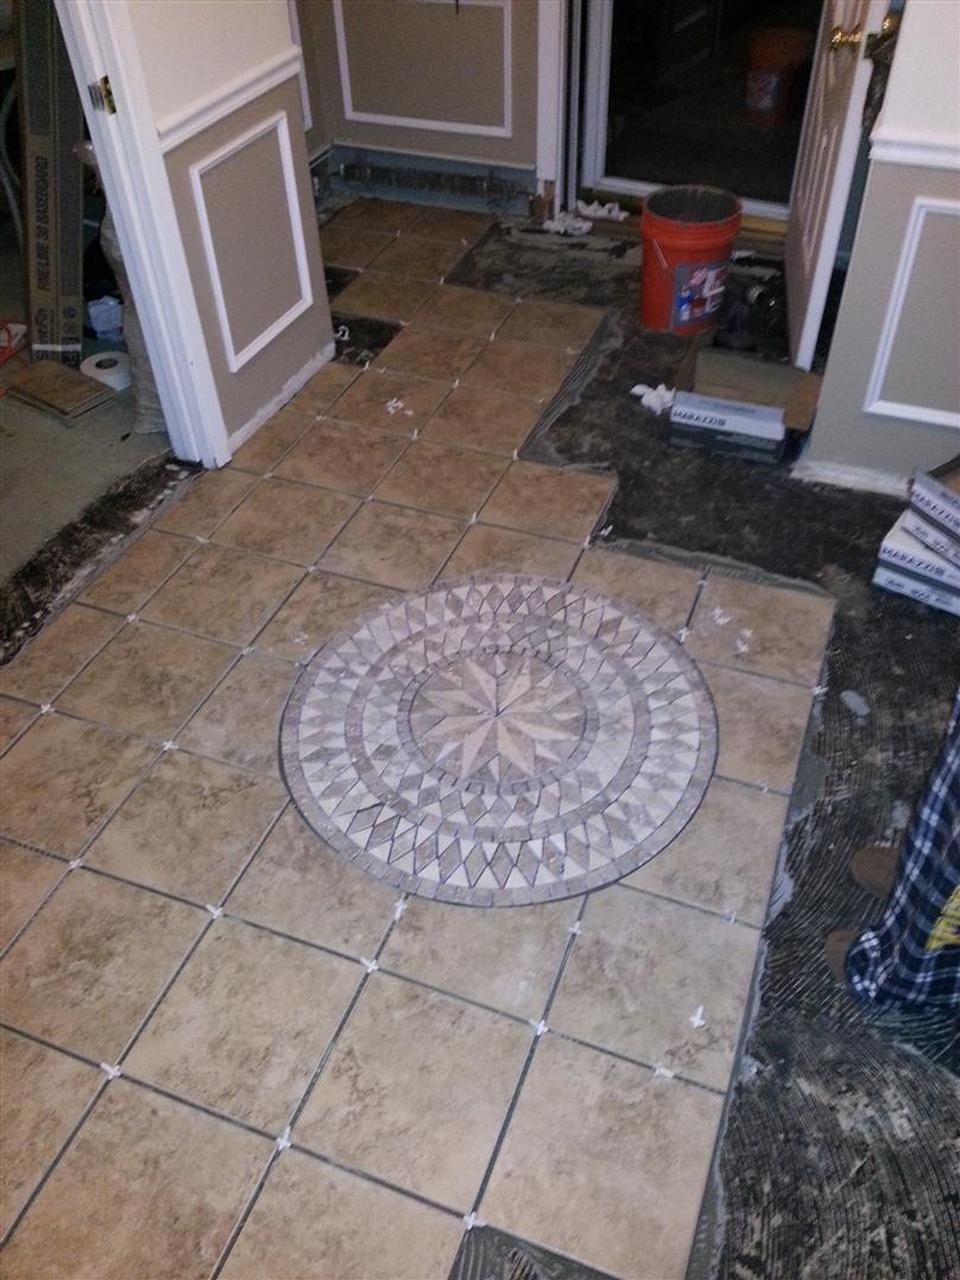
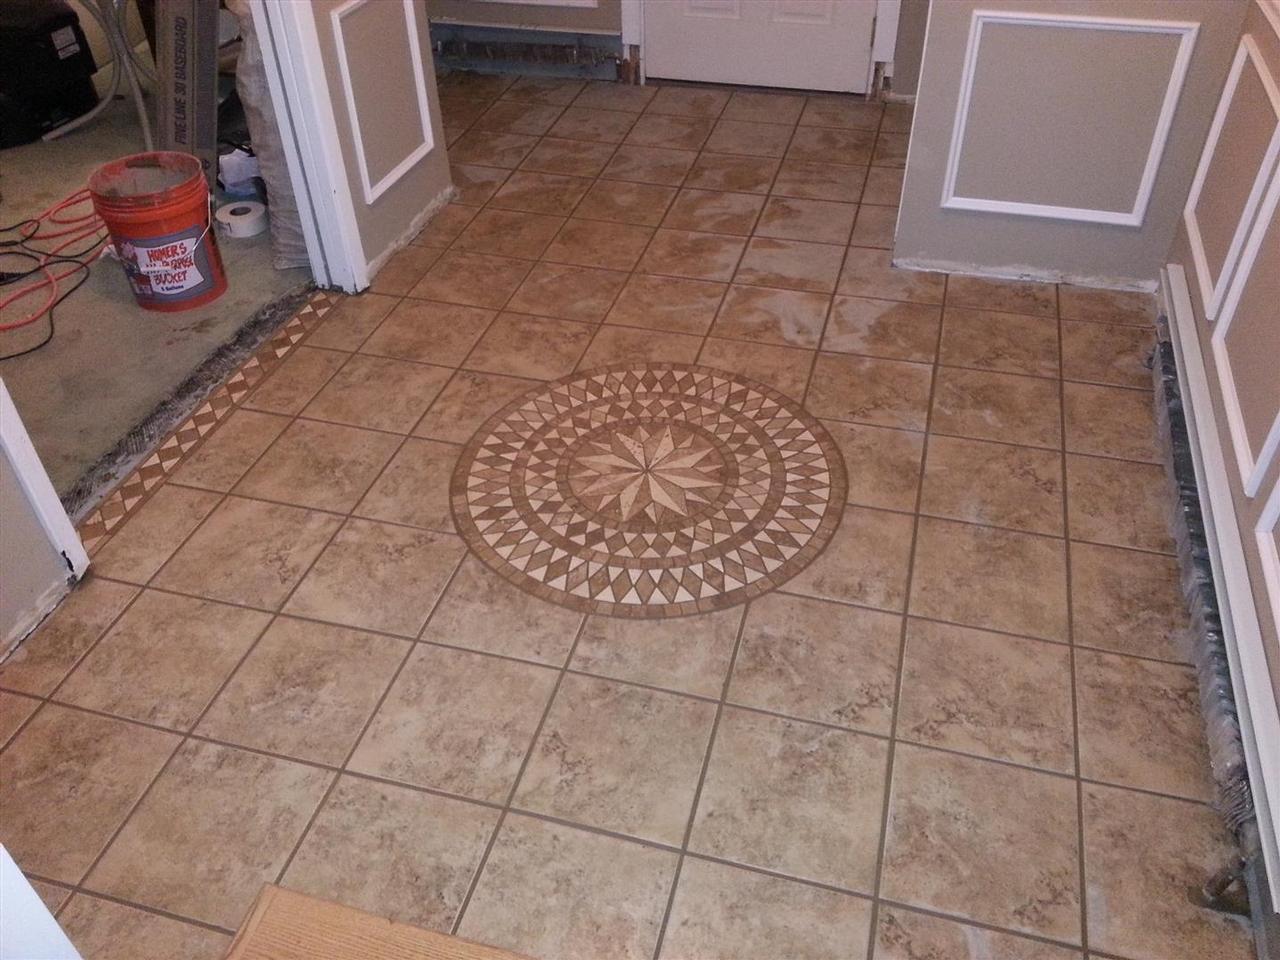
Here's the foyer area when you first walk in the front door. As you can see, it need some help.

61:  These giant floor to ceiling plate glass mirrors are nearly 9 feet tall and 7 feet wide. The oxidation over 42 years has eaten away at the reflective coating in the back. The only shiny mirror-like areas are where the adhesive holds them to the wall.

These giant floor to ceiling plate glass mirrors are nearly 9 feet tall and 7 feet wide. The oxidation over 42 years has eaten away at the reflective coating in the back. The only shiny mirror-like areas are where the adhesive holds them to the wall. (08/29/2012)

67:  Here we have the old chandelier hung above the stairs.

Here we have the old chandelier hung above the stairs. (08/29/2012)

62:  A glass cutter, pry bar, and suction cup handles removed the old mirrors. We taped up the edges and tossed them out.

A glass cutter, pry bar, and suction cup handles removed the old mirrors. We taped up the edges and tossed them out. (10/21/2012)

63:  A look at the destruction in progress.

A look at the destruction in progress. (10/21/2012)

64:  Some pieces broke nice and cleanly, others did not. Is it still 7 years bad luck if youre doing a renovation?

Some pieces broke nice and cleanly, others did not. Is it still 7 years bad luck if youre doing a renovation? (10/21/2012)

68:  With no straight shot to get up to the light fixture, I had to wedge the ladder into a stair, and lean it against the railing. A 2x4 running into the bathroom keeps the railing from ripping out under my weight.

With no straight shot to get up to the light fixture, I had to wedge the ladder into a stair, and lean it against the railing. A 2x4 running into the bathroom keeps the railing from ripping out under my weight. (10/21/2012)

69:  A new victorian style light and a foam medallion breathe new life into the stairway and upper hall.

A new victorian style light and a foam medallion breathe new life into the stairway and upper hall. (10/21/2012)

65:  Some spackle work has things shaping up nicely.

Some spackle work has things shaping up nicely. (10/22/2012)

66:  A fresh coat of paint does wonders.

A fresh coat of paint does wonders. (10/22/2012)

70:  Two matching semi flushmount lights dress up the downstairs hallway and foyer. I dont like these cheaper medallions we much as the more expensive one upstairs, so I ordered a few more which will eventually be installed.

Two matching semi flushmount lights dress up the downstairs hallway and foyer. I dont like these cheaper medallions we much as the more expensive one upstairs, so I ordered a few more which will eventually be installed. (10/22/2012)

71:  The new foyer looks much better now.

The new foyer looks much better now. (10/22/2012)

196: Here's a crown moulding buildup we did for over the front door.  I feel like the casing on the side is dwarfed by the header moulding, o I might try and find some wider casing.  Unfortunately the baseboard heat is right up against the casing, so much so that I had to notch the plinth block at the bottom to get it to fit.  This might limit how wide I can go with the casing.

Here's a crown moulding buildup we did for over the front door. I feel like the casing on the side is dwarfed by the header moulding, o I might try and find some wider casing. Unfortunately the baseboard heat is right up against the casing, so much so that I had to notch the plinth block at the bottom to get it to fit. This might limit how wide I can go with the casing. (02/22/2013)

197: We built this mirror to mimic a piece that Lauren fell in love with at a house we saw while we were still house hunting.  She's been after me for months to finally get around to putting it together.  We just finished it up last night.

We built this mirror to mimic a piece that Lauren fell in love with at a house we saw while we were still house hunting. She's been after me for months to finally get around to putting it together. We just finished it up last night. (03/01/2013)

224: Now we're having some fun.  Pulling up the old linolium, two layers of vinyl tile, and the top layer of 1/2

Now we're having some fun. Pulling up the old linolium, two layers of vinyl tile, and the top layer of 1/2" plywood to install some hardwood flooring in the hallway. (04/26/2013)

225: We used the floor scraper which made quick work of the top layers.  Not so much on the plywood though.  The old vinyl tile is incredibly heavy, and a huge pain in the ass to dispose of.

We used the floor scraper which made quick work of the top layers. Not so much on the plywood though. The old vinyl tile is incredibly heavy, and a huge pain in the ass to dispose of. (04/26/2013)

227: This was the most difficult part.  I set the depth to a half inch on my circular saw and cut the top plywood into manageable strips to make it easier to pry it up.  The nails were every 6 inches into each floor joist, so it was a lot of work pulling it up.

This was the most difficult part. I set the depth to a half inch on my circular saw and cut the top plywood into manageable strips to make it easier to pry it up. The nails were every 6 inches into each floor joist, so it was a lot of work pulling it up. (04/26/2013)

226: You dont want to take any chances breathing in the dust from the old tile and adhesive, so its a full respirator and goggles for me!

You dont want to take any chances breathing in the dust from the old tile and adhesive, so its a full respirator and goggles for me! (04/26/2013)

228: After 4 or 5 hours, we are finally down to the bottom subfloor.  We will be covering this up with unfinished red oak from home depot.  After splitting this into multiple orders to keep using a 10 off 100 coupon, it ran about $2 a square foot.

After 4 or 5 hours, we are finally down to the bottom subfloor. We will be covering this up with unfinished red oak from home depot. After splitting this into multiple orders to keep using a 10 off 100 coupon, it ran about $2 a square foot. (04/27/2013)

229: Tar paper goes down as a vapor barrier.  You can see my buddy in the background face nailing the two perpendicular rows that divide the rooms.  Thanks again for the help this weekend, Nick.

Tar paper goes down as a vapor barrier. You can see my buddy in the background face nailing the two perpendicular rows that divide the rooms. Thanks again for the help this weekend, Nick. (04/27/2013)

230: The first couple rows need to be face nailed, since you cant fit the floor nailer into position yet.    We will countersink the nail heads and fill with wood putty before sealing.    The subsequent rows can be toe nailed in above the tongue, but its not as strong as face nailing.

The first couple rows need to be face nailed, since you cant fit the floor nailer into position yet. We will countersink the nail heads and fill with wood putty before sealing. The subsequent rows can be toe nailed in above the tongue, but its not as strong as face nailing. (04/27/2013)

231: Once you can fit the floor nailer in place, things move much more quickly.  Slamming the nailer with the mallet really tightens the floor up and removed any bow from the wood.  We used both staples and cleats.  I think I prefer the cleats simply because they are ridged, and more likely to stay in place.  Then again, the coatig on the staples is supposed to do the same thing, but who knows.

Once you can fit the floor nailer in place, things move much more quickly. Slamming the nailer with the mallet really tightens the floor up and removed any bow from the wood. We used both staples and cleats. I think I prefer the cleats simply because they are ridged, and more likely to stay in place. Then again, the coatig on the staples is supposed to do the same thing, but who knows. (04/27/2013)

232: Getting close to the wall means you cant fit the nailer in there again.  Toe nail as close to the wall as you can get, then drill and face nail the last couple rows.

Getting close to the wall means you cant fit the nailer in there again. Toe nail as close to the wall as you can get, then drill and face nail the last couple rows. (04/28/2013)

233: It took a lot more time and sweat than I though, but the floor is finally installed.  I will be sanding down the old wood floors in the dining room so I can refinish them both together.   You can see I accidentally knocked off one piece of picture frame moulding from an erant swing of the flooring nailer hammer.  Whoops.

It took a lot more time and sweat than I though, but the floor is finally installed. I will be sanding down the old wood floors in the dining room so I can refinish them both together. You can see I accidentally knocked off one piece of picture frame moulding from an erant swing of the flooring nailer hammer. Whoops. (04/28/2013)

234: This is the entry way as you walk in the front door.  I really need to clean up this first step.  The bullnose step came out about 1-1/4

This is the entry way as you walk in the front door. I really need to clean up this first step. The bullnose step came out about 1-1/4" further than I would have liked, so I think I will simply build the bottom step out a little further when we tile the lower entry way. (04/28/2013)

236: We tore out the old linolium covered step.  It was in terrible shape.  They had filled the concave worn out tread with thinset just to get it straight again.  The wood splintered and fell apart.  All except for one stubborn corner which caused me to put a hole through the wall while engaged in epic battle with it.  Simple enough to fix, I guess.

We tore out the old linolium covered step. It was in terrible shape. They had filled the concave worn out tread with thinset just to get it straight again. The wood splintered and fell apart. All except for one stubborn corner which caused me to put a hole through the wall while engaged in epic battle with it. Simple enough to fix, I guess. (05/01/2013)

237: I couldn't find oak treads in 52

I couldn't find oak treads in 52" lengths, so we had to build it up from planks and bullnose. Sadly this required more face nailing on the front and back rows. The bullnose on the top level had to be cut down on the table saw to keep it from cantelevering well over the bottom step. Doing this required re-creating the groove for the adjoining row's tongue to sit in, necessitating some questionable table saw techniques. Glad no shop teachers were around to see me. (05/01/2013)

288: He we have brushed the perimeter with oil based polyurethane.  You can see how it really brings out the depth in the wood, compared to the unfinished sections.

He we have brushed the perimeter with oil based polyurethane. You can see how it really brings out the depth in the wood, compared to the unfinished sections. (07/04/2013)

289: The first coat of poly is down.  A few imperfections remain, but looks pretty good to me.

The first coat of poly is down. A few imperfections remain, but looks pretty good to me. (07/04/2013)

314: Our mosaic tile medallion has finally arrived.  Here it is along side the regular 12

Our mosaic tile medallion has finally arrived. Here it is along side the regular 12" square tile and the border tile we are using for teh threshold under teh pocket doors that lead to the formal living room. (11/21/2013)

315: First, we laid out a 4 foot square of tiles, then placed the round medallion over the tiles to trace the circle.  We cut teh curves with a diamond blade in the angle grinder.  Roughly half the tiles broke while trying to cut the curve.  Good thing we bought extras.

First, we laid out a 4 foot square of tiles, then placed the round medallion over the tiles to trace the circle. We cut teh curves with a diamond blade in the angle grinder. Roughly half the tiles broke while trying to cut the curve. Good thing we bought extras. (11/23/2013)

316: Under the linolium was more of our favorite - 9 inch vinyl tile!  The tarps went up, and the respirator went on to remove it all.

Under the linolium was more of our favorite - 9 inch vinyl tile! The tarps went up, and the respirator went on to remove it all. (11/23/2013)

317: Got some preliminary tiling done, and were now ready to drag the medalion into place.  I didn't think of it at the time, but I should have used a smaller trowel than the 1/4 square notch.  I had way too much thinset coming up through the mosaic.

Got some preliminary tiling done, and were now ready to drag the medalion into place. I didn't think of it at the time, but I should have used a smaller trowel than the 1/4 square notch. I had way too much thinset coming up through the mosaic. (11/23/2013)

318: The medallion is in place.   You can see some thinset coming up between the tiles.

The medallion is in place. You can see some thinset coming up between the tiles. (11/23/2013)

319: We leveled the mosaic down with the grout flat, and then sponged off as much excess thinset as possible.  Unfortunately Ill need to address this after the thinset hardens.

We leveled the mosaic down with the grout flat, and then sponged off as much excess thinset as possible. Unfortunately Ill need to address this after the thinset hardens. (11/23/2013)

320: After laying the remainder of the 12x12 tiles the next day, I went to work on cleaning up the medallion.  The circle was a bit out of round after breaking so many tiles, I decided to use the angle grinder and diamond blade to touch up the circle and cut a uniform gap around the medallion.  Then we used the ascillating multi tool and the dremel to remove grout from between the mosaic tiles.  This was tedious work, but it was the only way to keep teh thinset from showing tonce we grout.

After laying the remainder of the 12x12 tiles the next day, I went to work on cleaning up the medallion. The circle was a bit out of round after breaking so many tiles, I decided to use the angle grinder and diamond blade to touch up the circle and cut a uniform gap around the medallion. Then we used the ascillating multi tool and the dremel to remove grout from between the mosaic tiles. This was tedious work, but it was the only way to keep teh thinset from showing tonce we grout. (11/24/2013)

321: After removing the last bits of errant thinset, the grout goes down.

After removing the last bits of errant thinset, the grout goes down. (11/25/2013)

322: The grout looks surprisingly good this dark.  I'm actually bummed out that it will lighten once it cures and dries.

The grout looks surprisingly good this dark. I'm actually bummed out that it will lighten once it cures and dries. (11/25/2013)

323: This is the threshold under the pocket doors that lead to the formal livingroom.  I really like these mosaic border tiles, they were a pleasure to work with.

This is the threshold under the pocket doors that lead to the formal livingroom. I really like these mosaic border tiles, they were a pleasure to work with. (11/25/2013)

324: The next morning the grout has started to harden and dry out.  We start putting the mouldings back on.

The next morning the grout has started to harden and dry out. We start putting the mouldings back on. (11/26/2013)

325: The furniture goes back in, and the tilework is complete.  After another day or so, we can wipe any remaining haze off the tiles.

The furniture goes back in, and the tilework is complete. After another day or so, we can wipe any remaining haze off the tiles. (11/26/2013)

475: Caulking over the stairs was a bit precarious, but we got it done.

Caulking over the stairs was a bit precarious, but we got it done. (05/03/2020)

474: Adding crown molding upstairs and down.

Adding crown molding upstairs and down. (05/03/2020)

we love to get feedback, so here's your chance to tell us just how bad we did. chances are we already know just how bad it really is...

your name
your email
(only if you want a scathing response)
what's a matta'?
bad feedback
what's my name?
(Spam Control)

some insensitive jerkwads have said: