about bad renovations - all the bad renovations - latest bad updates - bad feedback - good people

our bad renovations:

Move in Condition
Master Bedroom
The Den
Half Bath (Downstairs)
Pointed Arch Destruction
Garage / Workshop
Hallway Facelift
New Windows
Load Bearing Beam
Kitchen Renovation Part 1
Kitchen Renovation Part 2
Dining Room
Basement
Pool Renovation
Dining Room Table
Formal Living Room
Nursery
Electrical Rewiring
Bedrooms
Air Conditioning / Heat Pumps
Front Porch
Outdoor Living
Landscaping


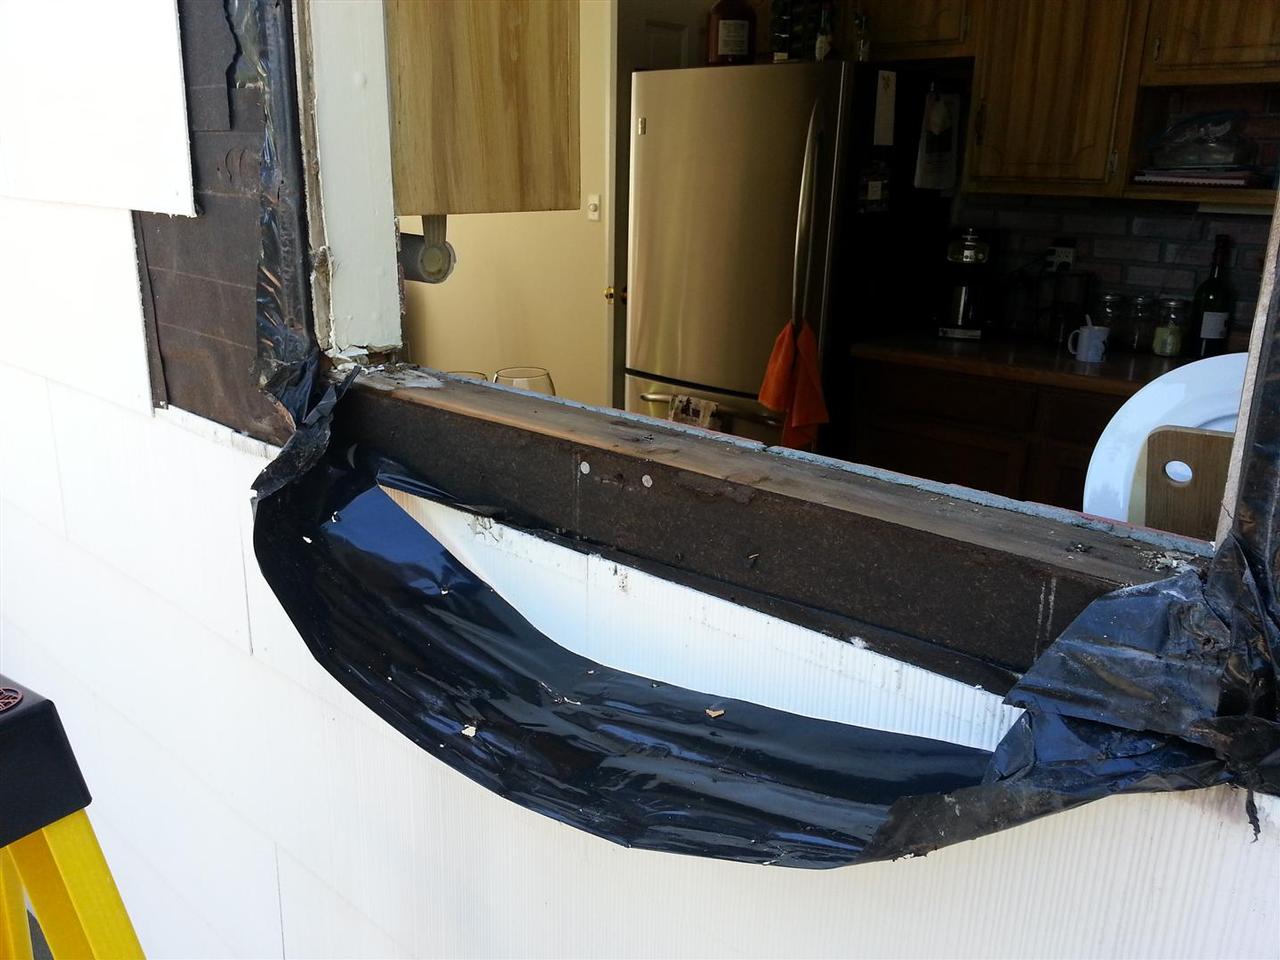
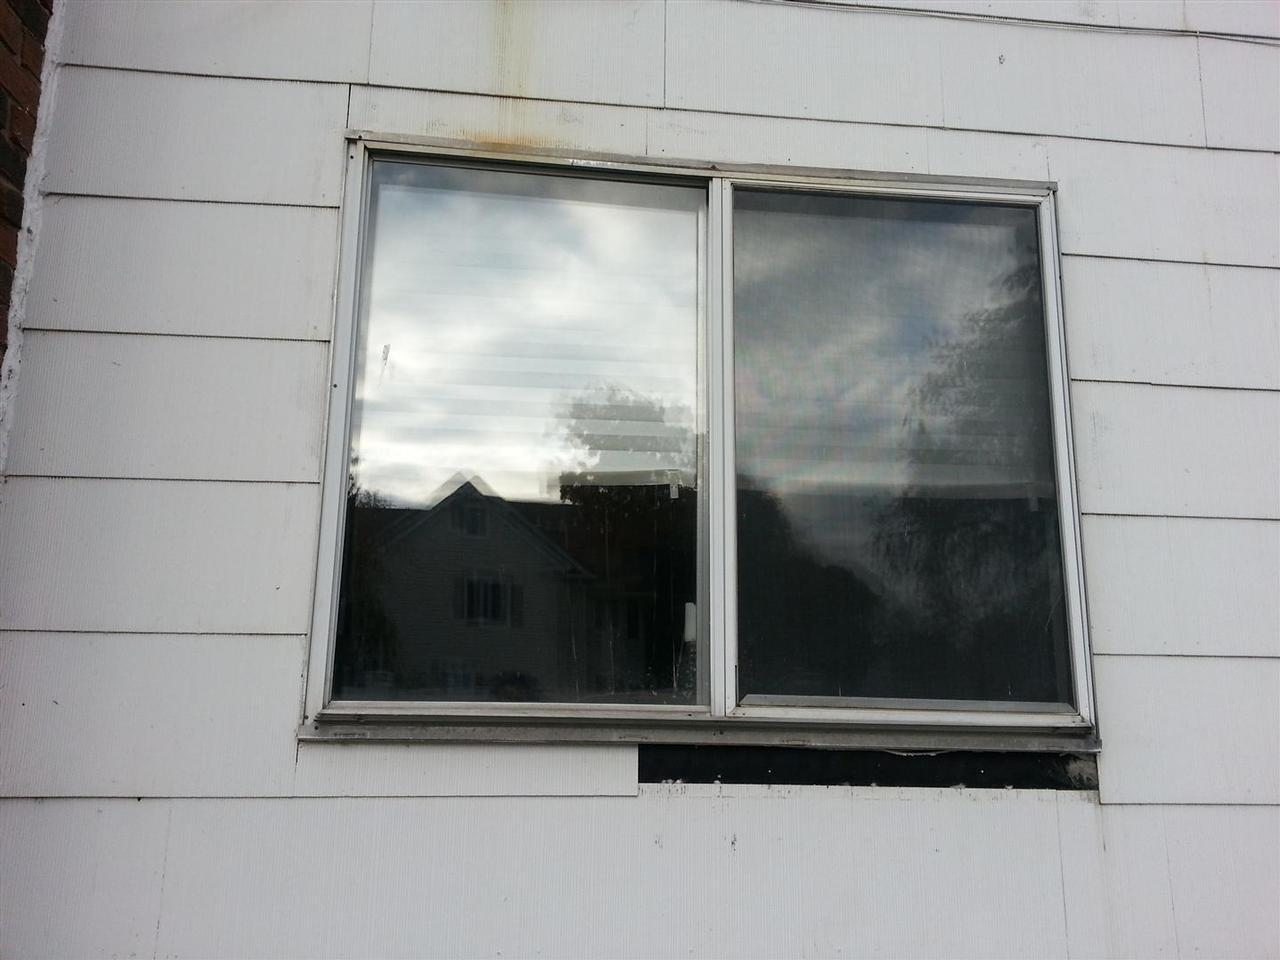
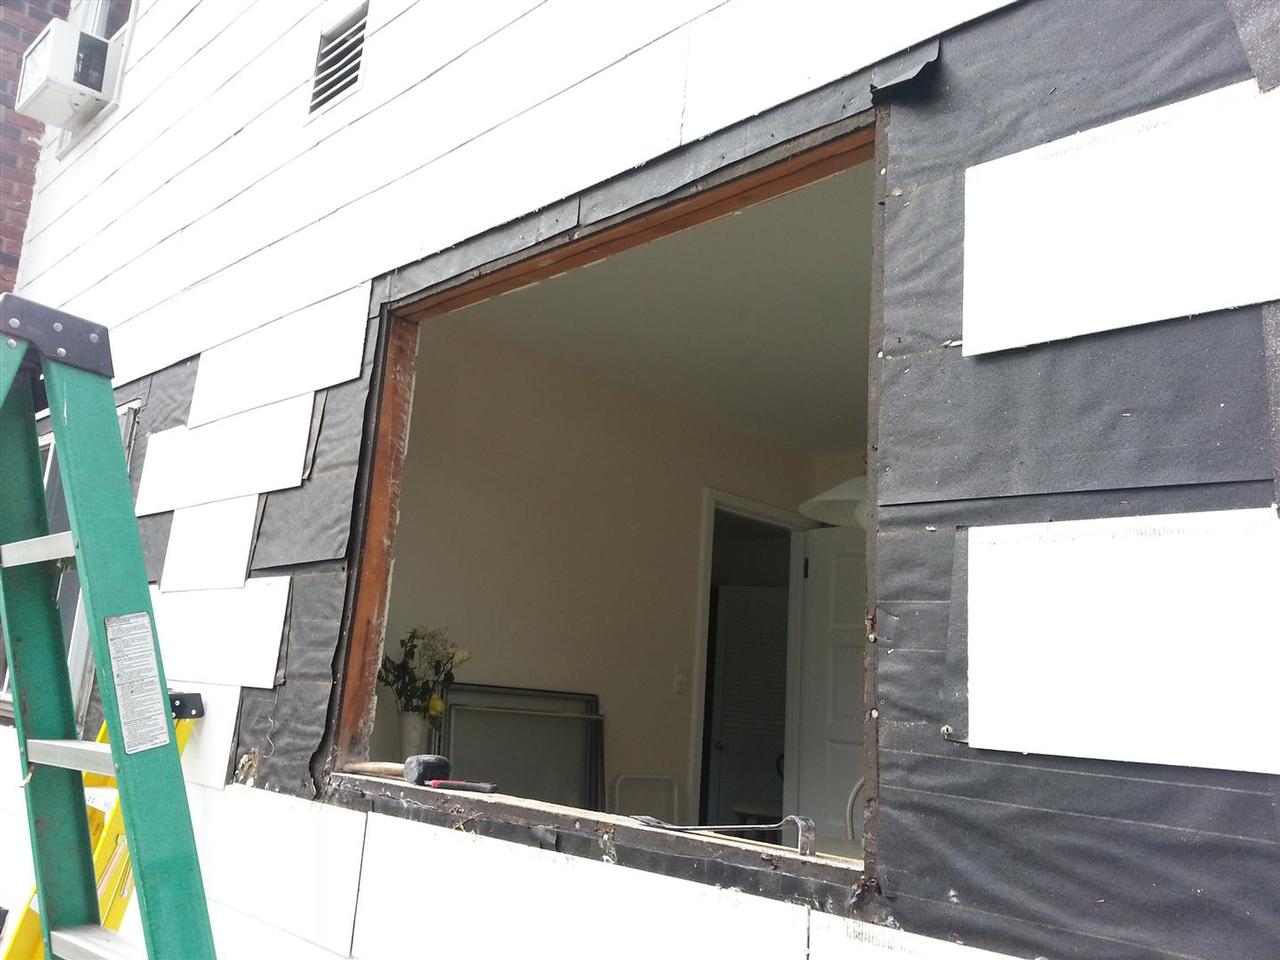
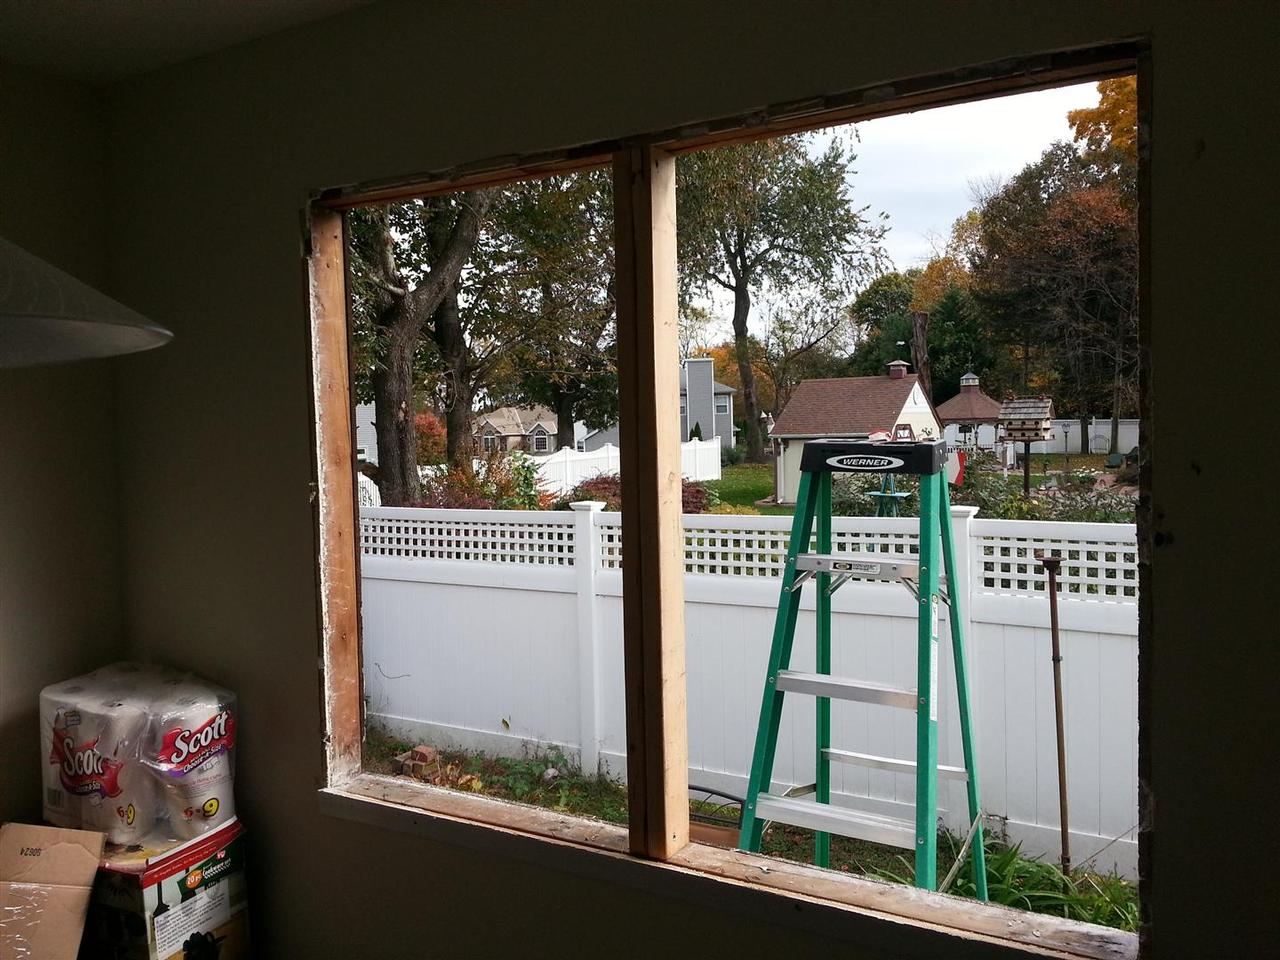
So today we woke up and decided, lets put a giant hole in the kitchen.

73:  So we went outside and off came the lovely and ever present asbestos cement shingles, and we pried out the old window.

So we went outside and off came the lovely and ever present asbestos cement shingles, and we pried out the old window. (08/29/2012)

72:  Heres what the kitchen slider looked like.

Heres what the kitchen slider looked like. (10/13/2012)

74:  Looks like they flashed the windows with plastic garbage bags, and nothing else. We cut it all back down to the blackboard sheathing.

Looks like they flashed the windows with plastic garbage bags, and nothing else. We cut it all back down to the blackboard sheathing. (10/13/2012)

75:  As luck would have it, the rough opening was too small, so I had to rip an extra 1/4 inch on three sides for the proper expansion gaps around the window. A hammer and chisel took care of the corners, and a testfit confirmed the window fits as it should. Next, we flashed the rough sill with 6 inch protecto wrap, which is a nice and easy asphalt based flashing product made for windows and doors. After flashing the sill, we ran a bead of white caulk around the perimiter, and finally dropped the new window in.

As luck would have it, the rough opening was too small, so I had to rip an extra 1/4 inch on three sides for the proper expansion gaps around the window. A hammer and chisel took care of the corners, and a testfit confirmed the window fits as it should. Next, we flashed the rough sill with 6 inch protecto wrap, which is a nice and easy asphalt based flashing product made for windows and doors. After flashing the sill, we ran a bead of white caulk around the perimiter, and finally dropped the new window in. (10/13/2012)

76:  Next, we flashed the two sides, and finally the top of the window.

Next, we flashed the two sides, and finally the top of the window. (10/13/2012)

77:  Next, Lauren tests the strength of the glass pane with a claw hammer for good measure.

Next, Lauren tests the strength of the glass pane with a claw hammer for good measure. (10/13/2012)

78:  Fast forward a couple of weeks, and our special order windows come in to replace the bigger sliders in the kitchen and dining room. And it figures that we decided to put them in the weekend before hurricane Sandy is set to hit Long Island. At least Ill have a good idea if theyre sealed correctly! <br><br> Heres what we'll be replacing.

Fast forward a couple of weeks, and our special order windows come in to replace the bigger sliders in the kitchen and dining room. And it figures that we decided to put them in the weekend before hurricane Sandy is set to hit Long Island. At least Ill have a good idea if theyre sealed correctly!

Heres what we'll be replacing.
(10/13/2012)

79:  Out come the windows. Looks so much better already without those 42 year old aluminum heat sinks.

Out come the windows. Looks so much better already without those 42 year old aluminum heat sinks. (10/27/2012)

80:  Our new windows are cheapo single hungs rather than sliders. We'll need to frame out a mullion to split this into two windows.

Our new windows are cheapo single hungs rather than sliders. We'll need to frame out a mullion to split this into two windows. (10/27/2012)

81:  To get the new framing to sit flush with the blackboard sheething, I rip a 3"

To get the new framing to sit flush with the blackboard sheething, I rip a 3" (10/27/2012)

82:  Now here's the inside view of the old dining room windows. Now you see why these things had to go ASAP.

Now here's the inside view of the old dining room windows. Now you see why these things had to go ASAP. (10/27/2012)

83:  We follow the same process as before. Flash, caulk, set, shim, screw, and flash again. Both windows are now in.

We follow the same process as before. Flash, caulk, set, shim, screw, and flash again. Both windows are now in. (10/27/2012)

84:  A few new pieces of cement fiber siding (now without asbestos!), and we're done out there. I cracked a few of these delicate bastards, and at nearly $9 for two square feet, I was cursing up a storm out there.

A few new pieces of cement fiber siding (now without asbestos!), and we're done out there. I cracked a few of these delicate bastards, and at nearly $9 for two square feet, I was cursing up a storm out there. (10/27/2012)

85:  The new windows look much much better than the old ones. But with the upcoming kitchen renovation, I'm not going to bother doing any sheetrock or moulding yet. In fact, I didnt even spray foam yes, since I wanted to inspect for leaks during the big storm. Looking back, it certainly was one hell of a first test, as the storm was bad enough to put 90% of long island back into the stone age.

The new windows look much much better than the old ones. But with the upcoming kitchen renovation, I'm not going to bother doing any sheetrock or moulding yet. In fact, I didnt even spray foam yes, since I wanted to inspect for leaks during the big storm. Looking back, it certainly was one hell of a first test, as the storm was bad enough to put 90% of long island back into the stone age. (10/28/2012)

86:

(10/29/2012)

367: Today, we're replacing the windows on either side of the living room bay window.  We pulled back the aluminum fascia, and a little vinyl siding, and pried out the old windows.  Here is the new window in place, and the flashing going up.

Today, we're replacing the windows on either side of the living room bay window. We pulled back the aluminum fascia, and a little vinyl siding, and pried out the old windows. Here is the new window in place, and the flashing going up. (08/31/2014)

368: Flashing is finished, and fascia, siding and trim is back up.  I had to bend the aluminum fascia a bit by hand.  Normally you would use a brake to bend it cleanly, but I tried to use a couple scraps of wood to bend a foot at a time.  Results were poor.

Flashing is finished, and fascia, siding and trim is back up. I had to bend the aluminum fascia a bit by hand. Normally you would use a brake to bend it cleanly, but I tried to use a couple scraps of wood to bend a foot at a time. Results were poor. (08/31/2014)

369: The window on the other side is done as well.  Theres a lot of termite damage in there, but I think it will hold for now.  I may sister up some studs from the outside when I do the siding.

The window on the other side is done as well. Theres a lot of termite damage in there, but I think it will hold for now. I may sister up some studs from the outside when I do the siding. (08/31/2014)

370: Bay window sides are done.  Results are OK, but not great due to the poorly bent aluminum.  I left the original picture window in the middle due to budgetary concerns.  Theres better places to spend 700 bucks, though I may revisit it at some point.

Bay window sides are done. Results are OK, but not great due to the poorly bent aluminum. I left the original picture window in the middle due to budgetary concerns. Theres better places to spend 700 bucks, though I may revisit it at some point. (08/31/2014)

371: This was the scariest window to replace.  Its the big slider in the office, and we're replacing it with a twin double hung window.  I did what little work I could from the inside of the house, but at some point I had to work at with both hands full at teh top of this ladder.  I hate heights.

This was the scariest window to replace. Its the big slider in the office, and we're replacing it with a twin double hung window. I did what little work I could from the inside of the house, but at some point I had to work at with both hands full at teh top of this ladder. I hate heights. (10/25/2014)

372: It was so much easier to pull the sashes out and loosely install the empty frame from inside the house, and quickly run up the ladder to tack the four corners once it was square.

It was so much easier to pull the sashes out and loosely install the empty frame from inside the house, and quickly run up the ladder to tack the four corners once it was square. (10/25/2014)

373: We could then reinstall the sashes, and screw in the remaining perimeter holes.  Next up, some flashing, and on to cutting an dhanging new cement fiber shingles.

We could then reinstall the sashes, and screw in the remaining perimeter holes. Next up, some flashing, and on to cutting an dhanging new cement fiber shingles. (10/25/2014)

374: I guess I never took any pictures of the back bedroom window going in, but it's the same slider that we installed in the kitchen.  Most of the work could be done from the roof, which is much easier than working on a ladder, though I do hate getting on and off the roof.  Anyway, you can see the freshly replaced windows and newly hung siding.

I guess I never took any pictures of the back bedroom window going in, but it's the same slider that we installed in the kitchen. Most of the work could be done from the roof, which is much easier than working on a ladder, though I do hate getting on and off the roof. Anyway, you can see the freshly replaced windows and newly hung siding. (11/08/2014)

375: Now for the grand finale - replacing the front bedroom windows.  In preparation, we pulled all the shutters down and removed the storm windows.  They were barely out 10 minutes before scrappers were at the door asking if they could take them.  Saves me from lugging them out to the curb.

Now for the grand finale - replacing the front bedroom windows. In preparation, we pulled all the shutters down and removed the storm windows. They were barely out 10 minutes before scrappers were at the door asking if they could take them. Saves me from lugging them out to the curb. (11/08/2014)

376: I had toyed with the idea of just bending the vinyl out of the way to install teh windows, but I decided unzipping it and pullling it off was easier than wrestling with it in place.

I had toyed with the idea of just bending the vinyl out of the way to install teh windows, but I decided unzipping it and pullling it off was easier than wrestling with it in place. (11/15/2014)

377: The vinyl was backed with 1/4 inch of polystyrene foam, as well as 1/4 inch foil faced rigid insulation.  I decided the polystyrene wasnt worth saving, since this siding will be replaced with vinyl shake in the next year or so.

The vinyl was backed with 1/4 inch of polystyrene foam, as well as 1/4 inch foil faced rigid insulation. I decided the polystyrene wasnt worth saving, since this siding will be replaced with vinyl shake in the next year or so. (11/15/2014)

378: The siding is down, the J channel removed, and the old windows are ready to be pried out.

The siding is down, the J channel removed, and the old windows are ready to be pried out. (11/15/2014)

379: My brother Dave came by to give me a hand.  Once he got here, things went much faster.  Thanks Dave!  We pried out all five windows, cleaned up the rough openings, and hung the first two windows.  As daylight faded, we got the rest of the holes in the house filled with glass.  We finished the flashing just in time before it got too dark to be up on a roof.

My brother Dave came by to give me a hand. Once he got here, things went much faster. Thanks Dave! We pried out all five windows, cleaned up the rough openings, and hung the first two windows. As daylight faded, we got the rest of the holes in the house filled with glass. We finished the flashing just in time before it got too dark to be up on a roof. (11/15/2014)

380: Overnight, it dipped down into the mid 20s.  Our bedroom seemed cold all night.  Early in the morning, I could see daylight between the sash and frame, bleeding cold air into the room.  Turns out when we replaced the sashes, these two windows went in wrong.  A thin part of the clip mechanism was supposed to be in the frame channel, but instead was sandwiched between the sash and the frame, bowing the frame outward, resulting in the draft.  Luckily the caulk hadnt cured yet, so I was able unscrew the sides of teh window, and remove the bow with the help of a bar clamp.  I reflashed the two problem windows, and began hanging teh vinyl siding.

Overnight, it dipped down into the mid 20s. Our bedroom seemed cold all night. Early in the morning, I could see daylight between the sash and frame, bleeding cold air into the room. Turns out when we replaced the sashes, these two windows went in wrong. A thin part of the clip mechanism was supposed to be in the frame channel, but instead was sandwiched between the sash and the frame, bowing the frame outward, resulting in the draft. Luckily the caulk hadnt cured yet, so I was able unscrew the sides of teh window, and remove the bow with the help of a bar clamp. I reflashed the two problem windows, and began hanging teh vinyl siding. (11/16/2014)

381: The siding goes up.  The tops and bottoms of the windows were most difficult to trim out for the slightly larger windows.  Its so much easier working with the integrated J channel - It cuts the work in half if not better.

The siding goes up. The tops and bottoms of the windows were most difficult to trim out for the slightly larger windows. Its so much easier working with the integrated J channel - It cuts the work in half if not better. (11/16/2014)

382: The windows are in and the siding is all up.  The house finally looks like a house again.  You can see just how faded the siding is by the ghosting under the shutters.

The windows are in and the siding is all up. The house finally looks like a house again. You can see just how faded the siding is by the ghosting under the shutters. (11/16/2014)

383: Shutters are up, and the ladder is down.  This project is over.  Just in time for the rain about to roll in this evening.

Shutters are up, and the ladder is down. This project is over. Just in time for the rain about to roll in this evening. (11/16/2014)

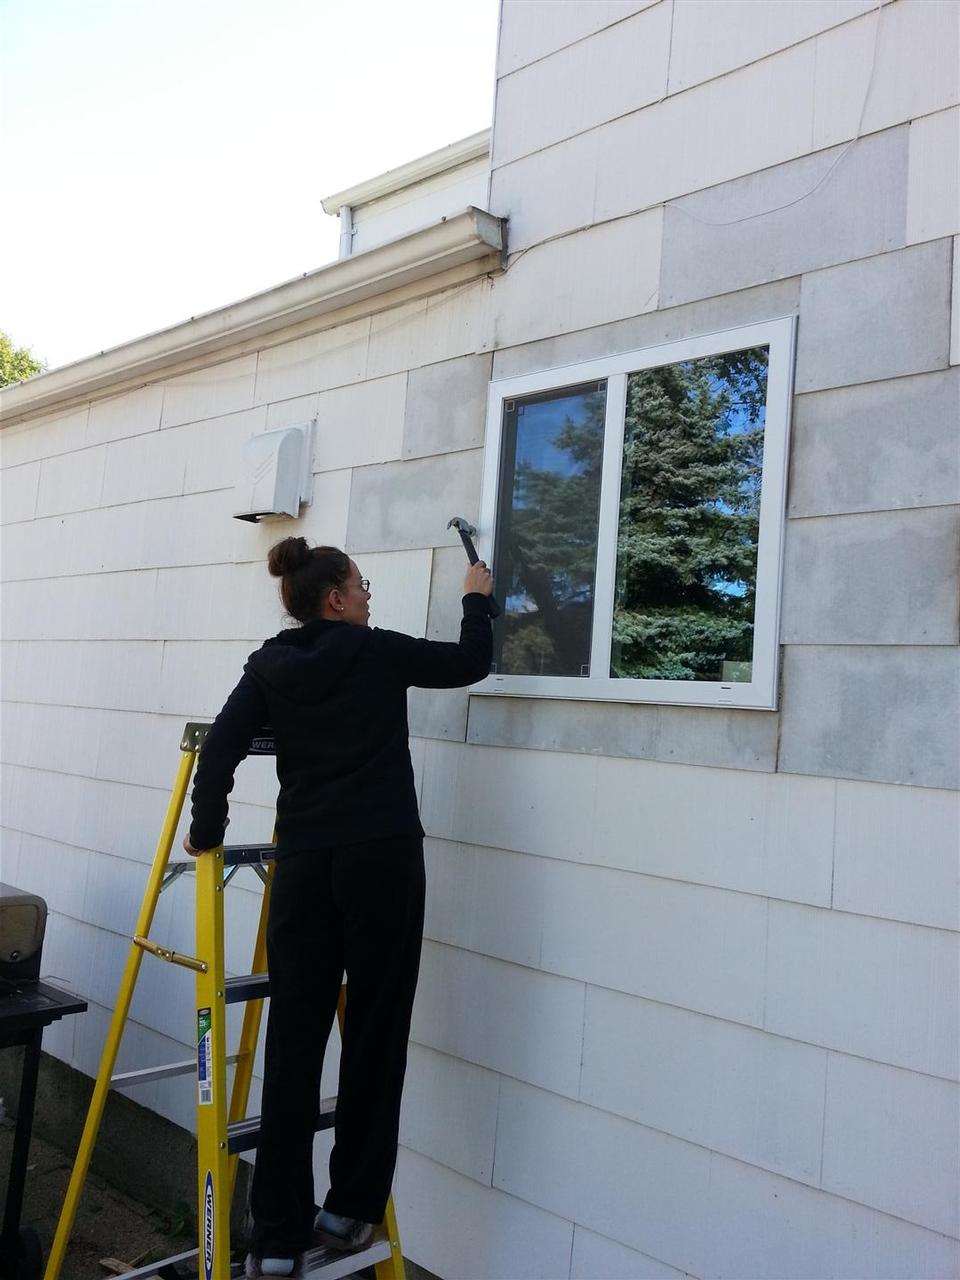
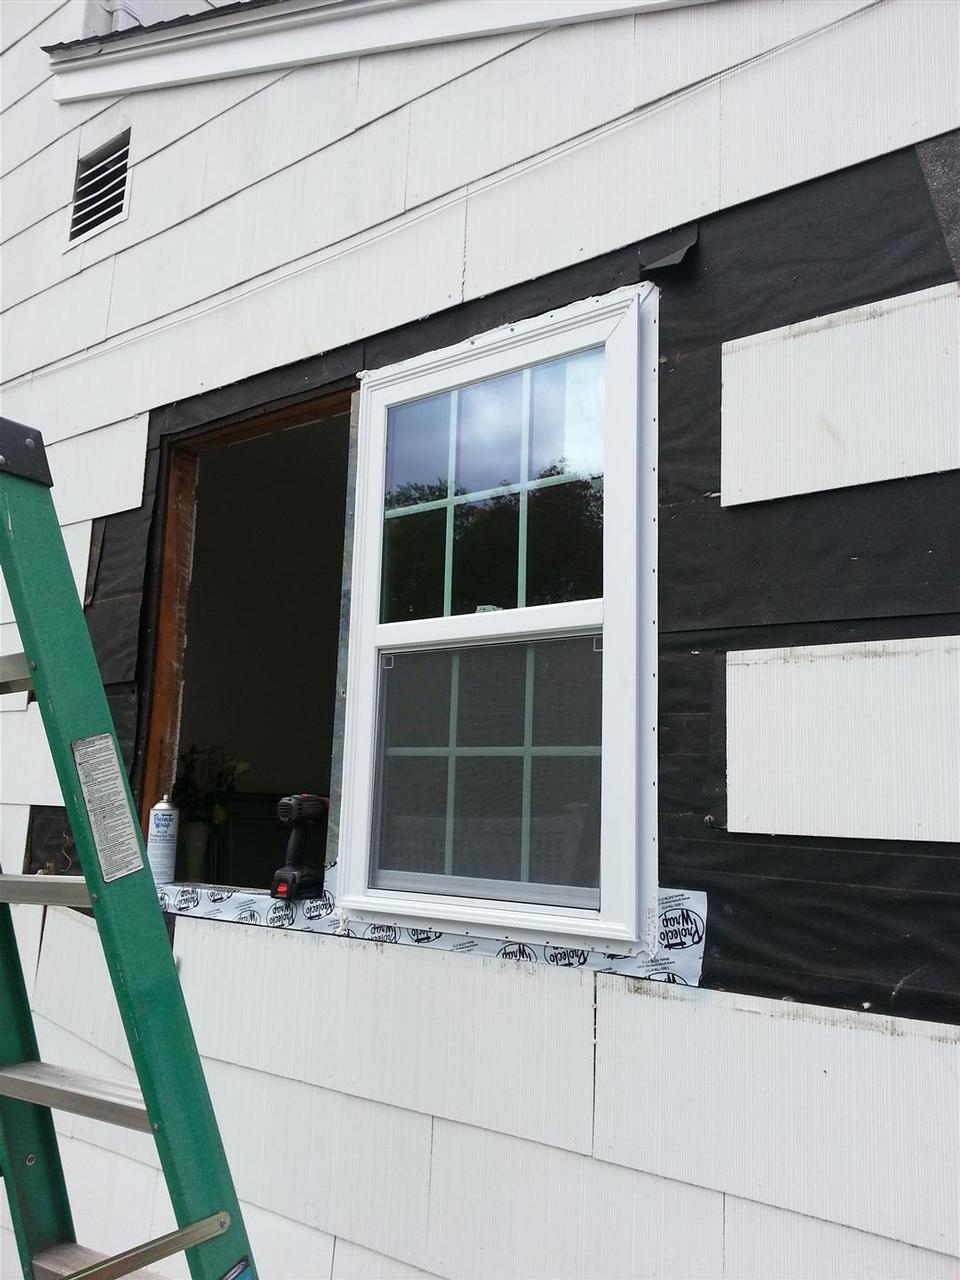
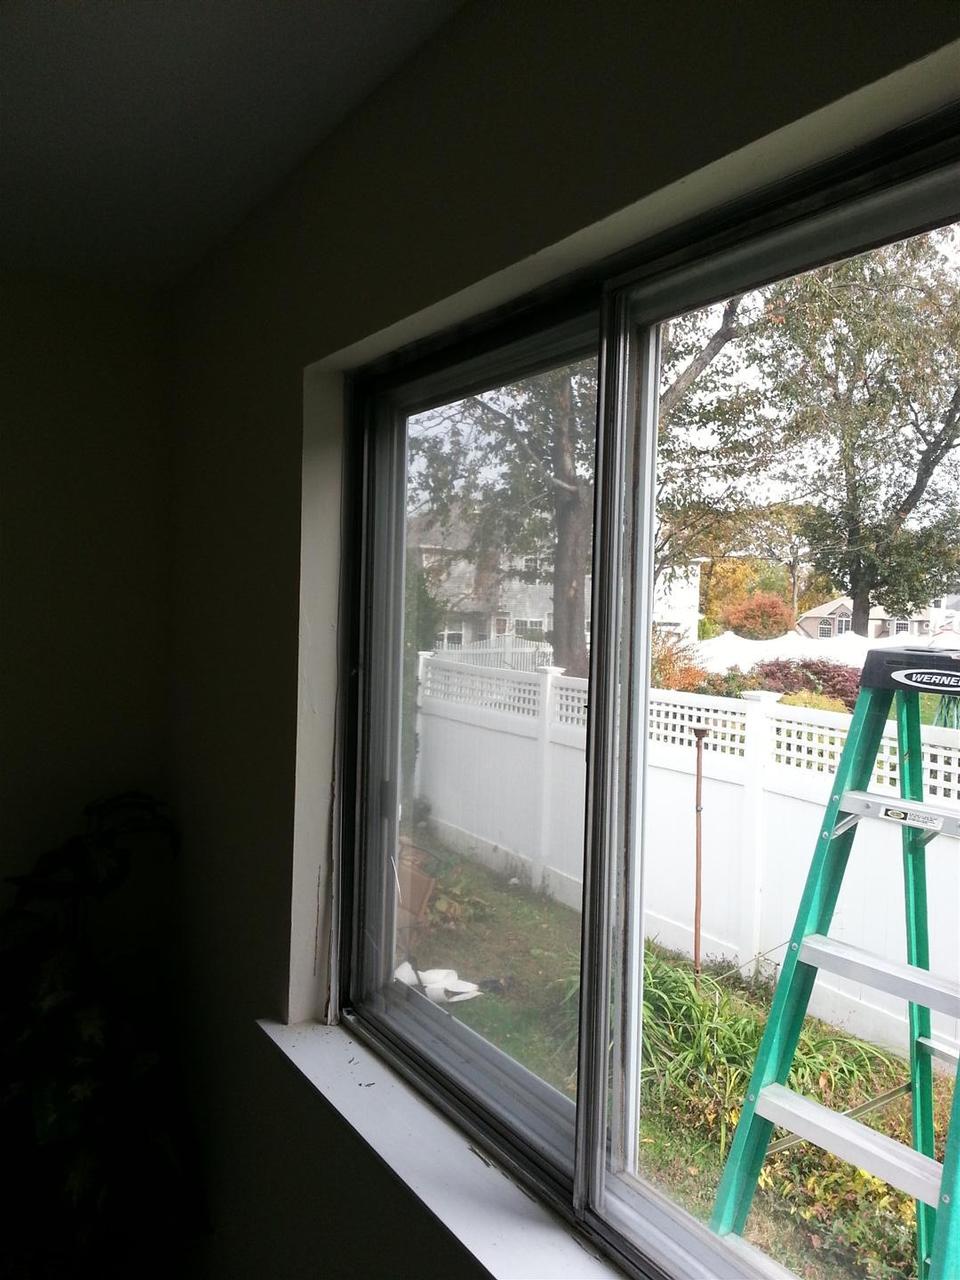
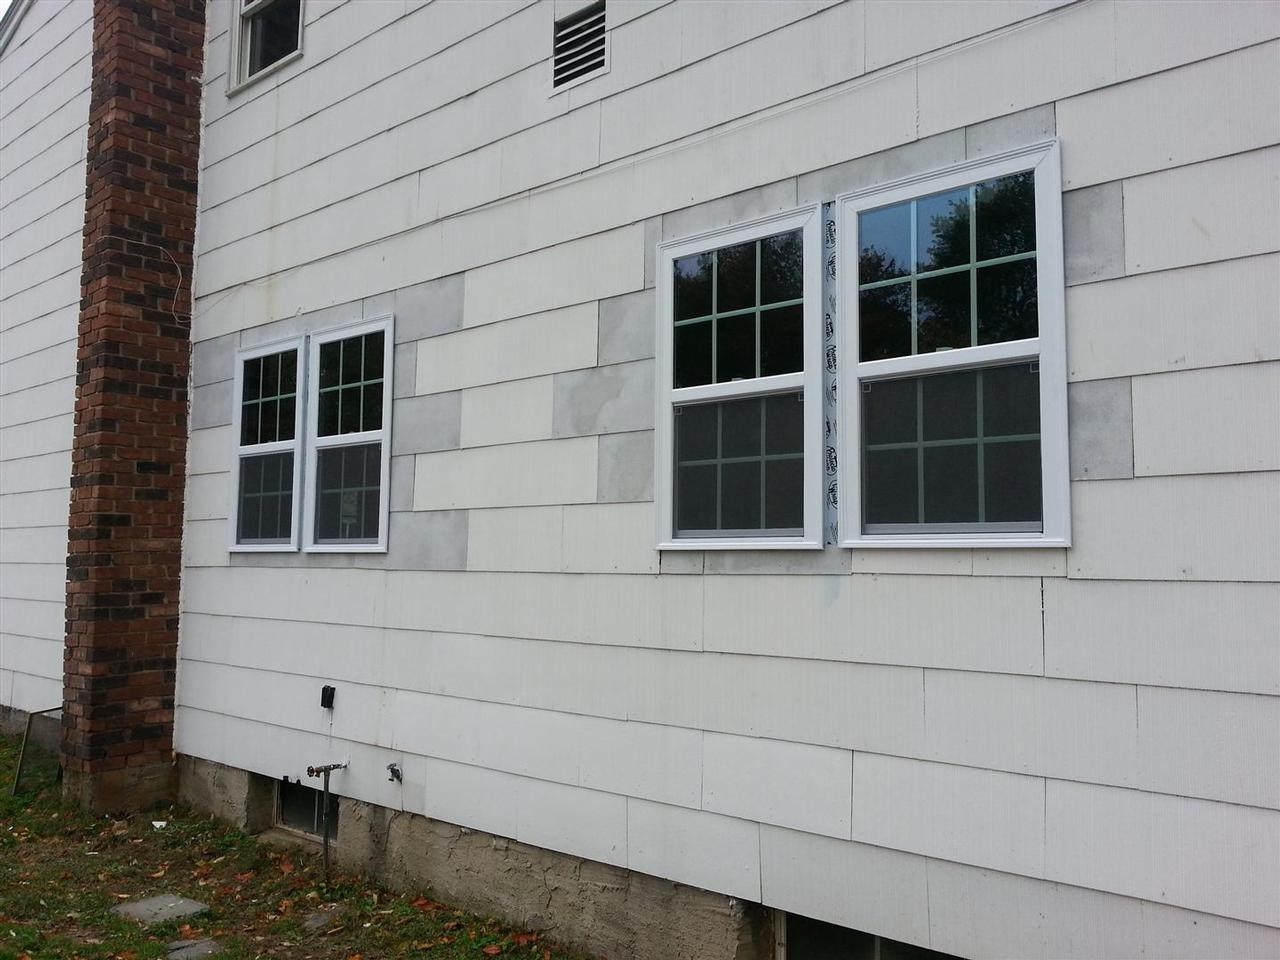
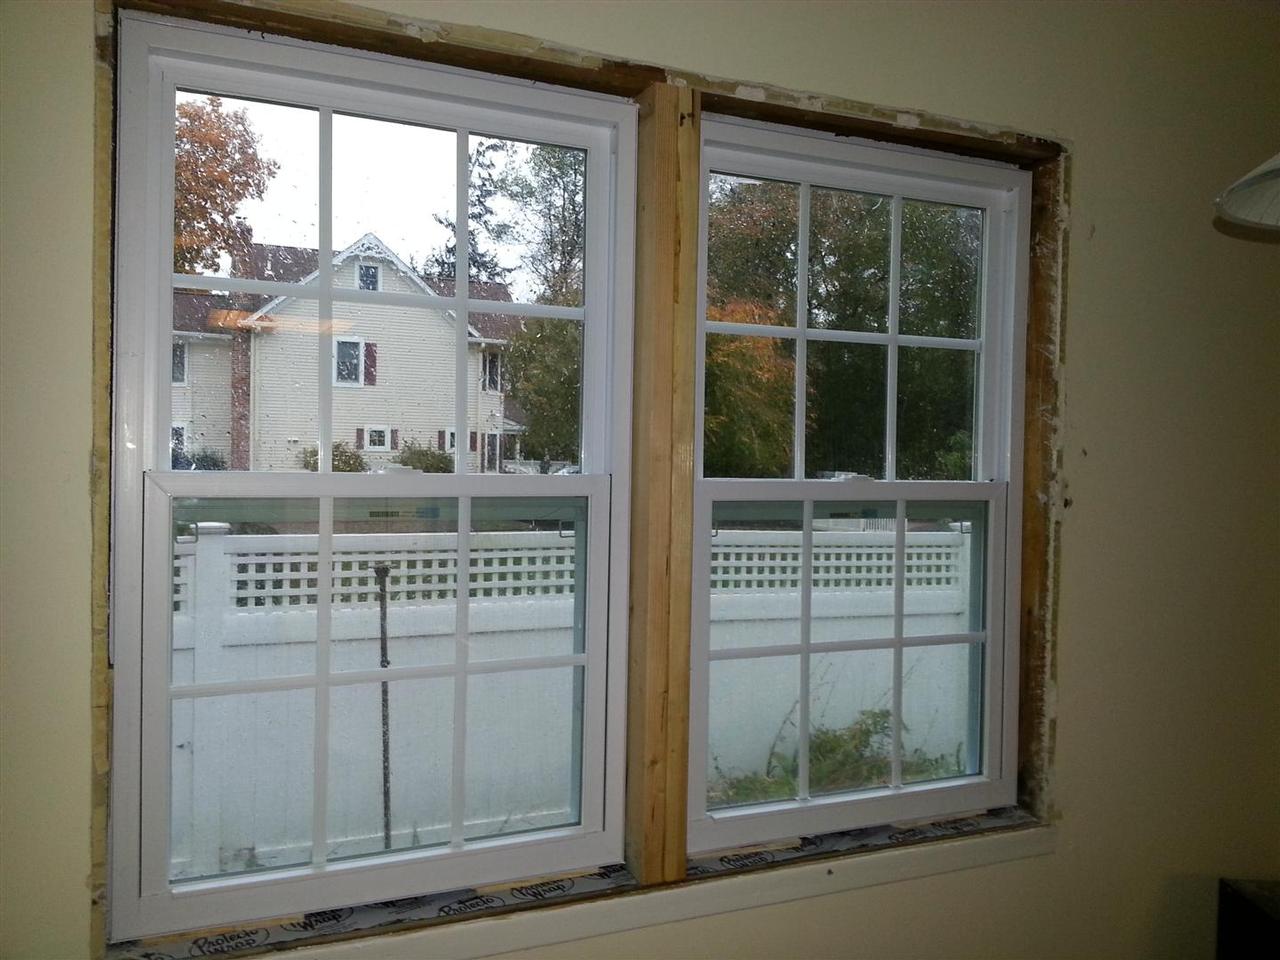
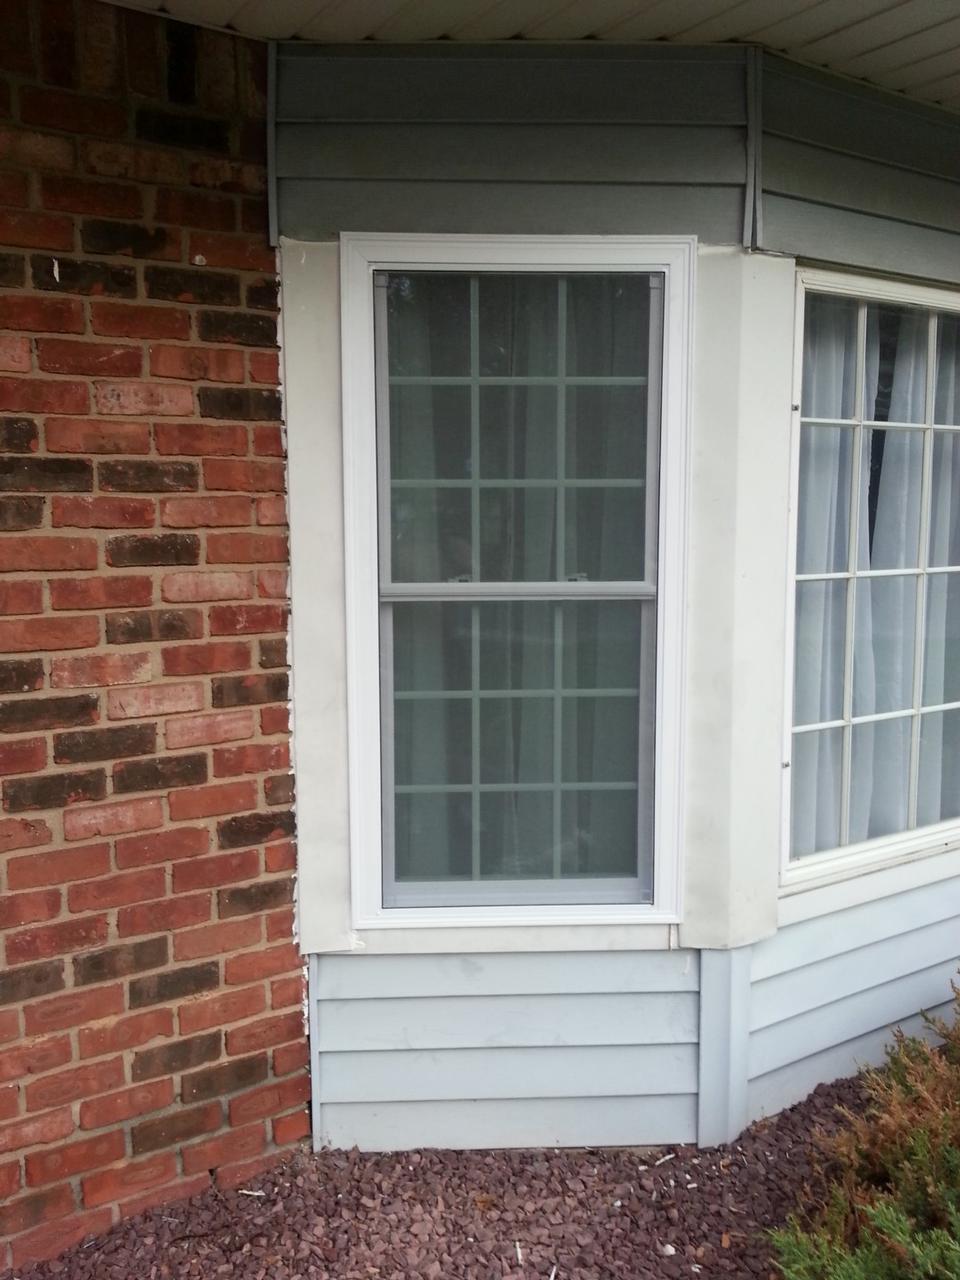
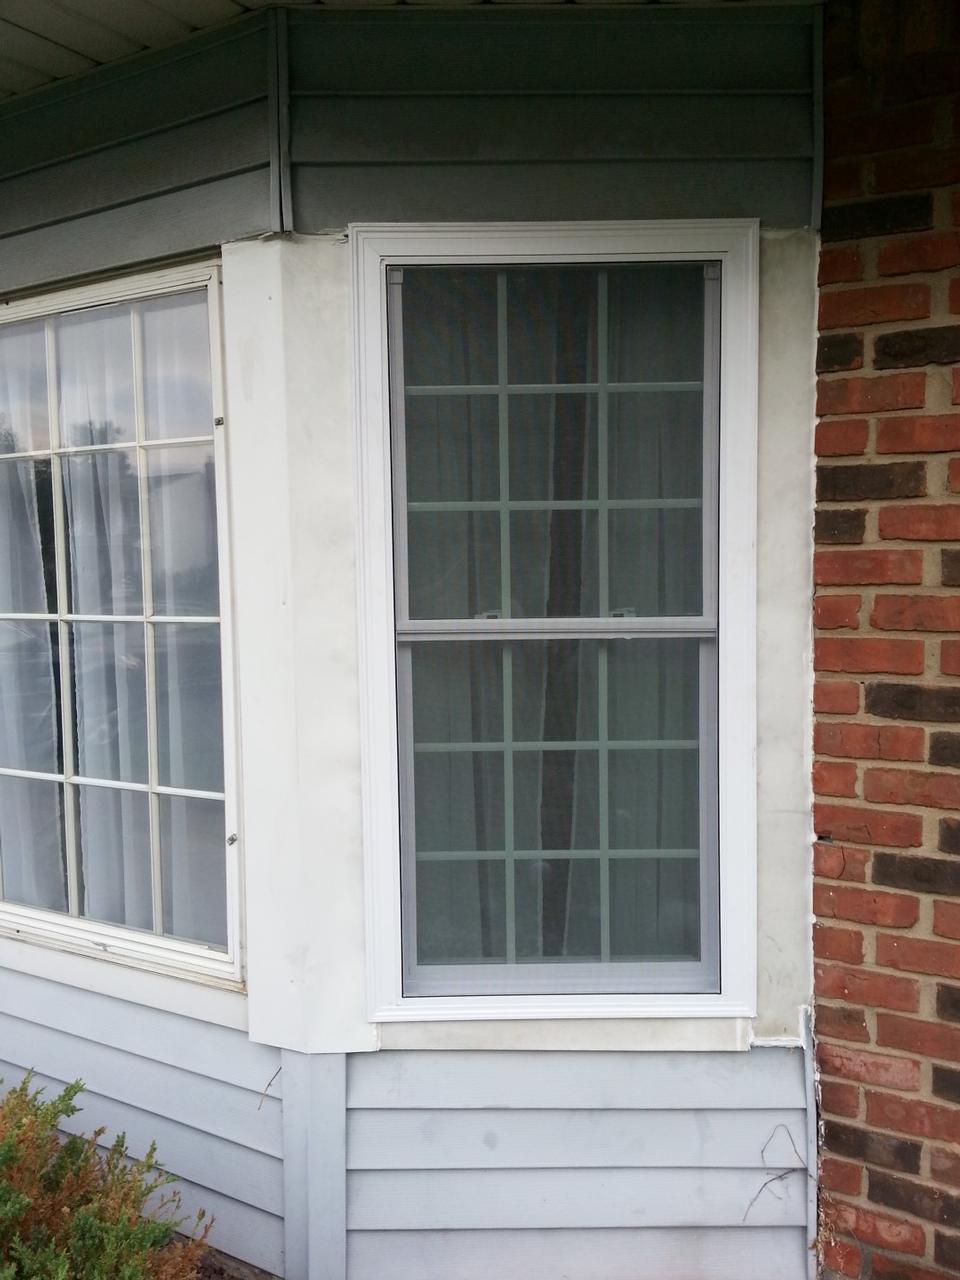
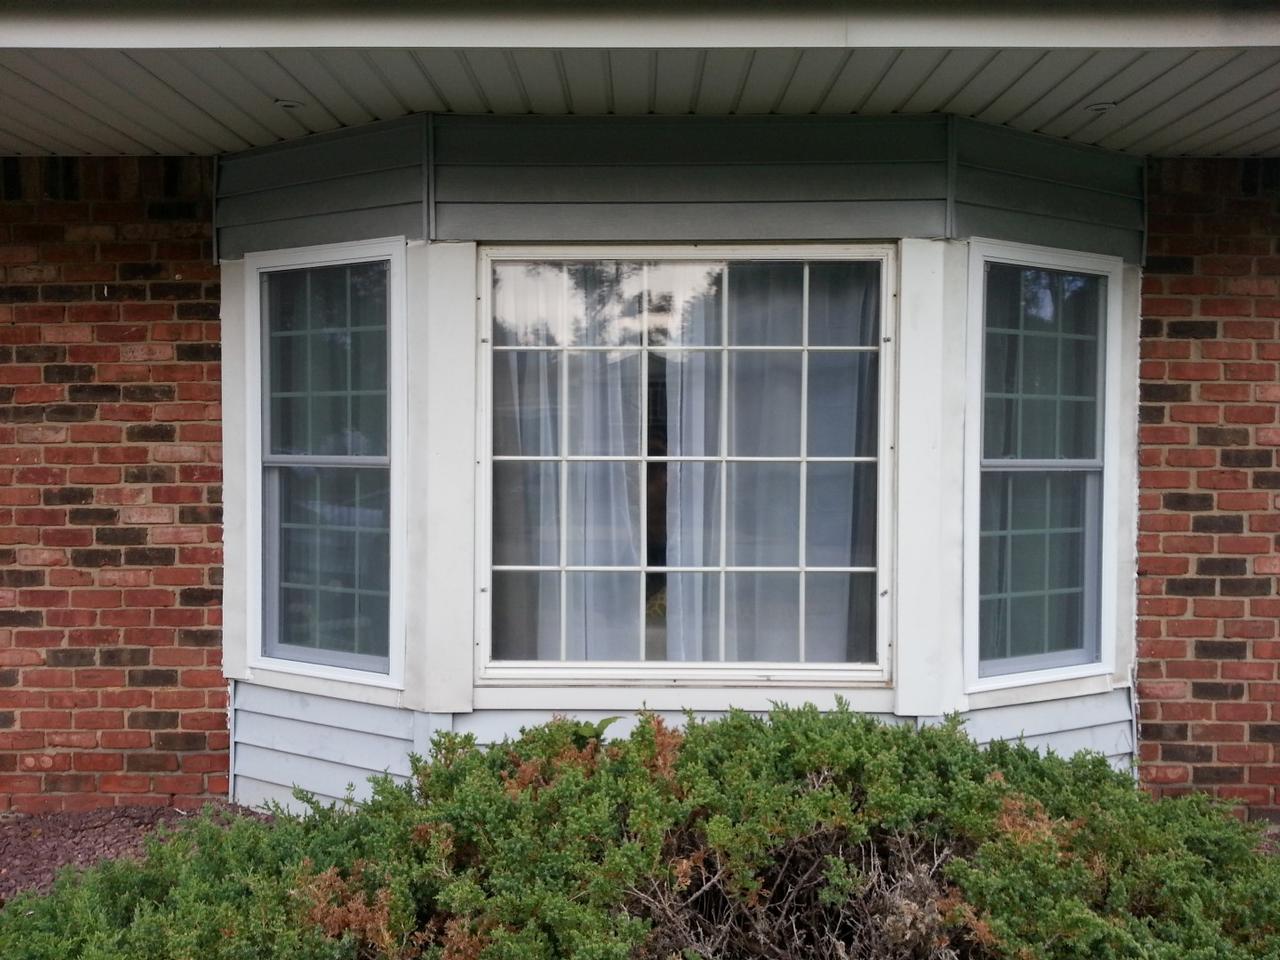
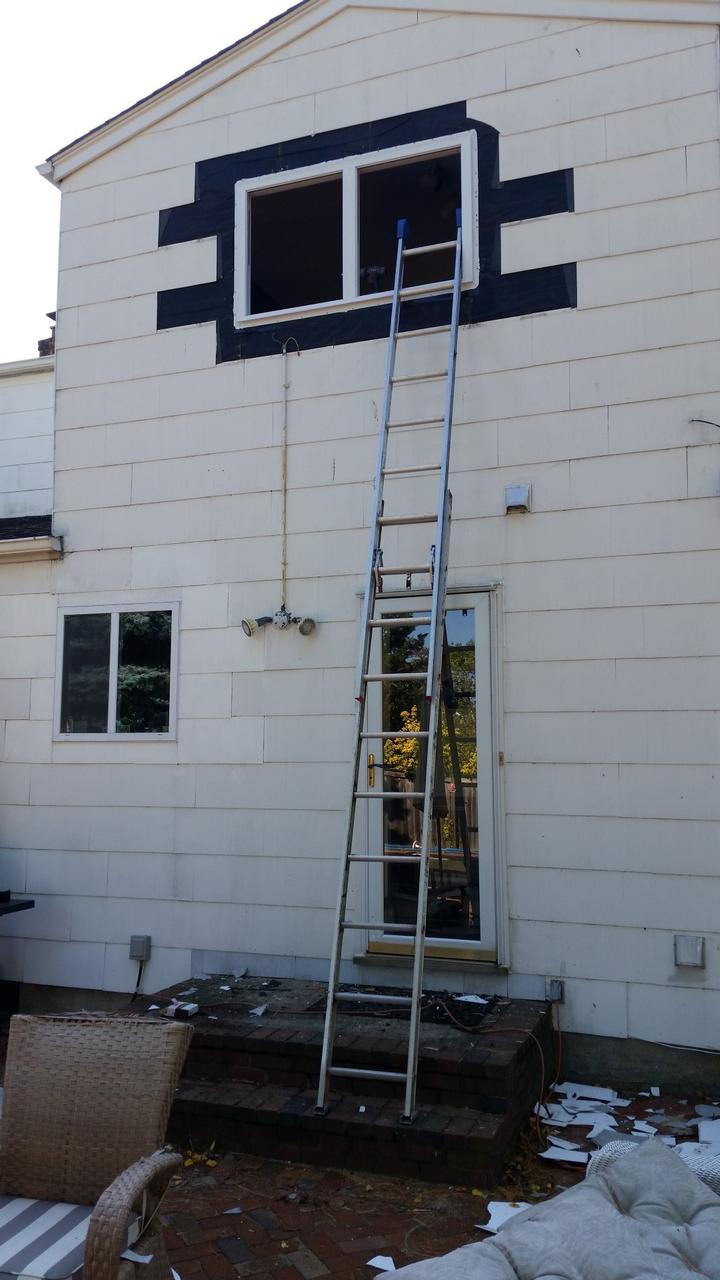
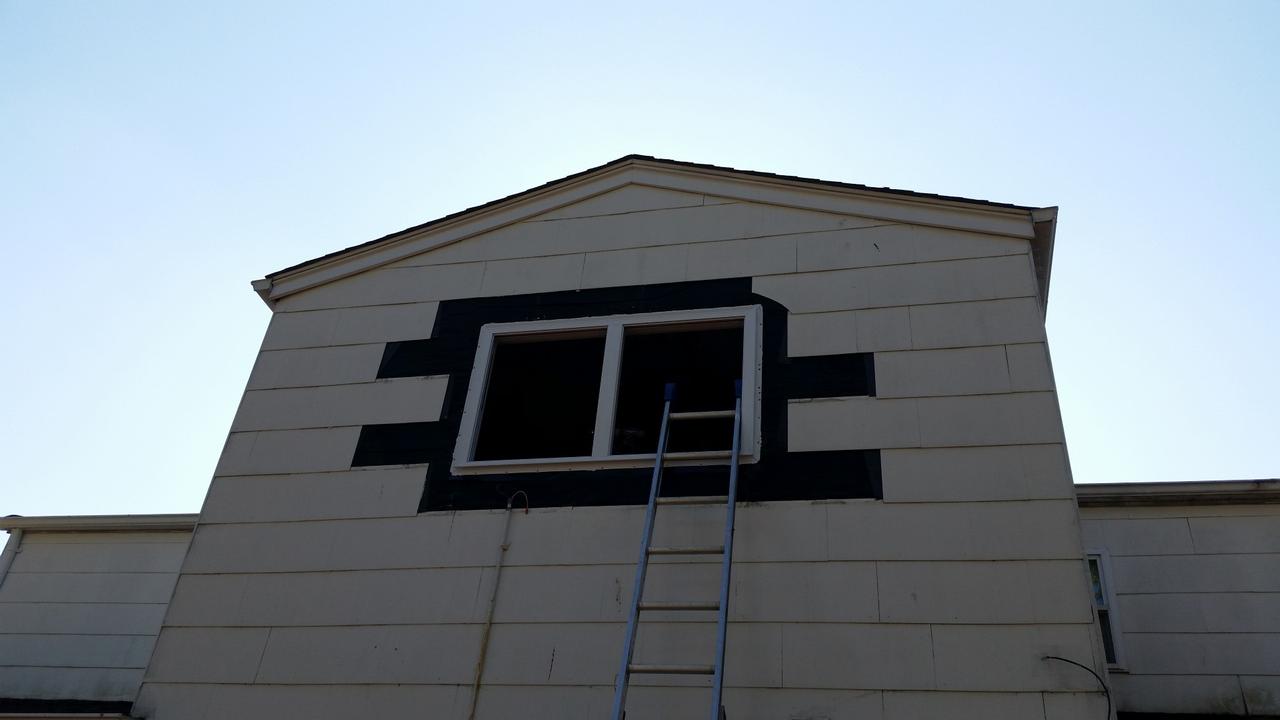
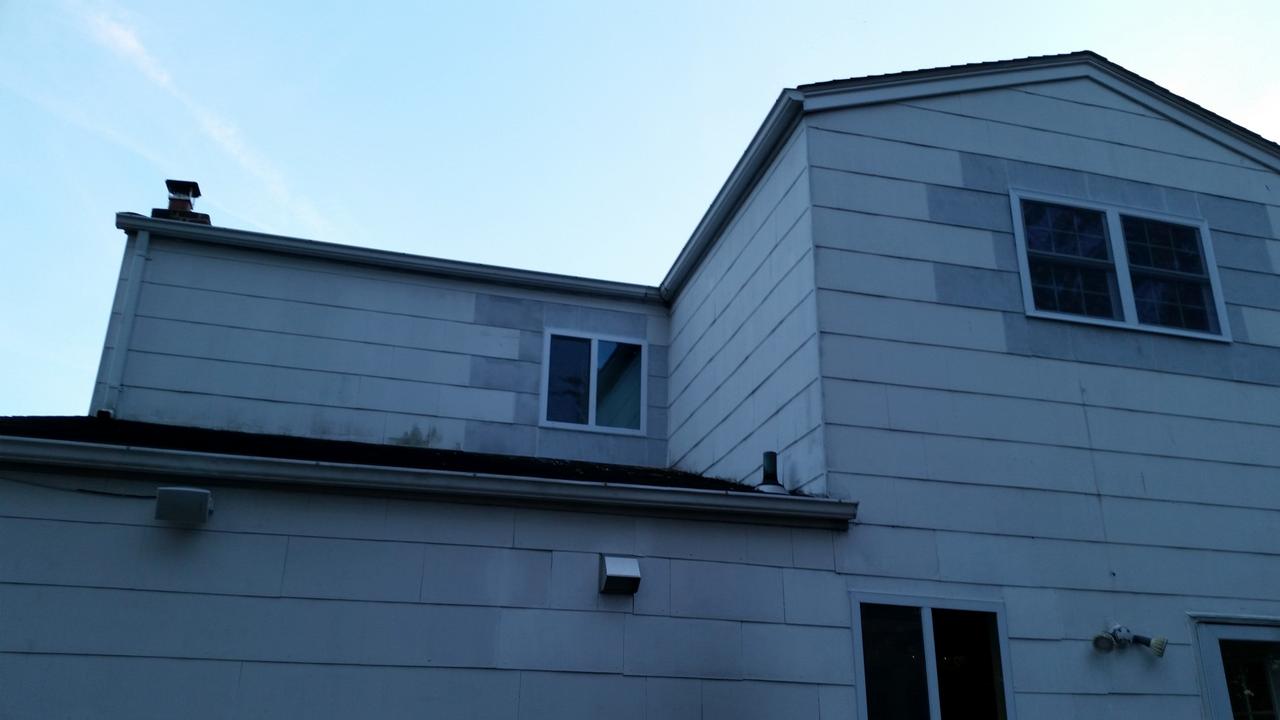
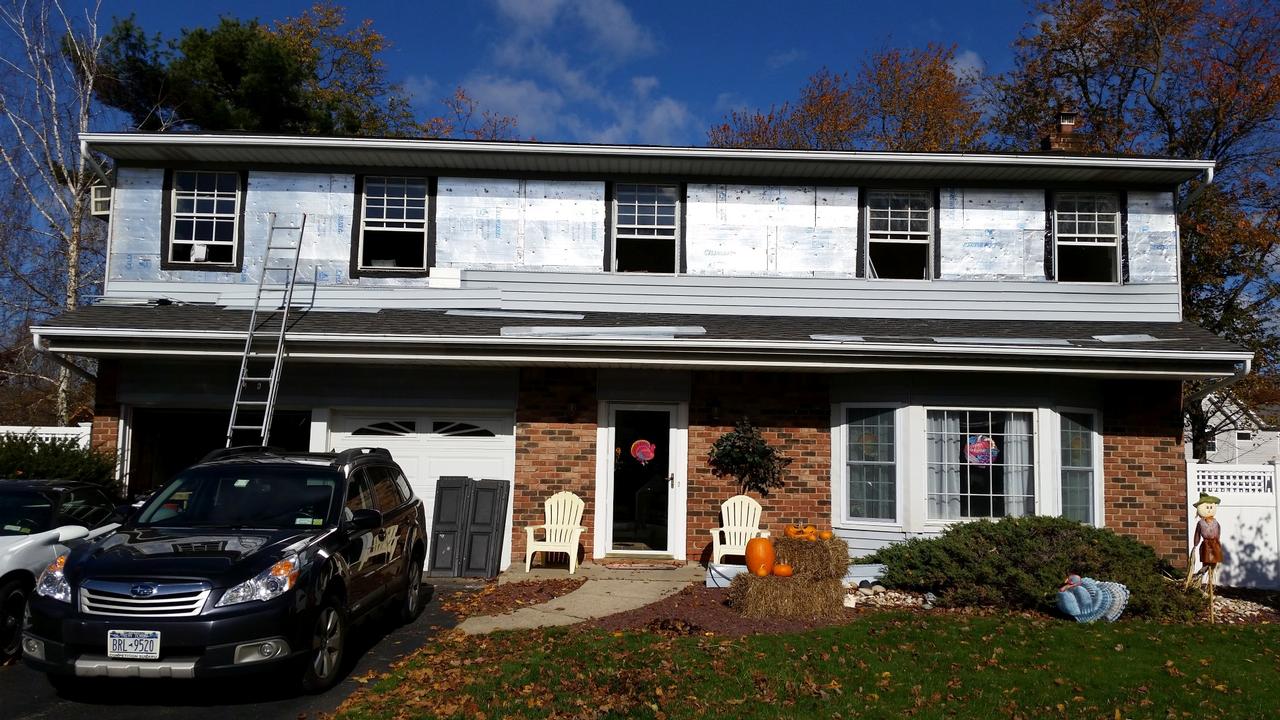
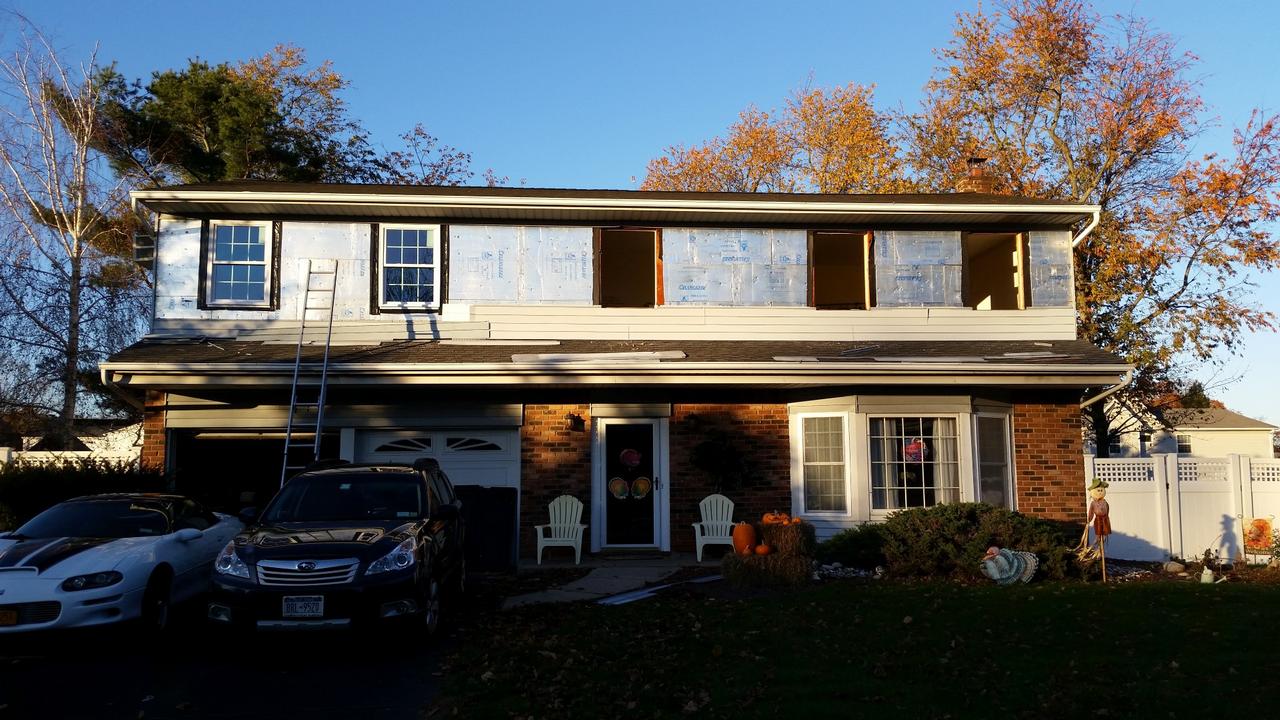
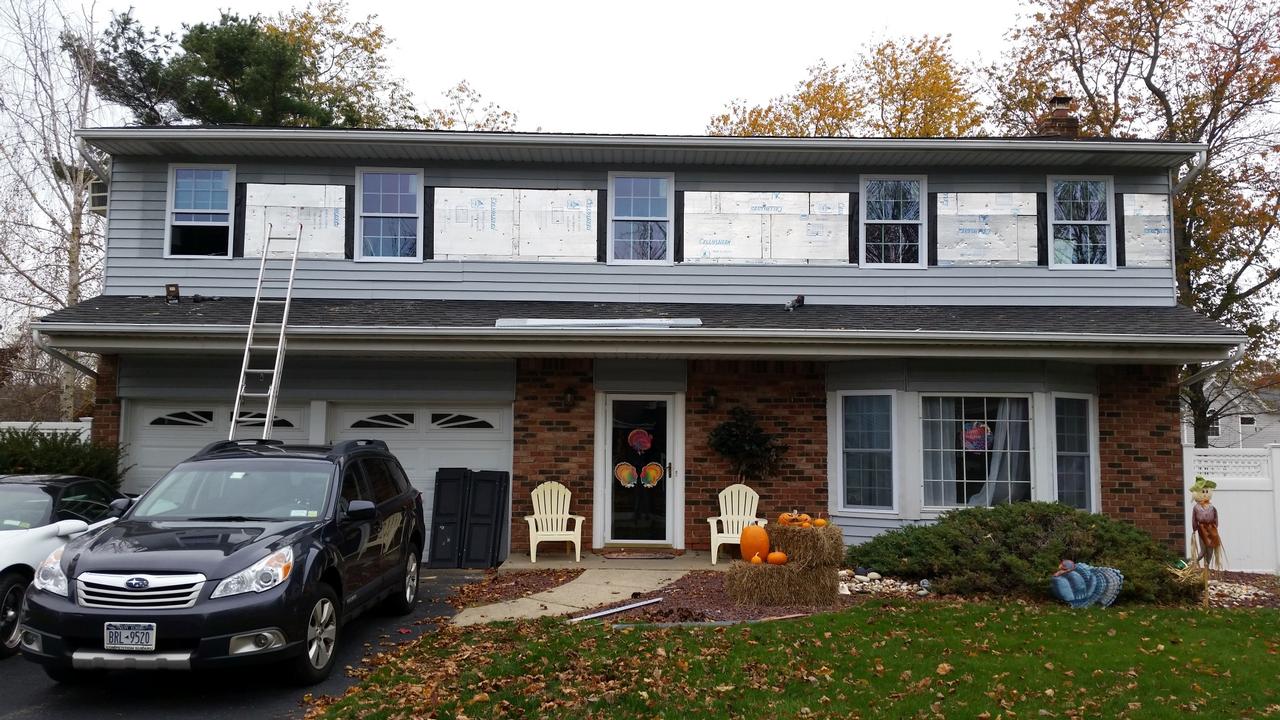
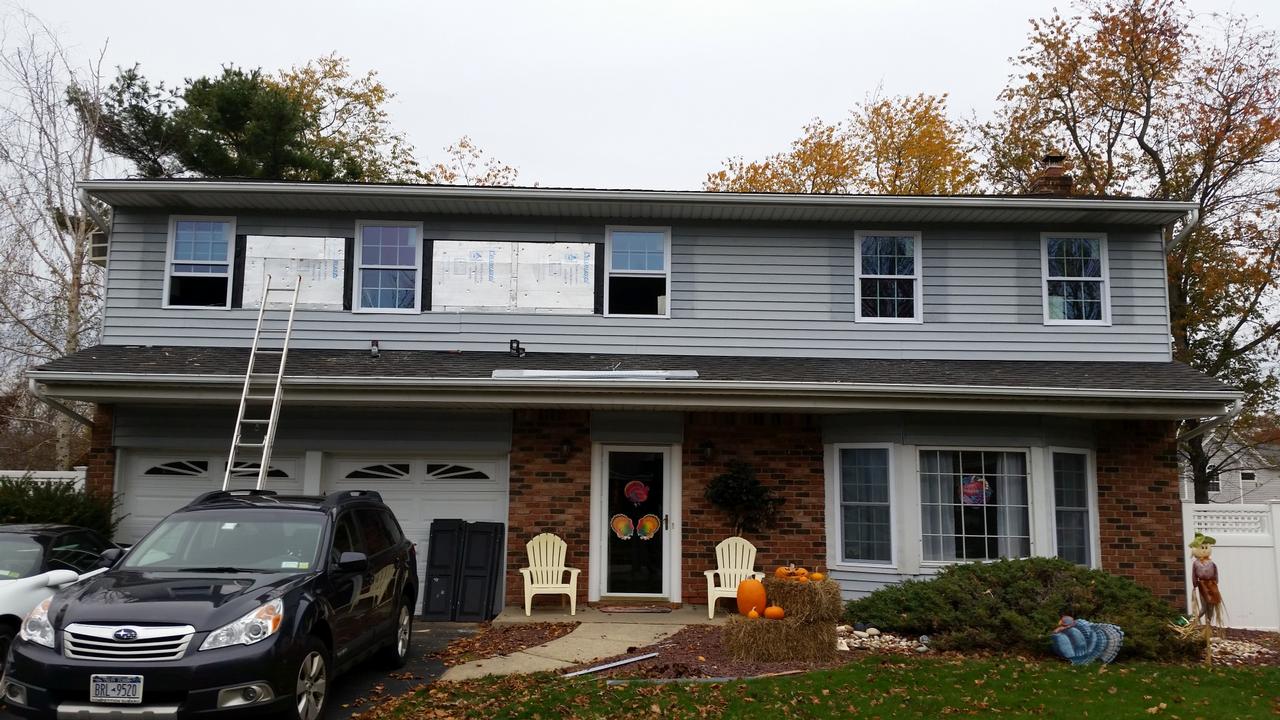
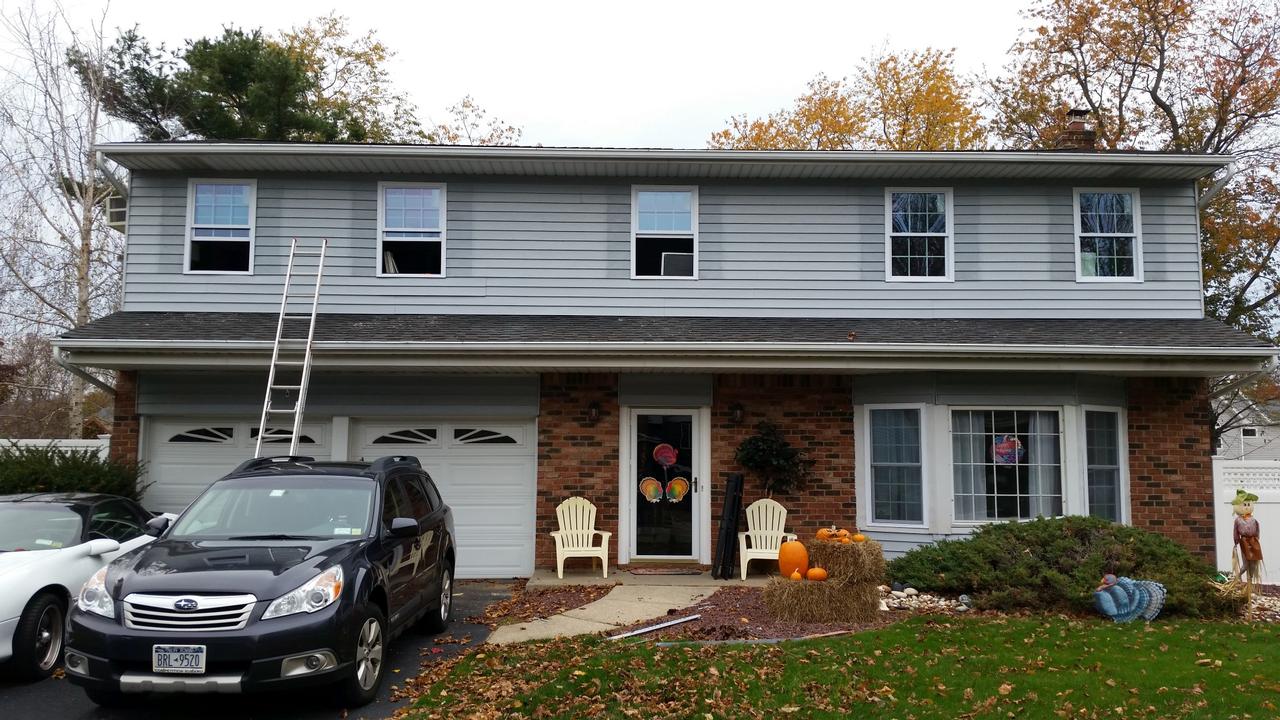
So the windows are finally done. Only the large picture window in the bay remains original to the house. Six windows had been replaced within the last ten or so years by the previous owners, but we replaced the remaining 18. All were done with new construction windows, eliminating every trace of the old aluminum frames. It was a long running project, and were very relieved its finally over.

we love to get feedback, so here's your chance to tell us just how bad we did. chances are we already know just how bad it really is...

your name
your email
(only if you want a scathing response)
what's a matta'?
bad feedback
what's my name?
(Spam Control)

some insensitive jerkwads have said: